No this isn’t a spiritual post or a nod to Led Zepplin’s song “Stairway to Heaven”. This is a post about me conquering dirt that comes with kids, pets, and everyday life. This about finally being thrilled that cleaning time has been reduced from approximately an hour (when doing things right) to about 10 minutes. This is about not looking at a stairway that somehow grew hair 5 seconds after spending an hour vacuuming. This is about not having stairs that sound like something from a horror show with every step. You all know the creak and squeaks I’m talking about. This is about cleaning my house from top to bottom and still having this underlying smell of dust and dirt that I just couldn’t seem to get rid of. No one else smelled it BUT me (or so they would say). However, I did and I HATED it!
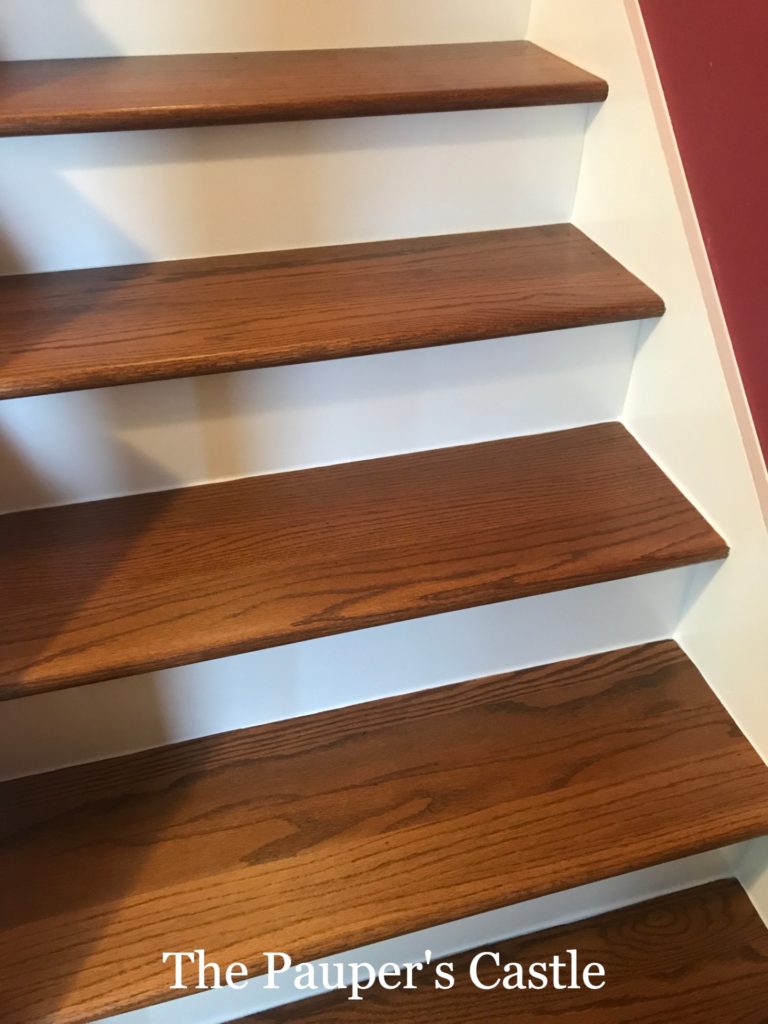
No more smelly, hair growing, sound deafening squeaks coming from my stairway.
Removing the carpet from our stairs has been on my bucket list for as long as I could remember. I have scoured Pinterest looking for cost-effective ways to accomplish this goal. Reading review after review. Many of them claiming they transformed their ugly carpeted stairs into beautiful wood stairs for less than $60. I’ll admit it, I was sucked in. These “Transform Your Stairs for Under $60” seemed to be too good to be true. Many of them hit the holy grail and had pine treads hiding under the carpet that they were able to sand and stain or paint. Almost all, reused the existing risers. A few decided to replace their treads with plywood because they didn’t find pine boards cost-effective. This was obviously a little more work than ripping your carpet off the stairs on a Friday and having a completely new stairway by Sunday night. However, I was willing to put in a little more work replacing pressed board with plywood or pine boards if necessary. In the end, it might take us 2 weekends instead of one. I’m willing to wait for that. I convinced myself (not my husband) we could do this. So I decided to pull back some of our carpeting to see what was hiding under our 30-year-old carpet. Would we get lucky…find pine treads?
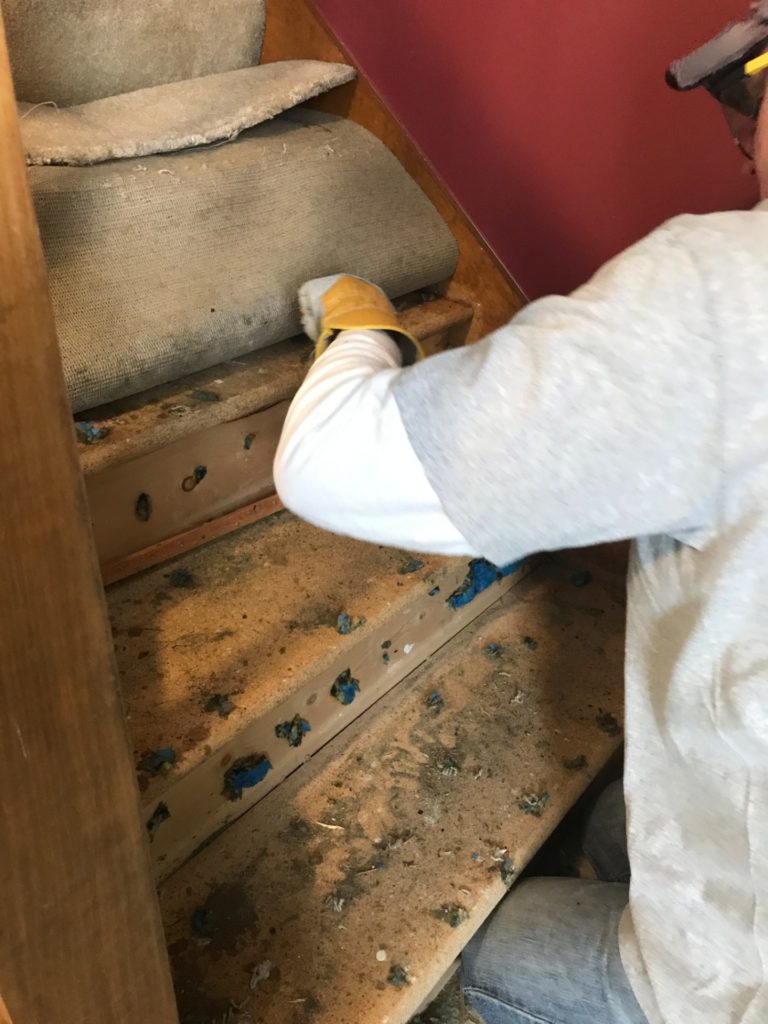
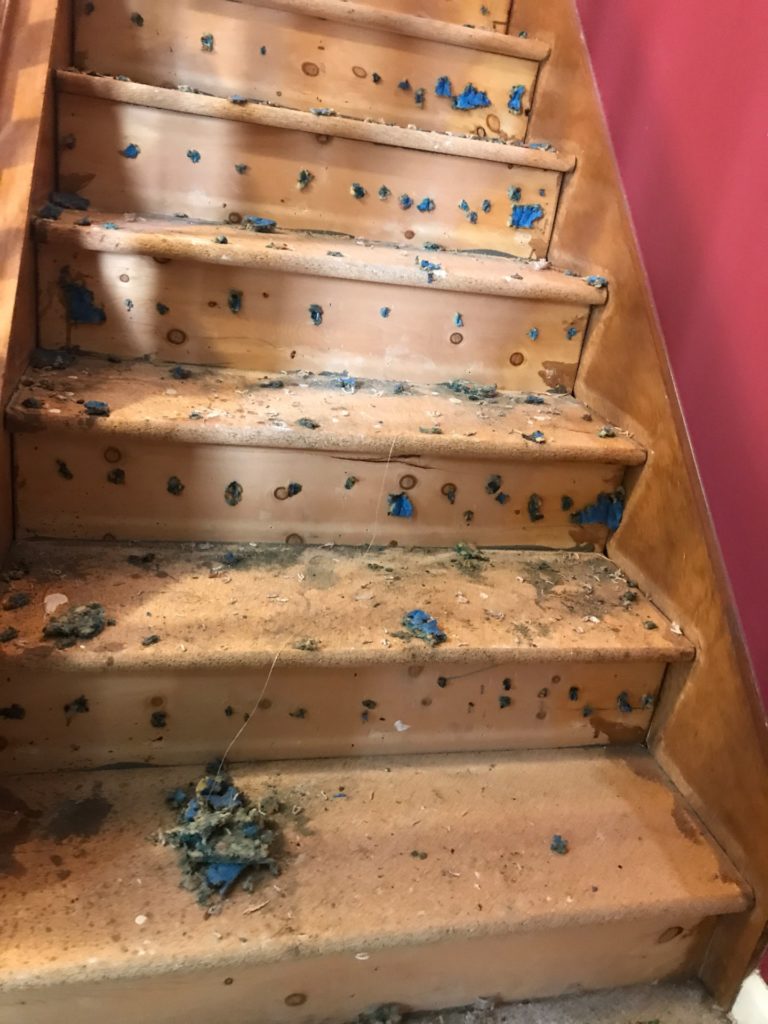
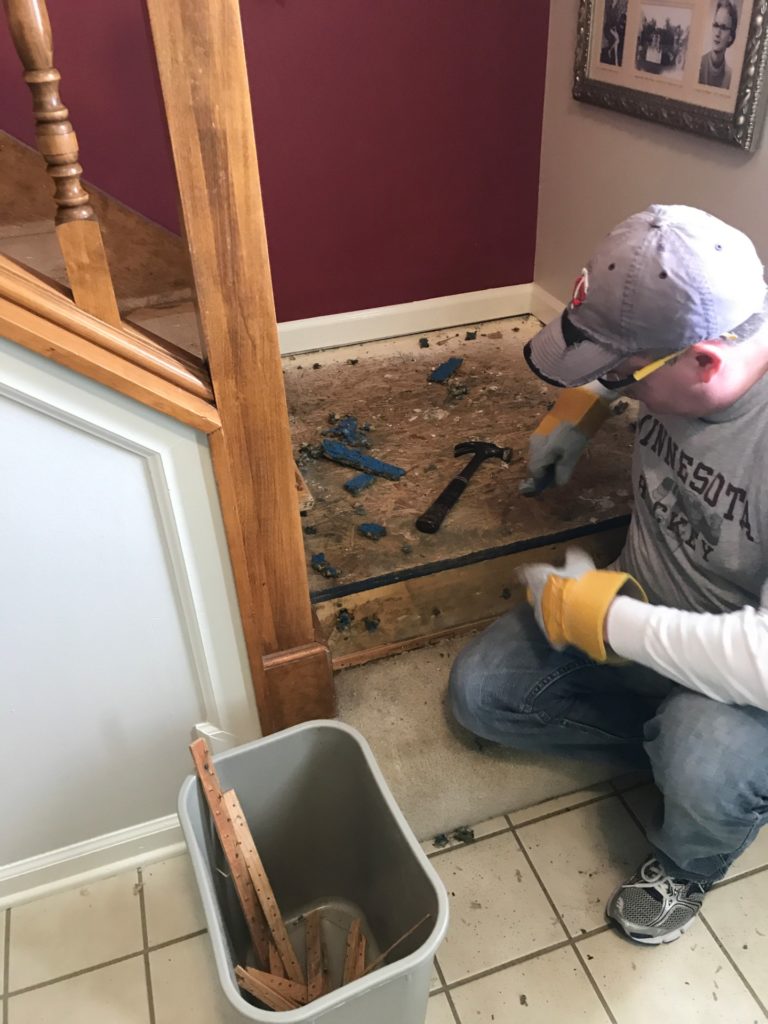
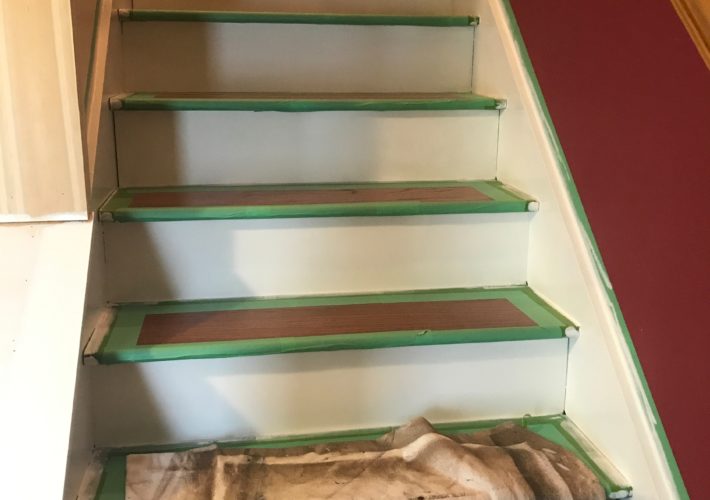
Pressed board treads, very rough pine risers and a chipboard landing. Yowsers! This is way worse than any of the examples I read on Pinterest! It was going to take way more than just some plywood to fix this. So the project was put on hold. For about another year. I continued to loathe the carpet, the hour that it would take to truly vacuum them correctly. I would literally have to talk myself into the process knowing I was about to lose an hour of my life. Not to mention, working up a sweat to the point that I looked like I showered with my clothes on. Ok, maybe that is a bit exaggerated, but it was enough that I made sure I would do this BEFORE I showered for the day.
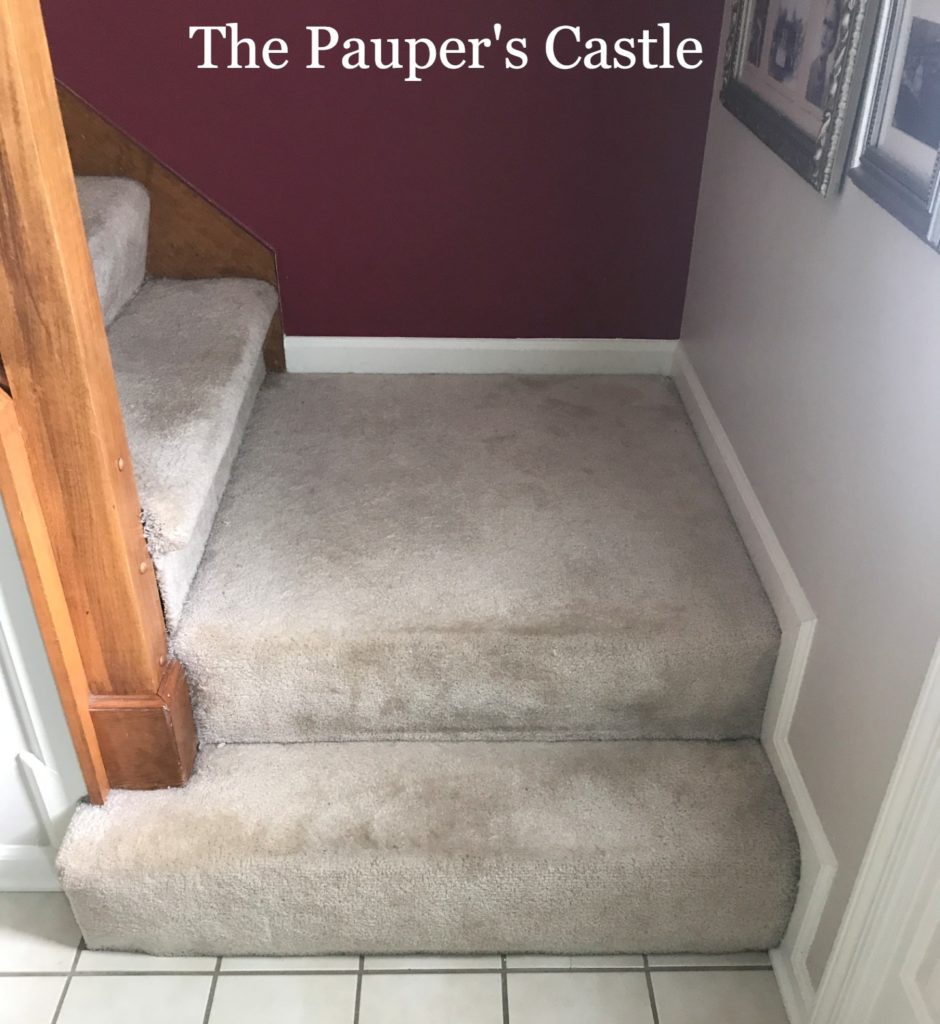
Before 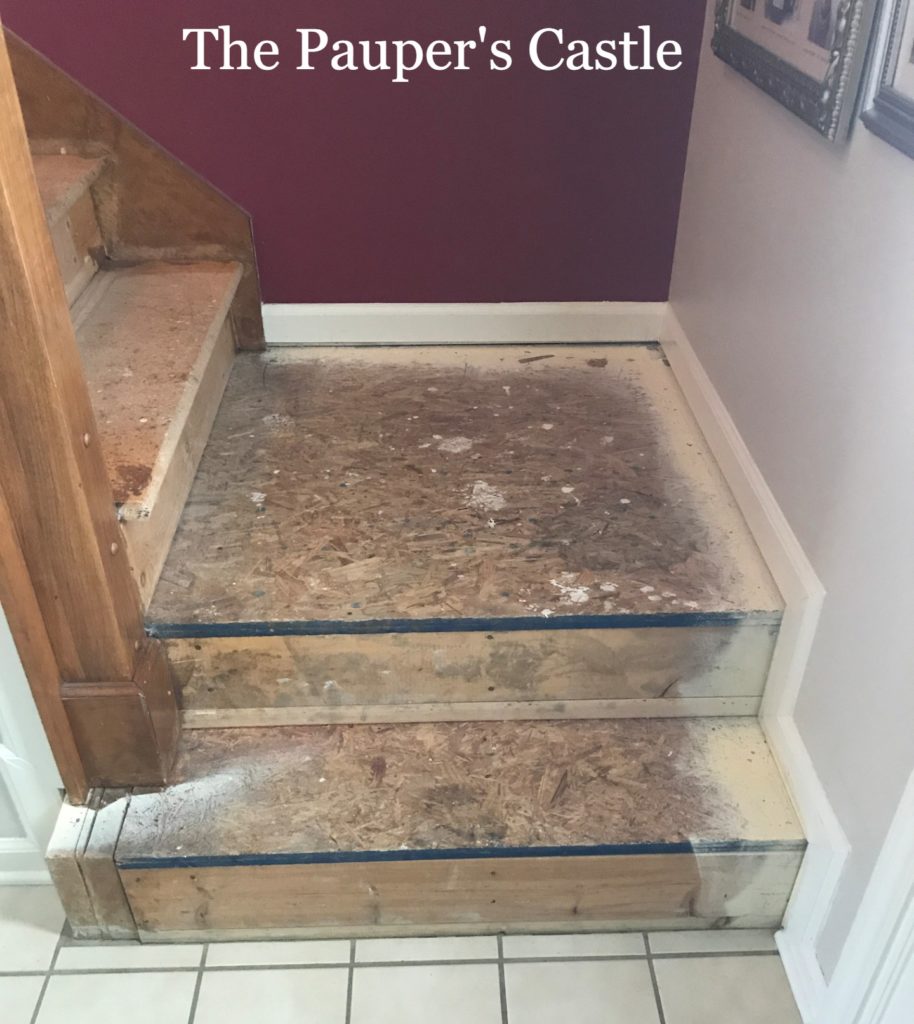
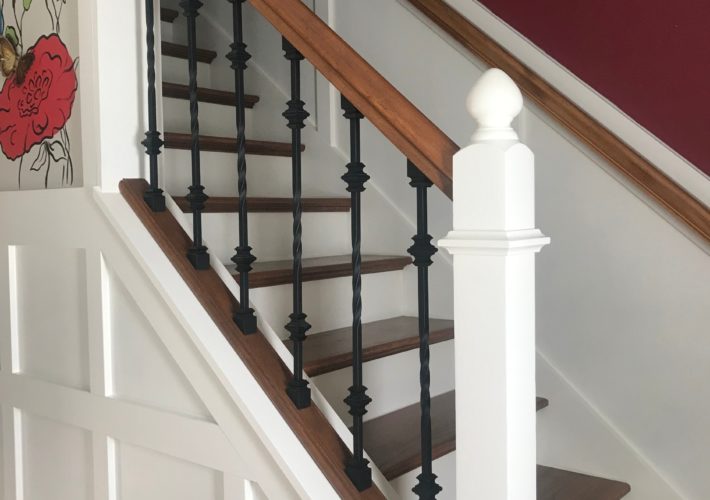
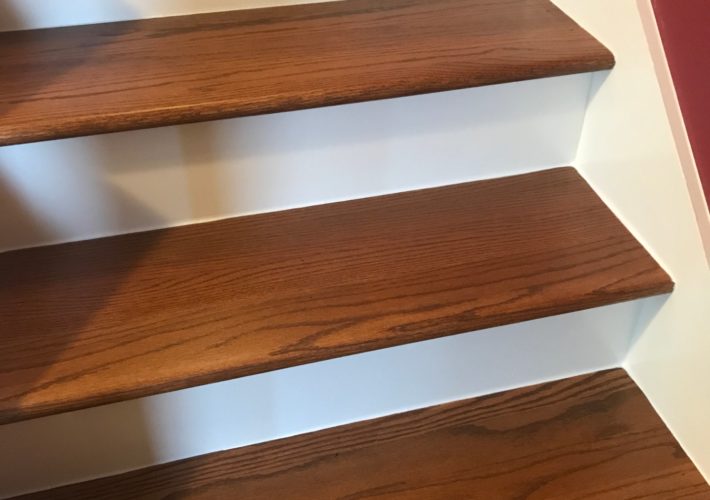
After

They even look guilty!
Then one day…I had enough. I told my husband either he helped me rip off the carpet or I was ripping it off myself. I was at the point I didn’t care if I would have to live with pressed board, rough pine and chipboard. So long as I didn’t have to look at dirty 30-year-old carpet with clumps of cat hair growing off of the steps and the smell of dust that I’m quite sure was more than 30 years old.
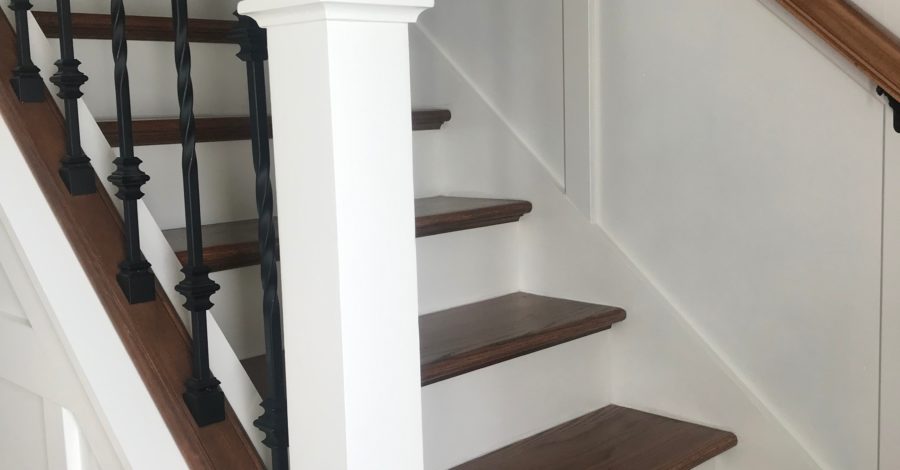
That day happened last May. The carpet was ripped off! Follow along with the next few posts as I walk you through our entire process. I guess I should warn you that this was not a $60 weekend transformation. If you are on a very tight timeline and budget you may want to stop reading here. This project took way longer than either of us expected. The cost was way more than $60 but way less than hiring a professional. We have added beauty and value to our home. In the end, these stairs will outlive us. So while we did invest a bit more money and time, the end results are fabulous (in my opinion). Completely worth the time, patience and money invested. It’s been 6 months since we fully completed the project and I STILL love just sitting and staring at these stairs. They have become a true focal point to our entryway. One that I am proud to show off!
Cia for now!
Kellie
DIY – How to Replace the Carpet on Your Stairs – Part I


Leave a Comment