I needed some display books to use in our booth, but didn’t want to use the old books we had here at the house. After all, I was using them in my decor. I went to the Goodwill looking for some old books, but didn’t want to spend the $2.49 ea just to have them sitting around…looking good, but still just sitting around. I know…call me cheap, but there is a place in Michigan that my husband and I go to that we can get them for $0.25. Knowing this makes it hard to spend the $2.49. So I decided to purchase the paperback for $0.99 ea and cover them in scrapbook paper I had at the house. $3.00 vs. $7.50 seemed better to me, even if it did require a little work.
I picked out the paper I wanted to use. For this project, I used paper scraps left from a previous project. You can see the lines that I had drawn on the paper previously. Ignore these, they have nothing to do with this project!
Lay your book on the paper and line up the top edge of the book with the paper and the side edge of the book with the paper. Before you mark you paper, make sure the pattern is going in the right direction. Now mark a small line at the edge of the book.
Flip the book to the left, keeping the bottom edge of the book aligned with your pencil mark. Now make a second mark.
Using a ruler, connect your two marks to form a line. This will be the line you cut with your scissors or X-Acto knife (this is what I used with a ruler). No making fun of my pudgy, dry hands! I never claimed to be a hand model. If you are wondering what that really cool checker board pattern is in the back ground….that is the cutting board my dad made me for my birthday. LOVE IT!
This is the line that you will now cut.
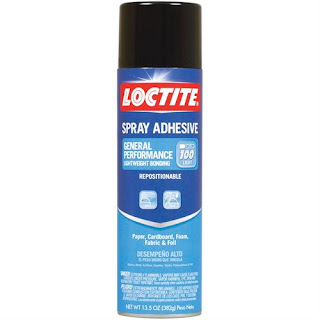
Spray the outside cover of your book with a spray adhesive. I used Loctite, but any brand will do.
Wrap your paper around your book being careful to line up your edges.
This particular paper was a little short (remember, I was using up scrap paper to cover these). So I just made sure to center as best as I could. Don’t worry, I cover the raw edge with some ribbon. Keep reading you will see that picture. Open the book, line up your ruler along the edge of the books cover and trim the extra paper.
I hot glued some ribbon around the edge of the book (top and bottom) to cover the raw edge and where my scrap paper came up short. The others in the picture below were flush with the edge of the book. No ribbon needed. Voila’ ! Designer covered books to match YOUR decor …and it only cost me $3.00! Now go make your own! Total project for all 3, probably took me about 10 minutes!
Sharing at:


0 COMMENTS
Korrie@RedHenHome
15 years agoThese look so pretty! What a great way to get a little color and pattern into your table displays.
Mimi
12 years agoThese just look stunning and I love that you've made a beautiful vignette out of a few old books and special pieces. Gorgeous! Mimi…xxx
http://atrayofbliss.blogspot.com.au/
The Paupers Castle
12 years agoThanks for your kind comments! Glad you enjoyed.