Full disclosure here. This blog post contains affiliate links. This simply means if you click on a link and decide to make a purchase, I get a small credit that helps support this blog. This does not affect the cost to you, it’s simply a referral fee. Your support is greatly appreciated!
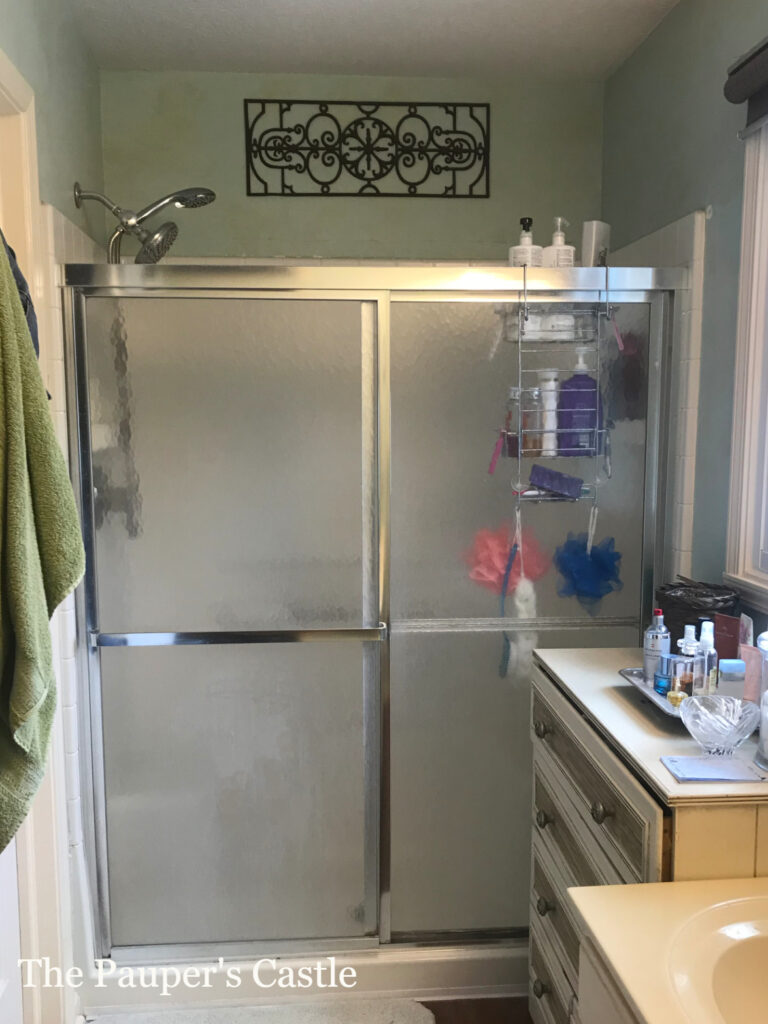
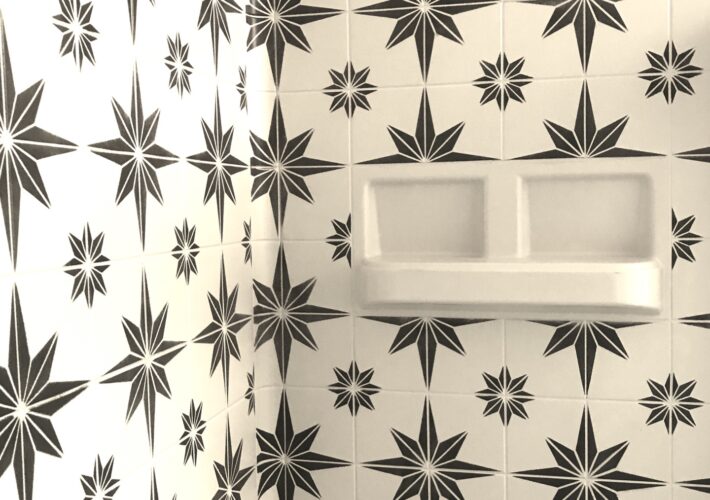
I promised last week I would share the process I used to update our shower doors. If you are just landing on this post, I also painted our shower enclosure. You can see that in the photo above. Be sure to check out that post, too, as I’ll walk you through the entire process, the stencil I used as well as other products. I still feel like I’m showering in someone else’s bathroom.
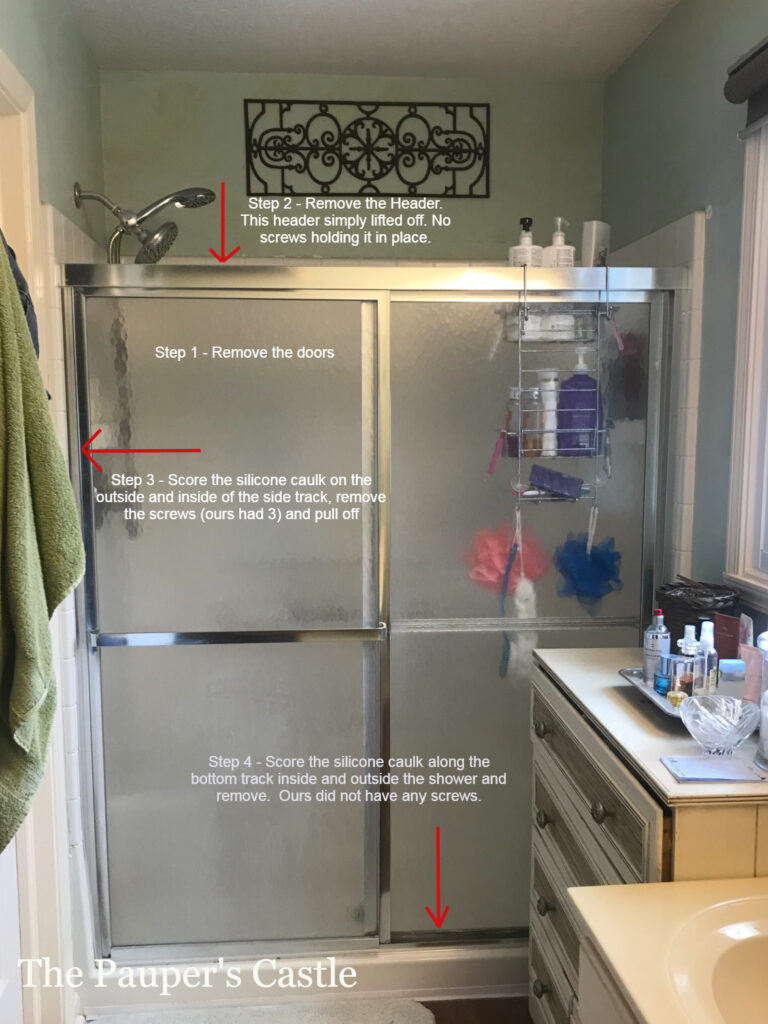
Your first step is you need to remove the shower doors. Then you can remove the track. I did not paint the track in place. The main reason I removed it was because I painted the shower enclosure. The other reason, I would NOT spray paint inside my house. The overspray would create a terrible mess that I would not want to clean up. I realize every shower door is different, but these were NOT hard to remove at all. In fact, I wish I would have done this years ago! All those little areas I fought to get clean would not have been an issue if I had removed them.
Once I removed the doors and the track, I took them outside, and power washed them. If you don’t own a power washer, no problem, you can use your hose and some good old fashion elbow grease. After power washing them, I scrubbed them with TSP and a magic eraser. I rinsed and repeated the process. It’s imperative to get all the soap scum, dirt, and grime off to make sure the paint adheres properly. The other important part is to make sure you remove ALL, yes, ALL silicone caulk. The paint does not stick to silicone caulk. After washing the doors and track pieces with TSP, I then used a putty knife, widget, and sandpaper to remove the caulk. I probably spent almost 2 hours on this part. While it was not fun, it’s very important. Then I washed everything down one more time with TSP and let them dry.
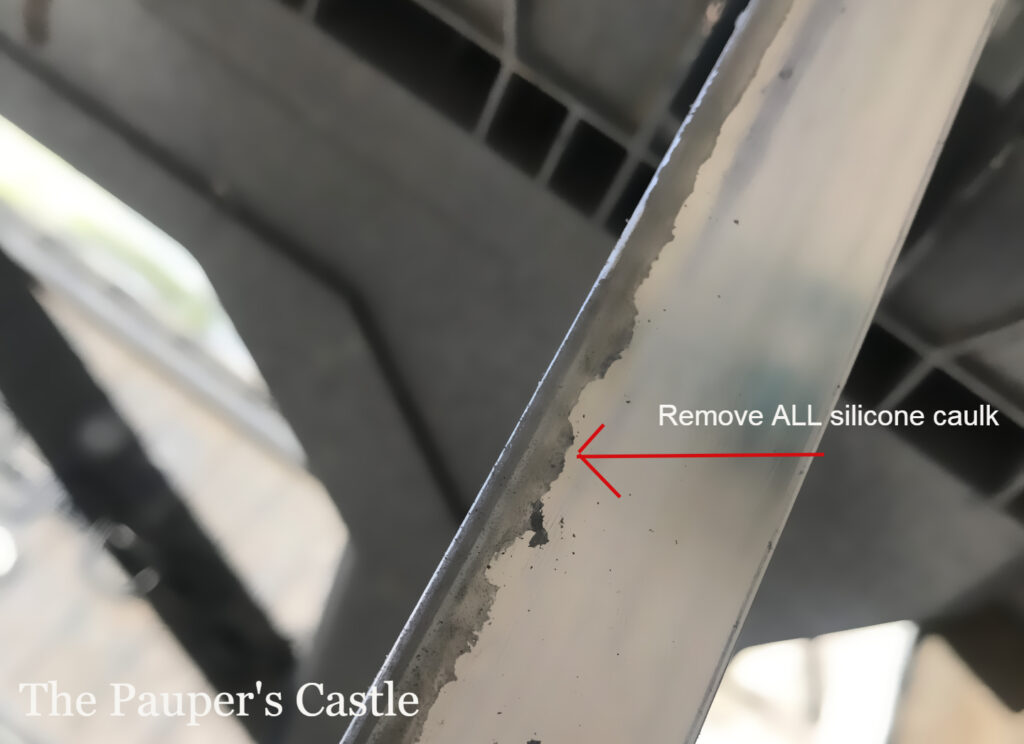
If you are certain ALL silicone caulk has been removed, you can begin priming your track and doors. Be sure to tape off the glass on the doors before priming and painting.
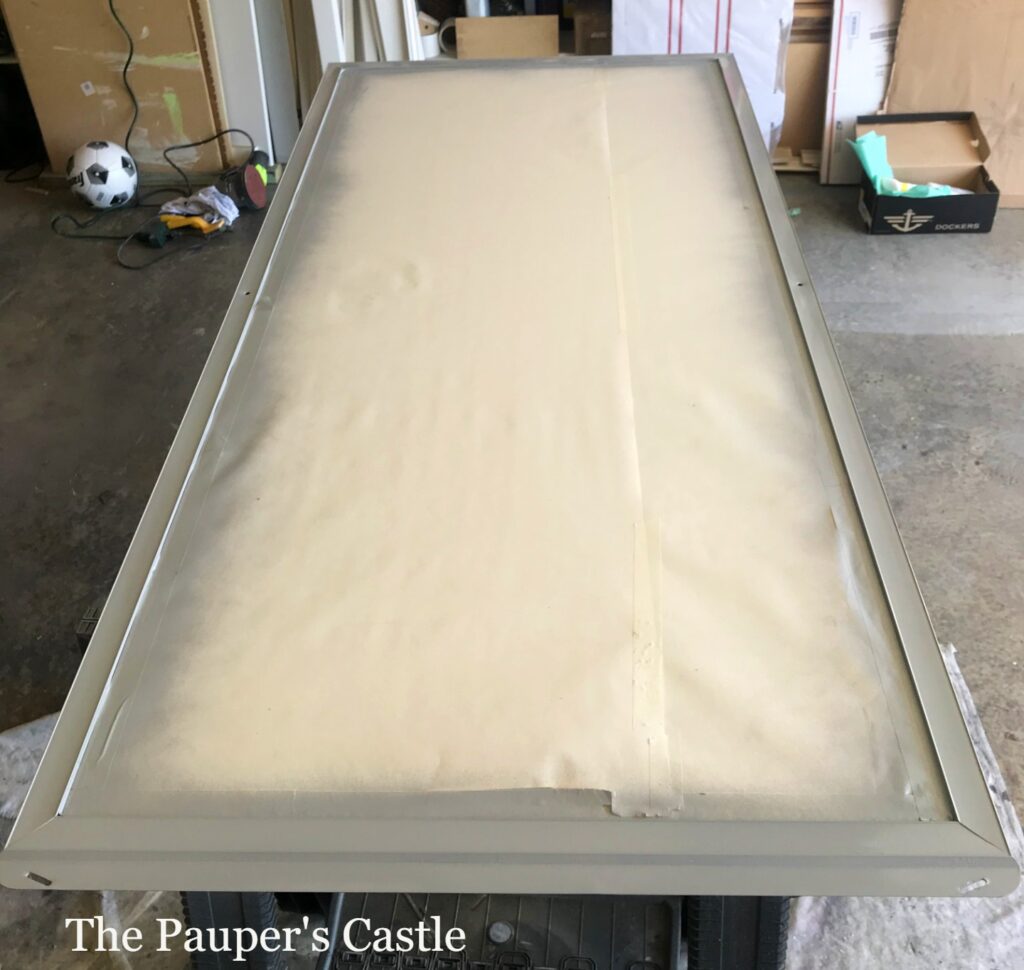
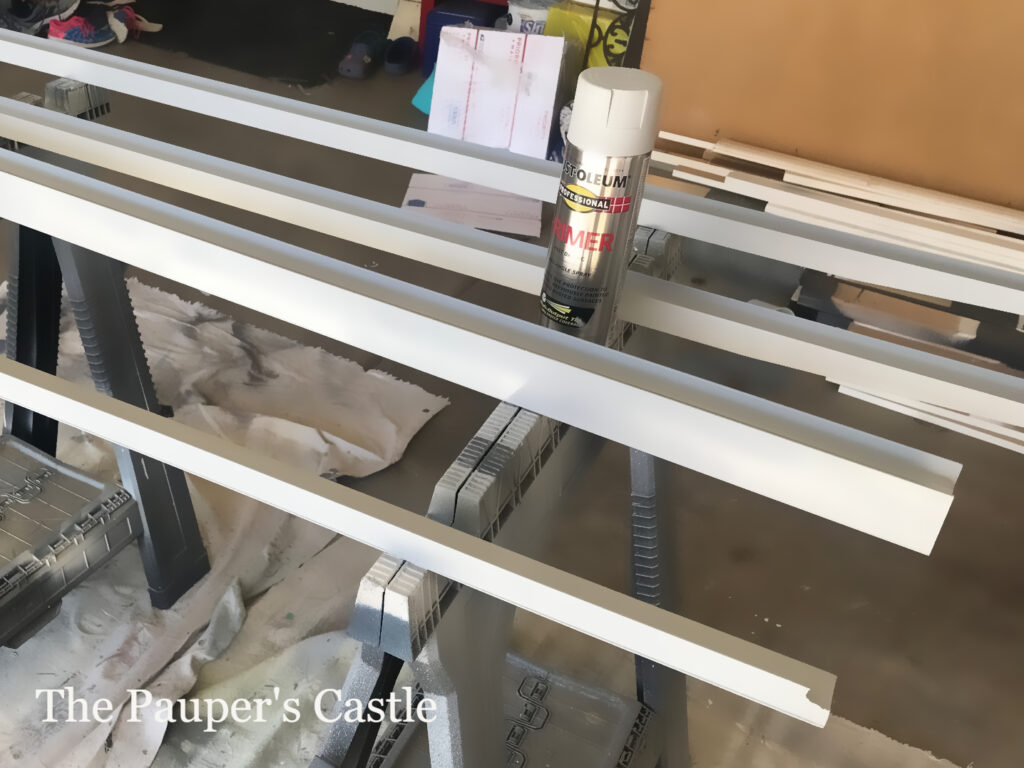
I used Rust-oleum Professional Primer in Gray. Follow the directions on the can. I used two, sometimes three coats of primer. Especially in the areas where the metal had started to deteriorate.
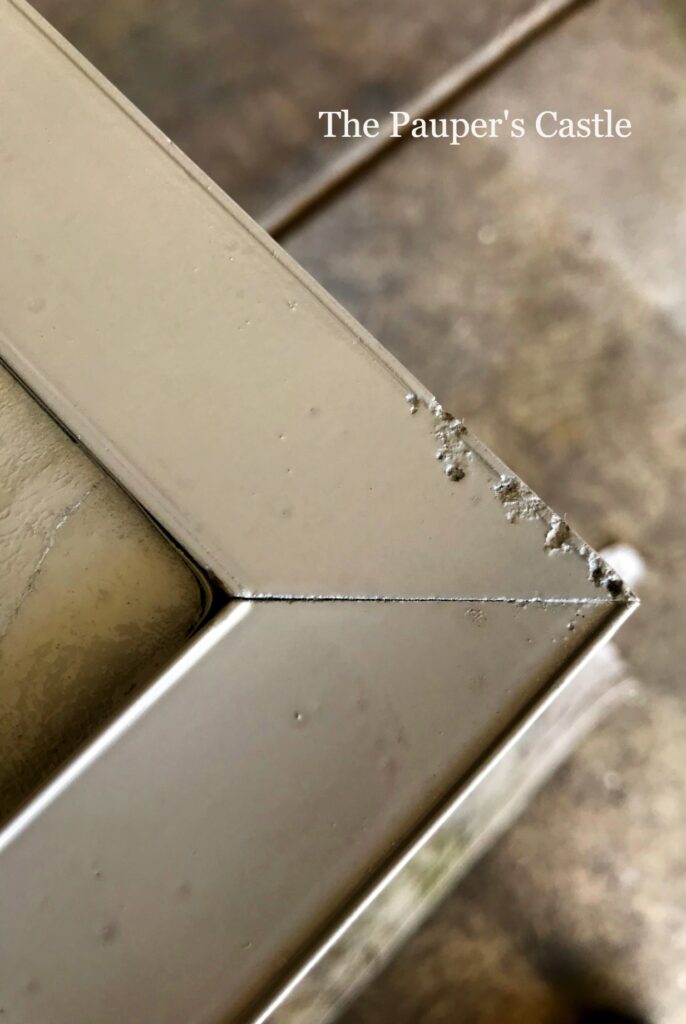
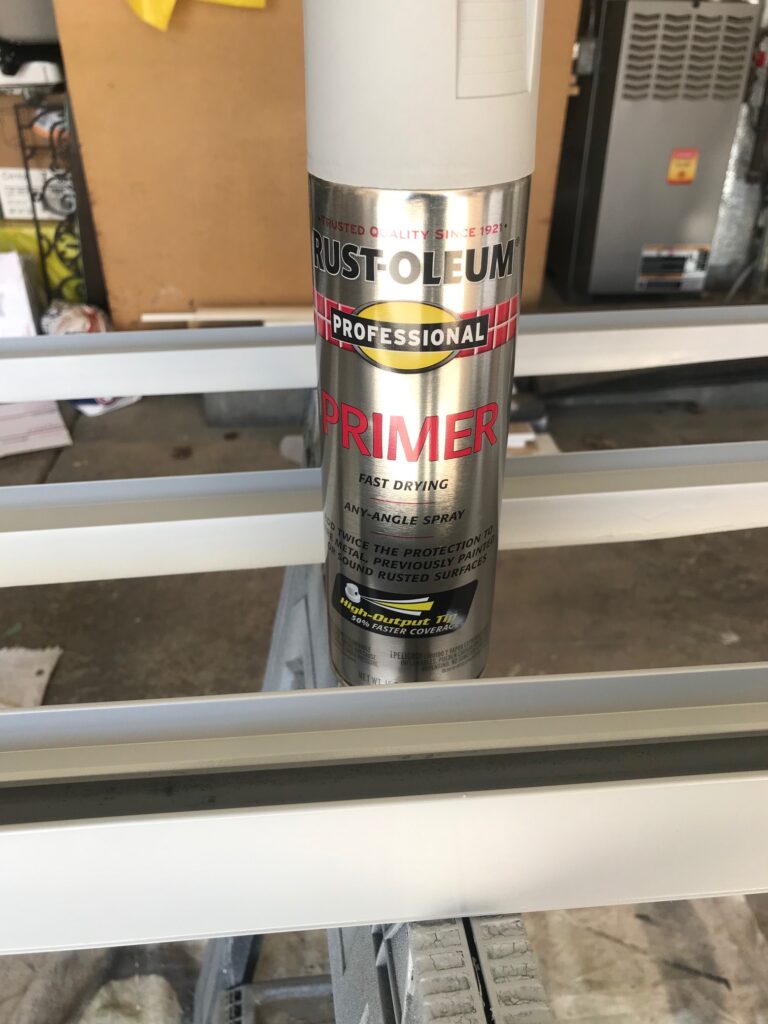
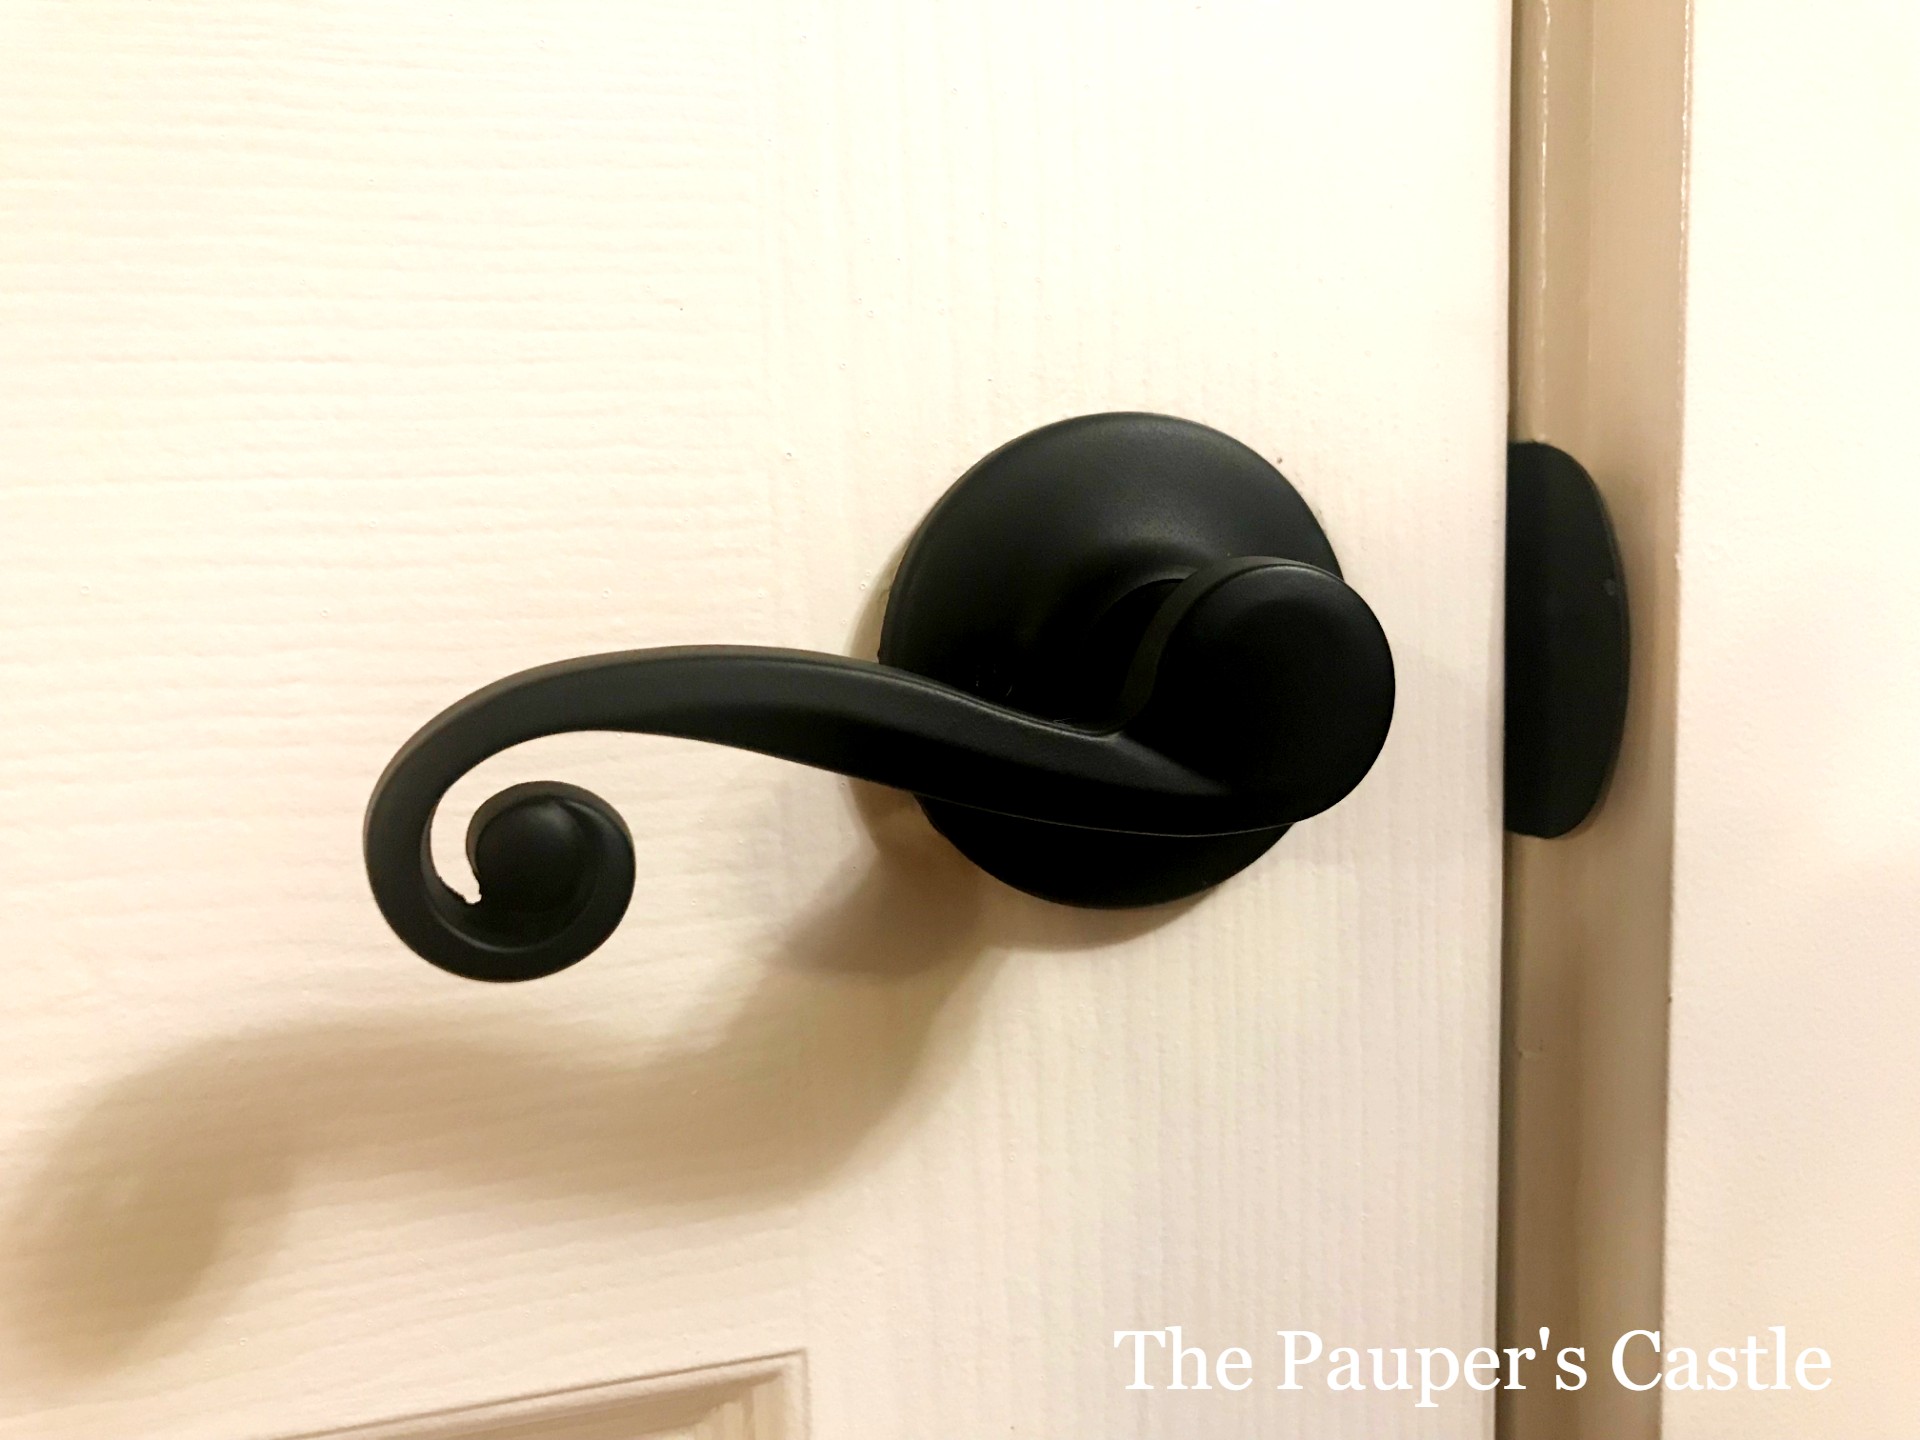
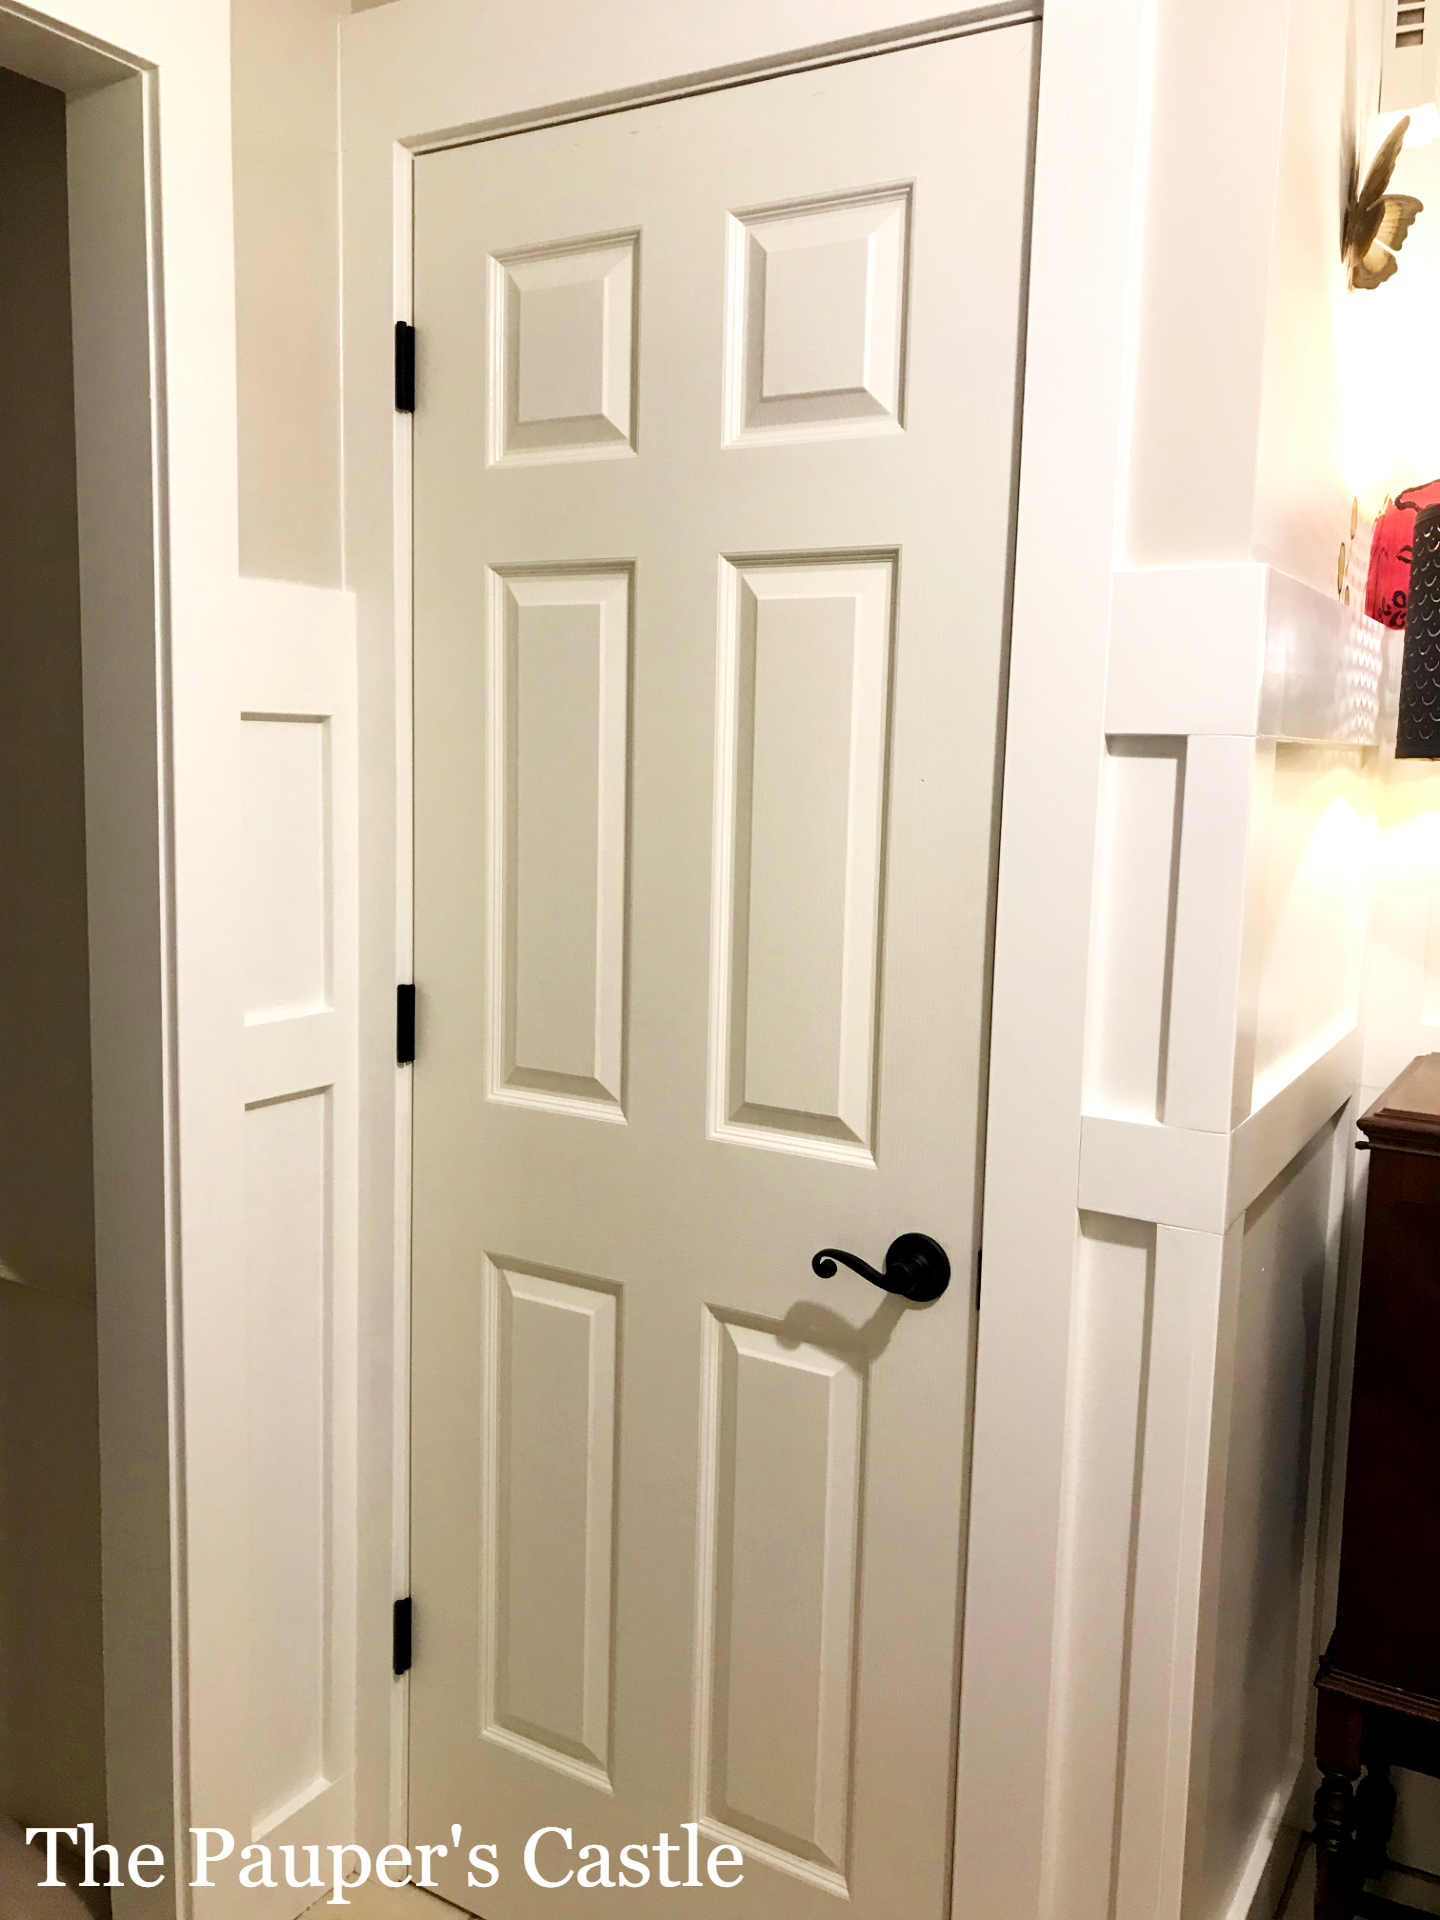
After your primer is dry, which should not take too long, you can begin painting your doors in your color choice. I used Rust-oleum Professional Enamel Paint in Semi-Gloss Black. This was the same paint and primer I used to paint our ugly brass doorknobs and hinges over a year ago. They have held up beautifully, which is why I decided to use this for our shower doors.
I sprayed the tracks and doors (inside and outside) with three coats of paint, letting them dry according to the directions on the can. Then I let them cure for almost a week. While they were curing, I was finishing painting the shower enclosure.
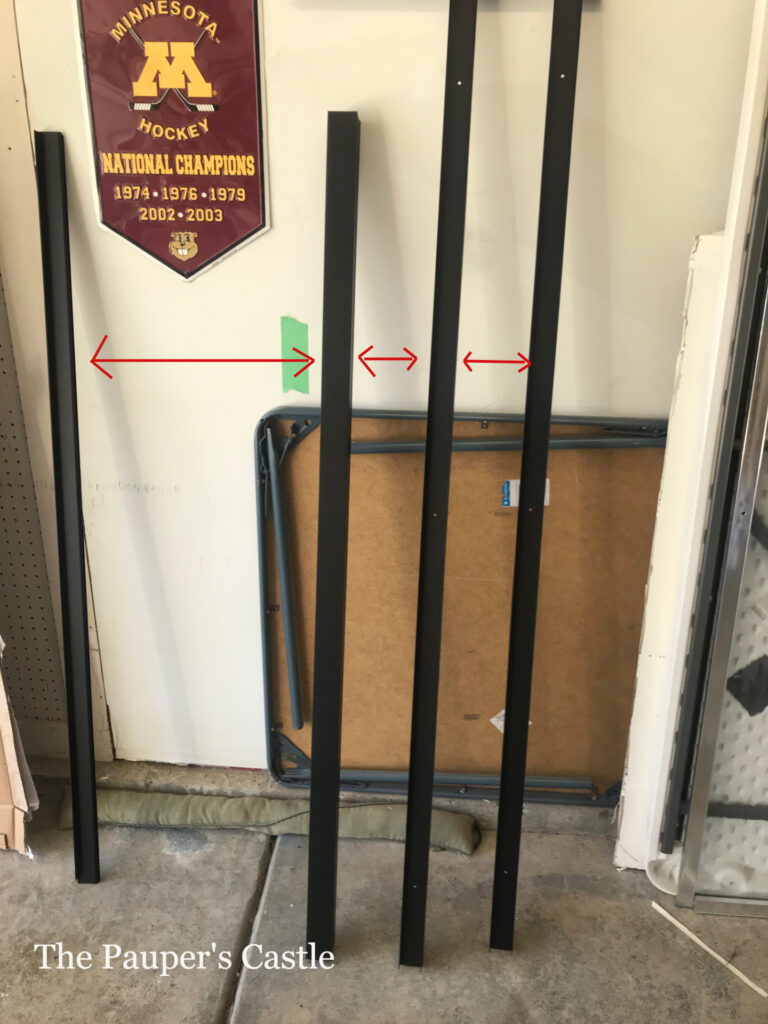
Now it was time to reinstall the track. This process could vary depending on how you removed your shower doors. For ours, we put a line of clear silicone caulk on the bottom side of the bottom part of the track and gently pressed it into place. Sorry I did not take photos of this. Once set in place, we taped it with painters tape to be sure it did not move. Then we replaced the side tracks, screwed those back into the shower enclosure, and then replaced the header. I then went back and recaulked the inside and outside of the side tracks, in the same place that I had scored the caulk when I removed them. We also ran a line of caulk at the bottom of each side track where it met with the bottom part for the track. We let all of this dry overnight. The next morning we were able to install the doors.
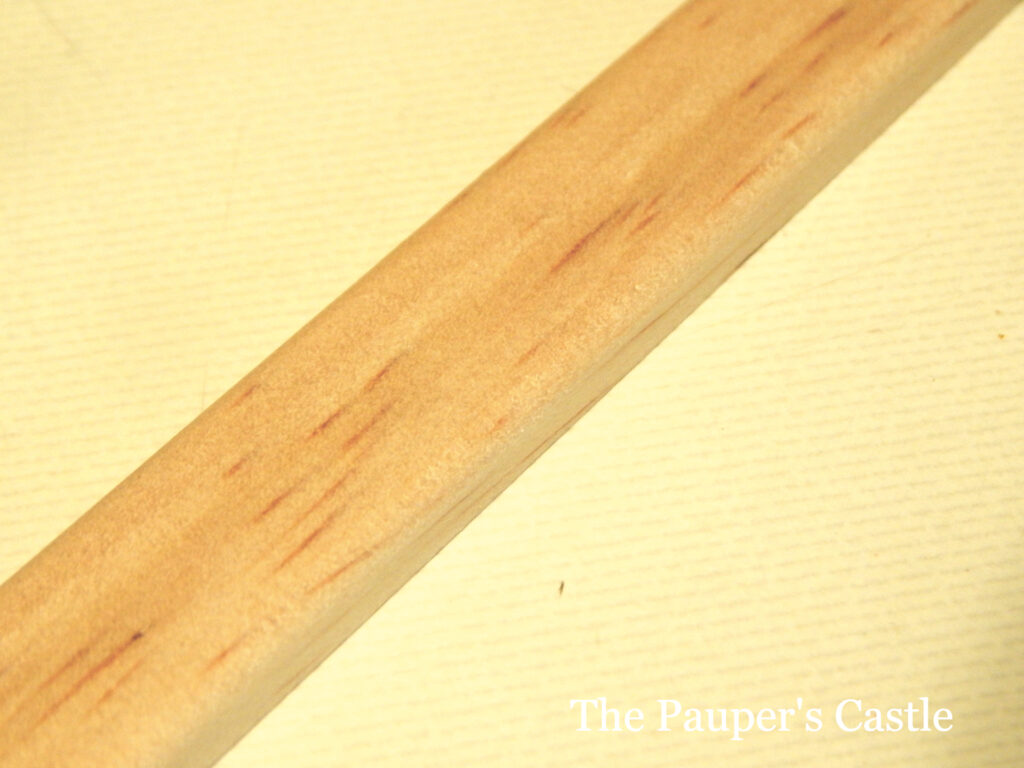
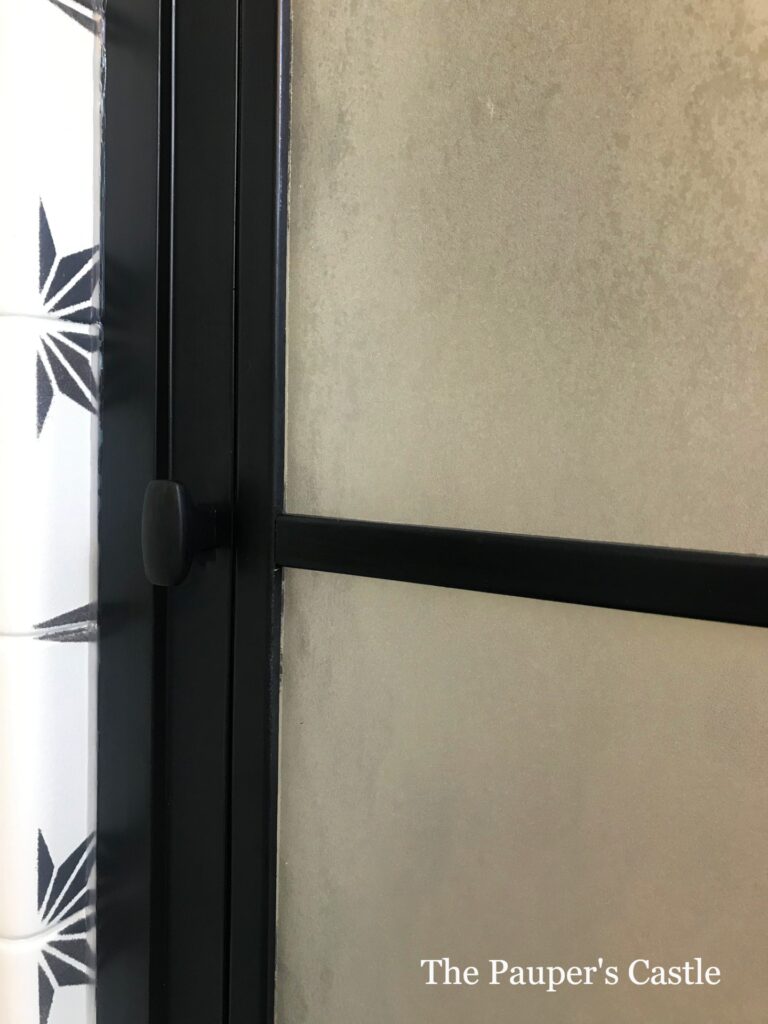
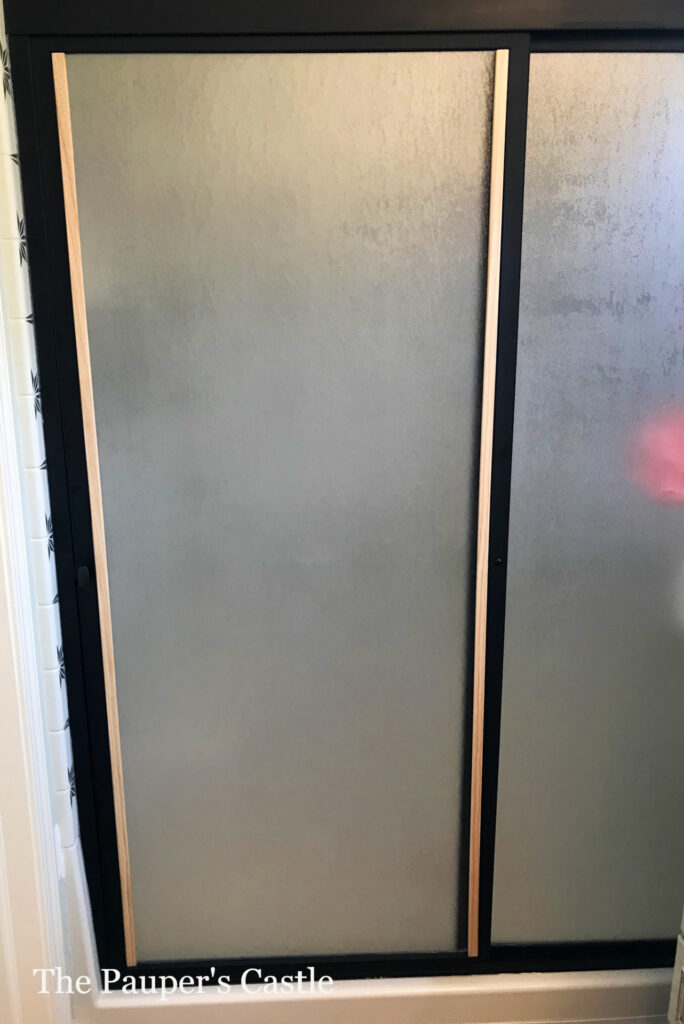
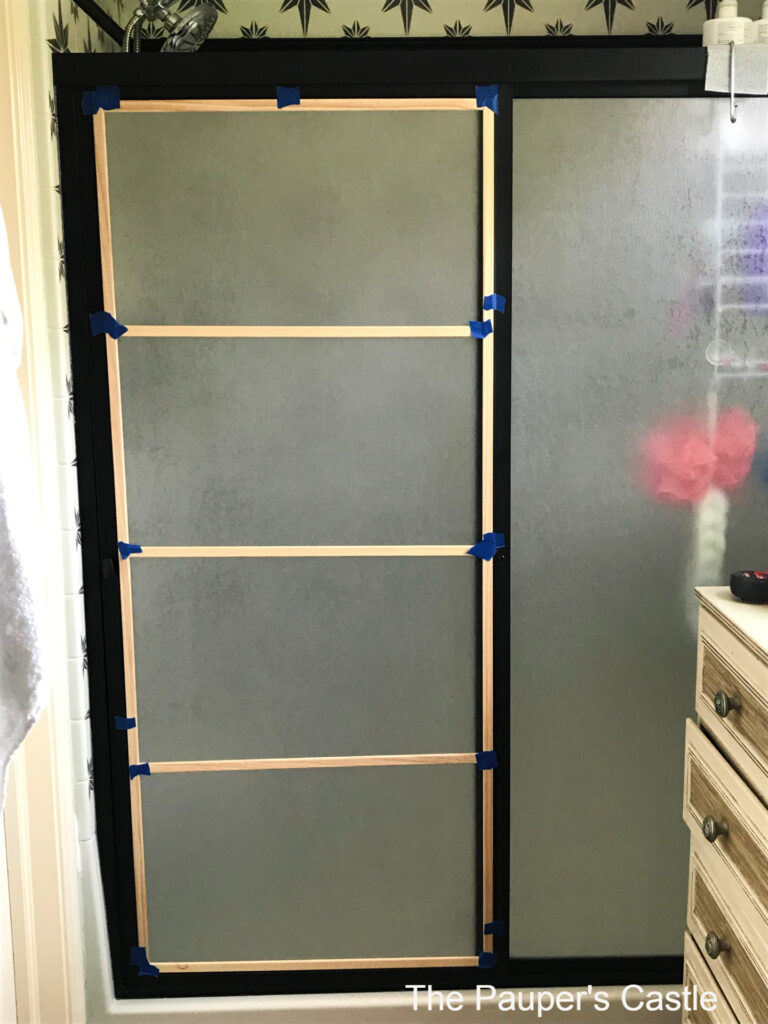
This is the point the doors really started to transform. We cut 1/4″ x 3/4″ Pine Screen Stock Moulding and began dry fitting it to the doors. We ran two of the moulding strips from the top of the doors to the bottom. All cross bars fit between the two vertical pieces. The length you cut the moulding will be determined by your door.
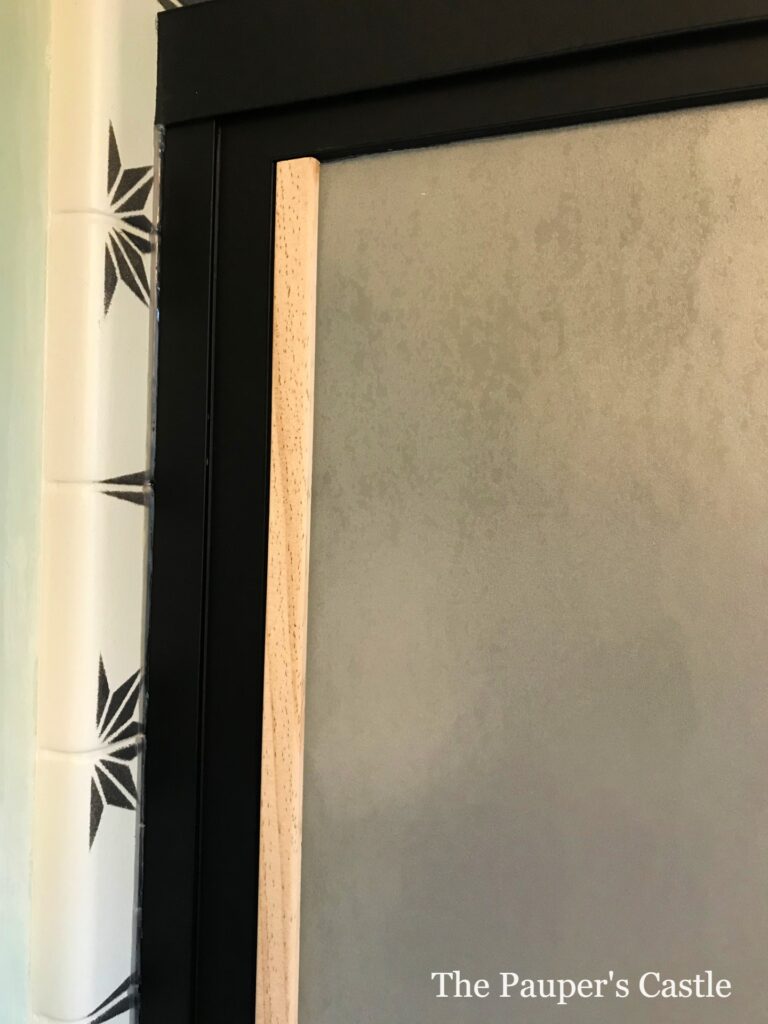
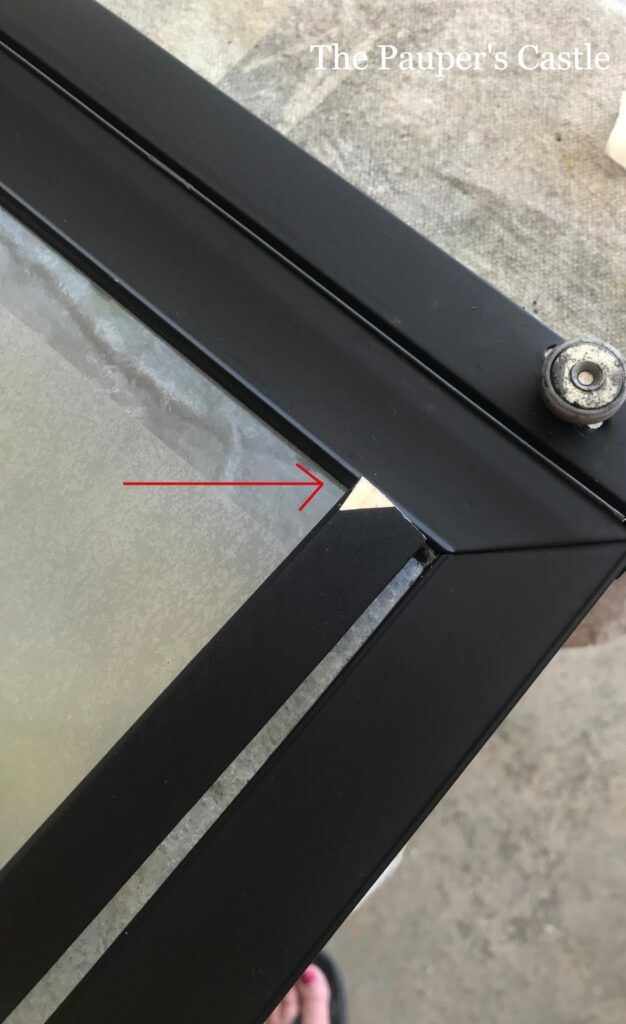
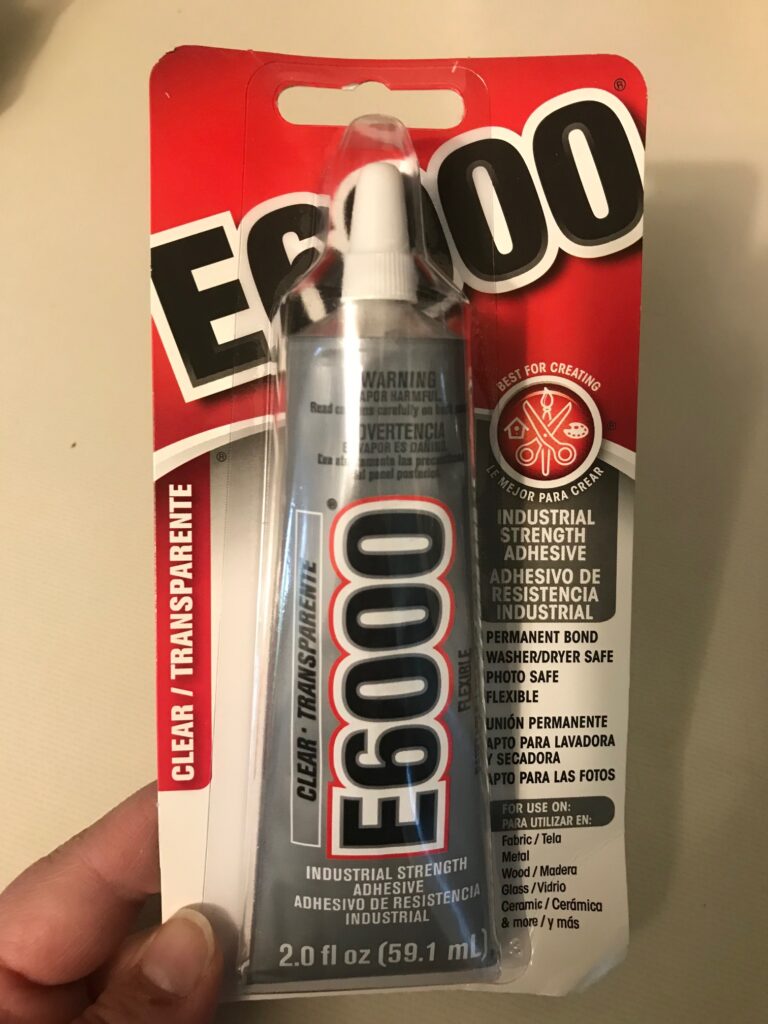
Once all the pieces were dry fit, I removed them so I could paint. Both the front AND the back were painted with primer and then black paint. We took the showers doors off and laid them flat on a table in the garage to glue the pieces in place. On our doors, there is a rubber gasket that holds the glass in place. In the corners, this gasket is rounded, keeping the trim from fitting neatly in the corner. I remedied this by shaving a small corner edge with a box knife razor blade off the backside of the vertical moulding. After doing this, the vertical pieces fit snuggly in the corners. The outside frame pieces were glued first directly to the glass using E6000 Glue, my very favorite go-to glue. This stuff will glue anything. Just make sure you get clear as it does come in white and black.
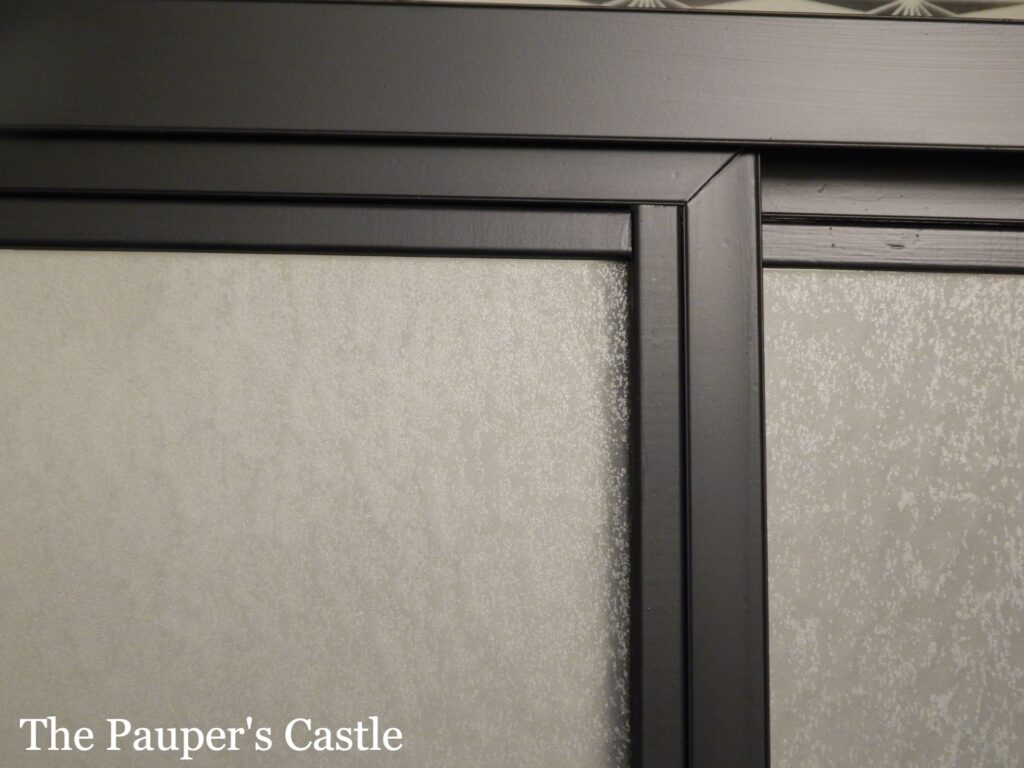
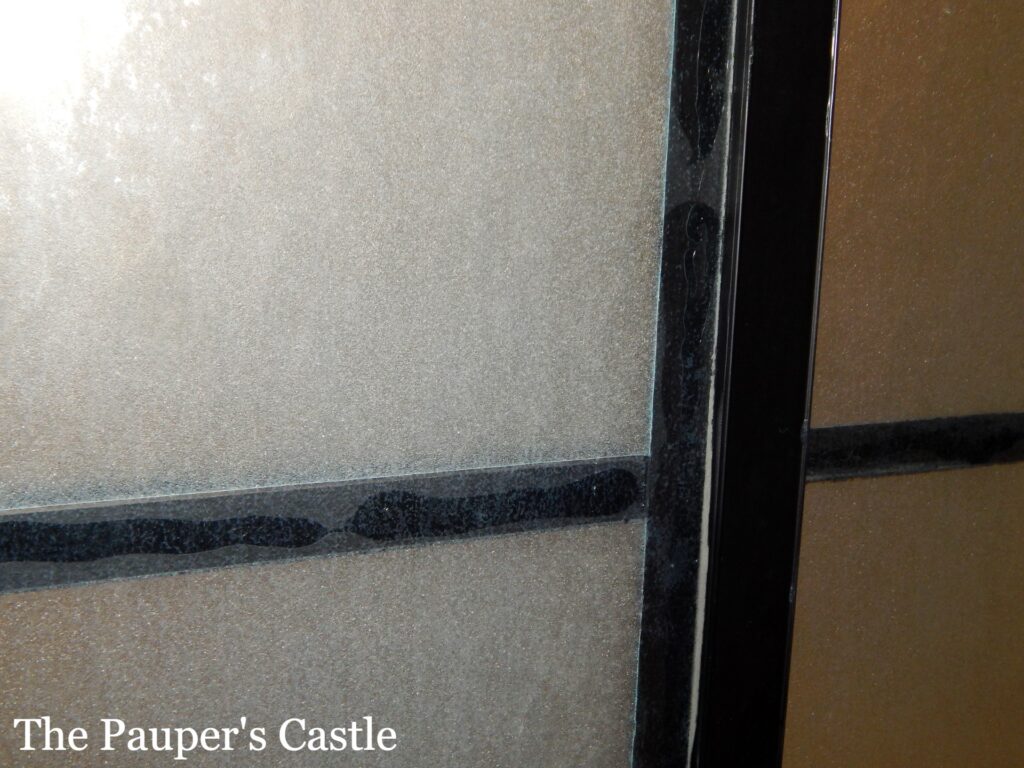
After the outside frame glue was dry, we carefully measured and glued the inside horizontal pieces in place. Measuring and spacing precisely are very important. If these aren’t almost exactly right, they won’t line up when the doors are rehung. You must also make sure these horizontal pieces are level. Go slow, measure several times, and it will be fine. I promise. The pieces were held in place with masking tape while the glue dried. We let these dry overnight.
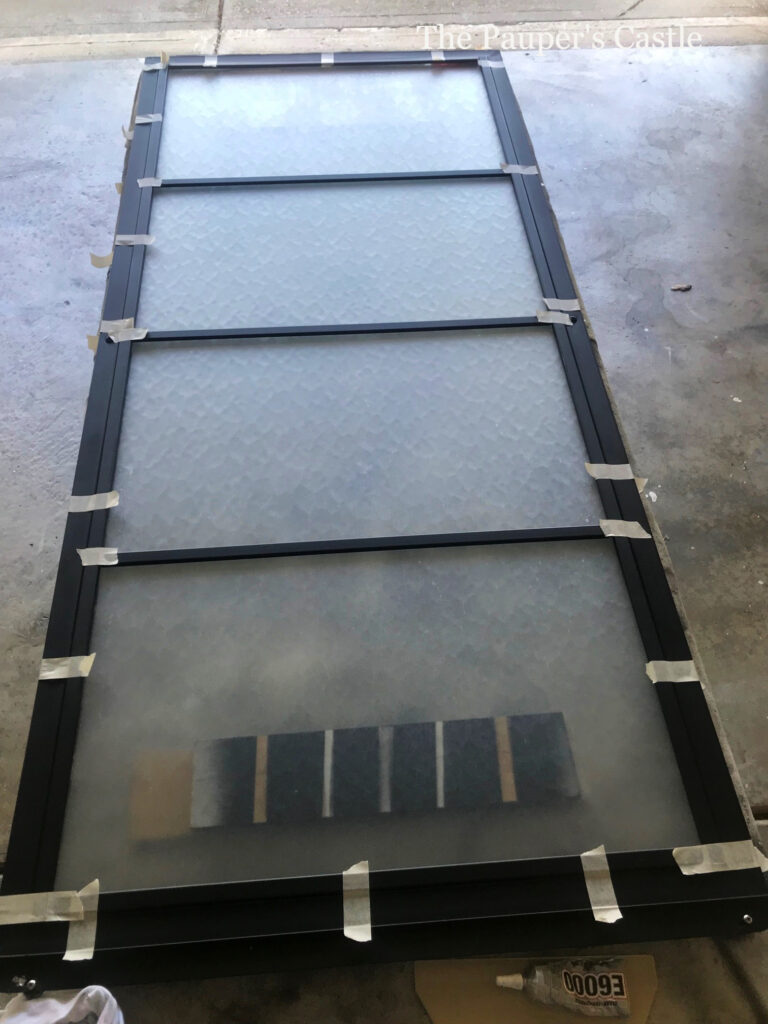
Once everything was glued and dry, then I top coated the doors, and the frame with PPG Breakthrough Clear in satin gloss and let dry 24 hours. This is the same clear coat I used on the shower walls. While I have not had issues with my doorknobs, they are not soaked in water two times a day, either. I wanted to be extra sure all that work I just did will last. All that was left was to hang the doors.
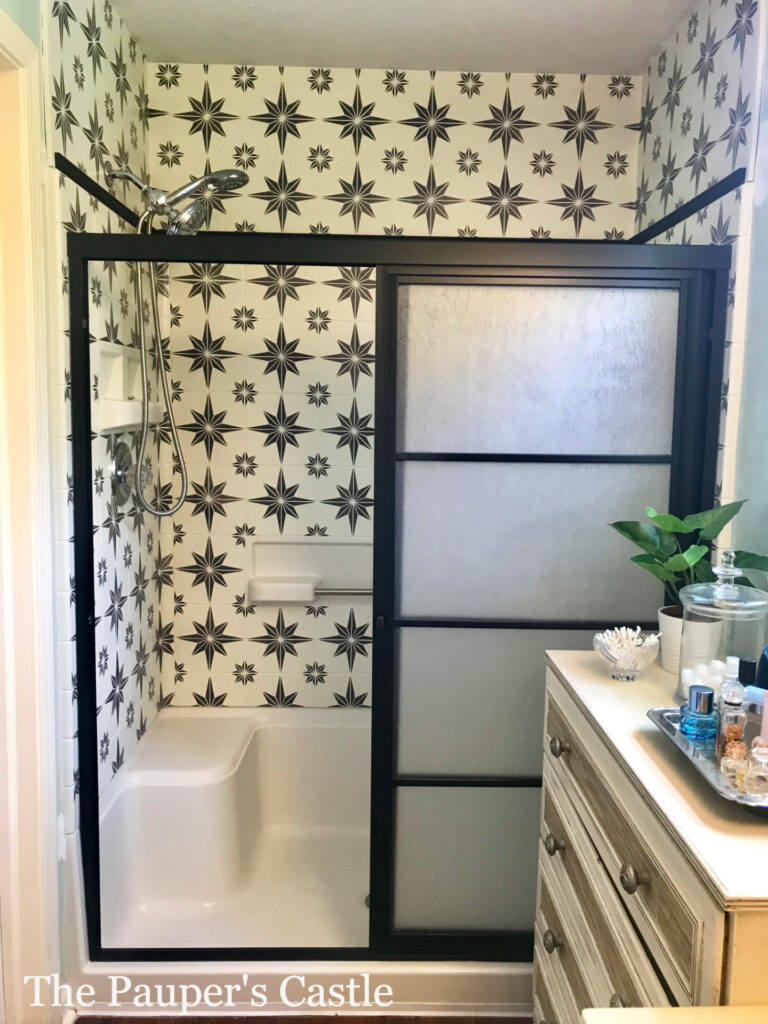

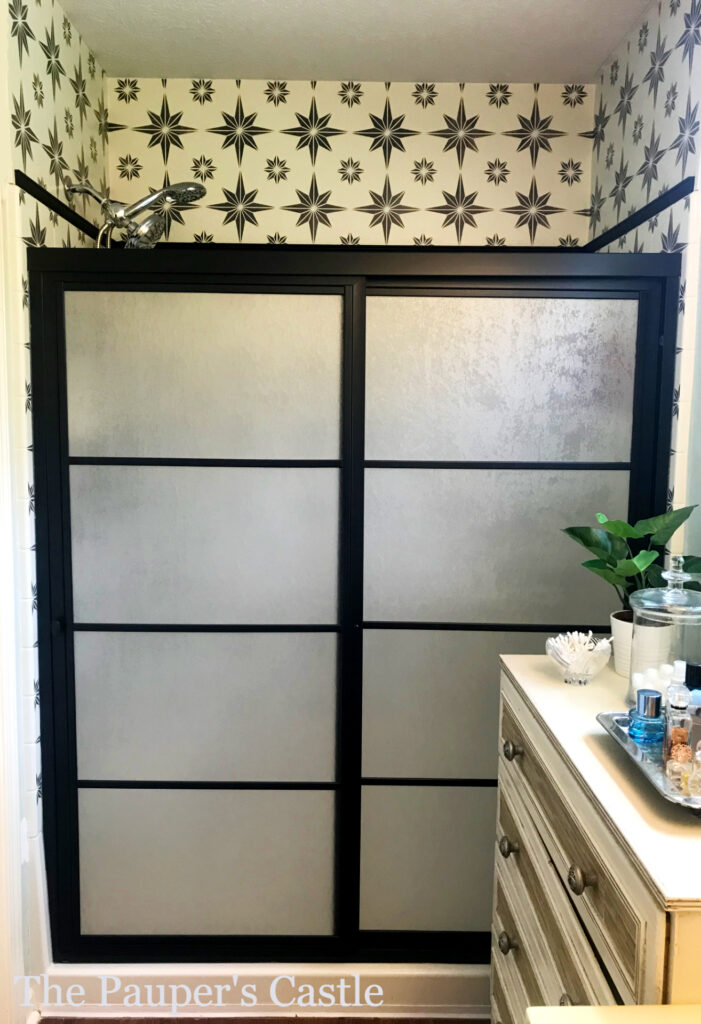
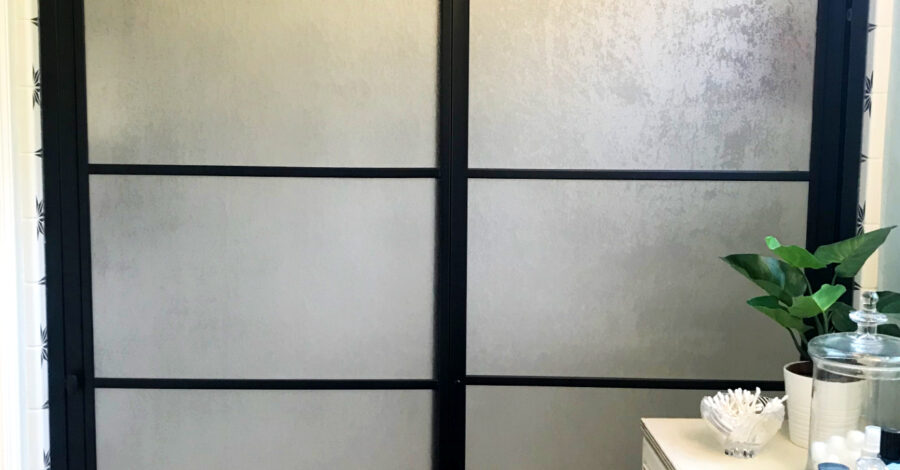
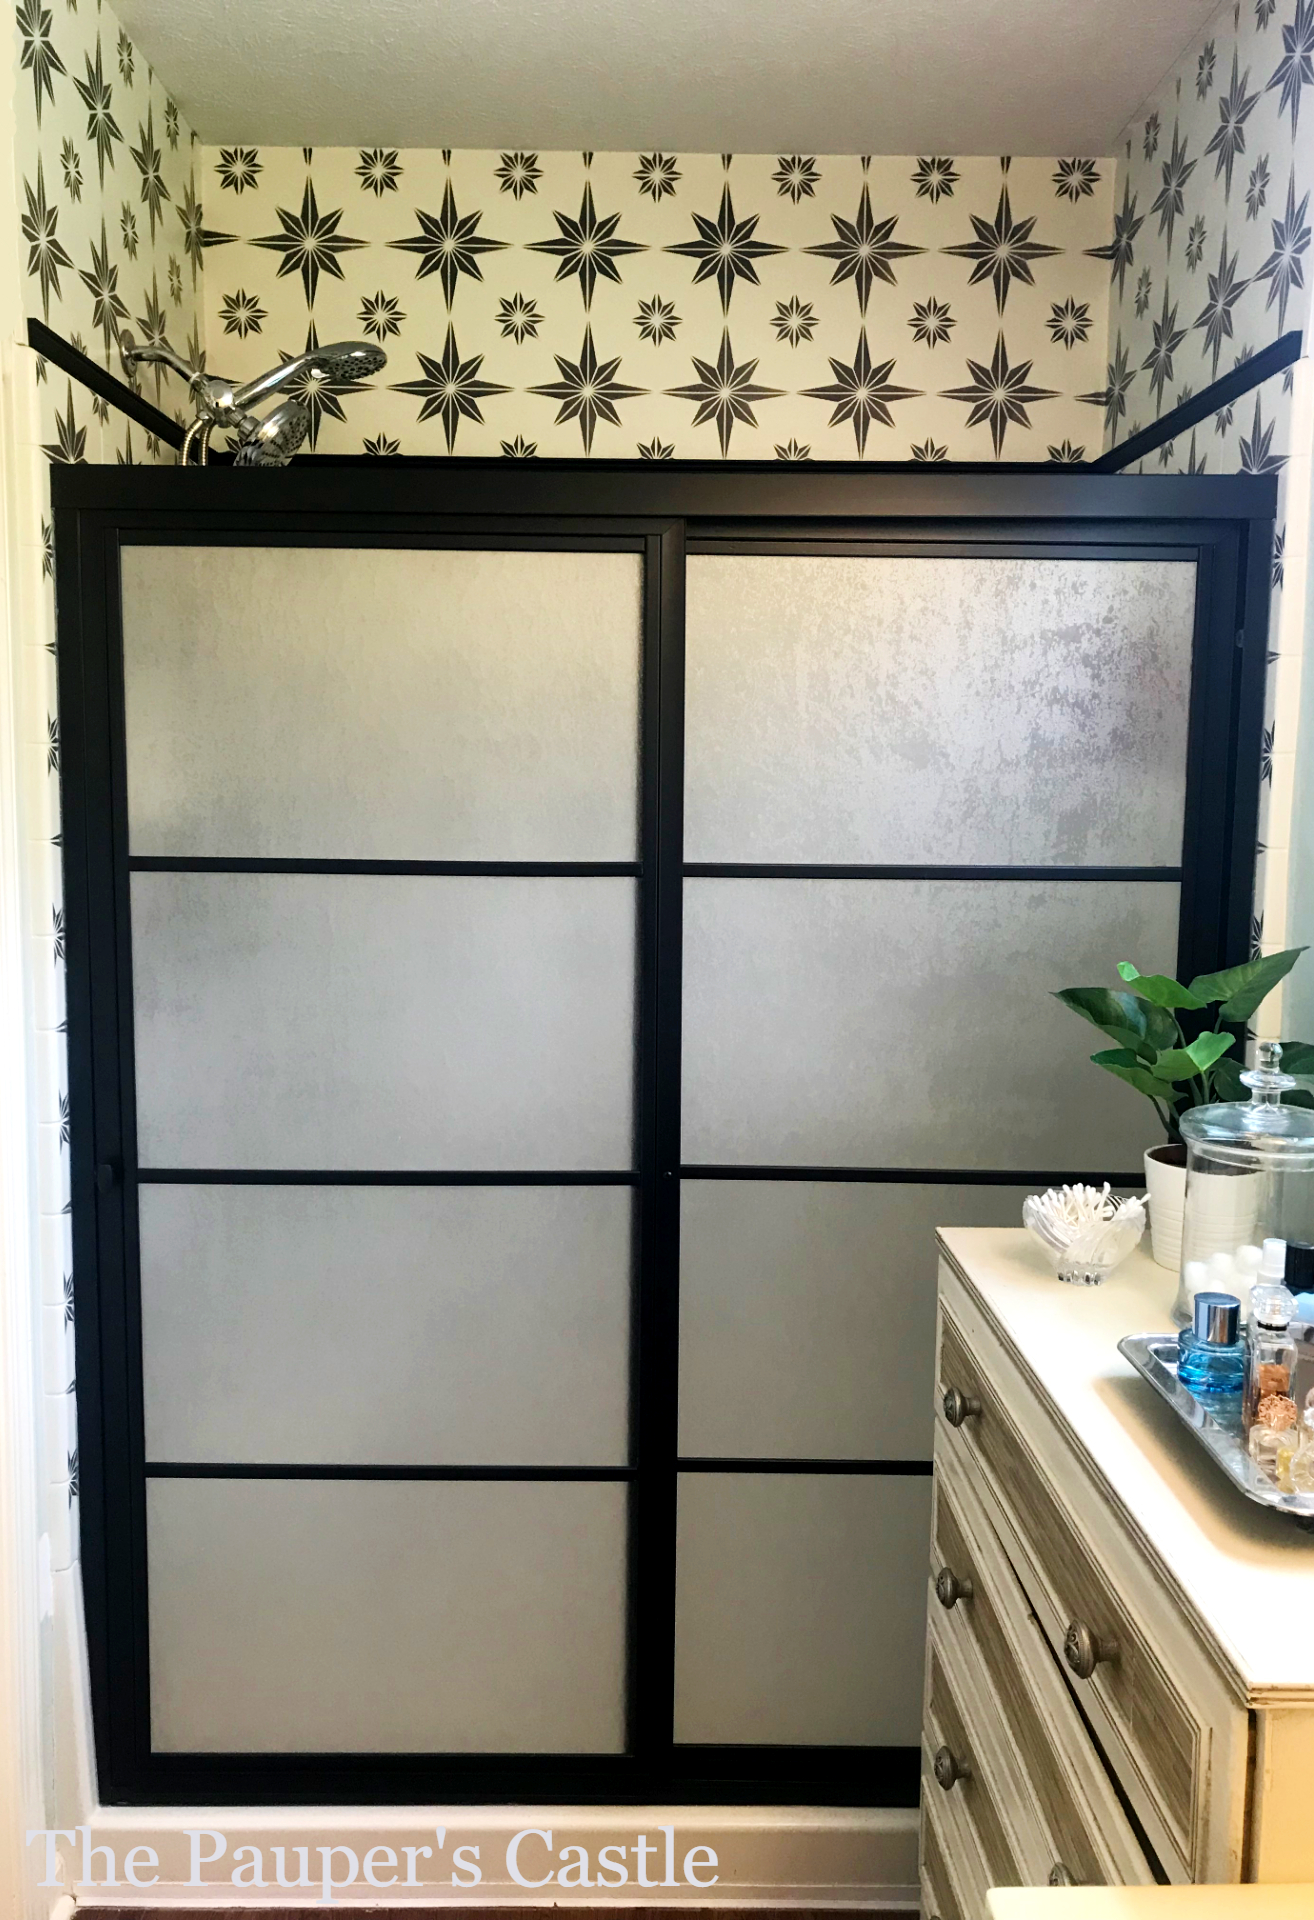
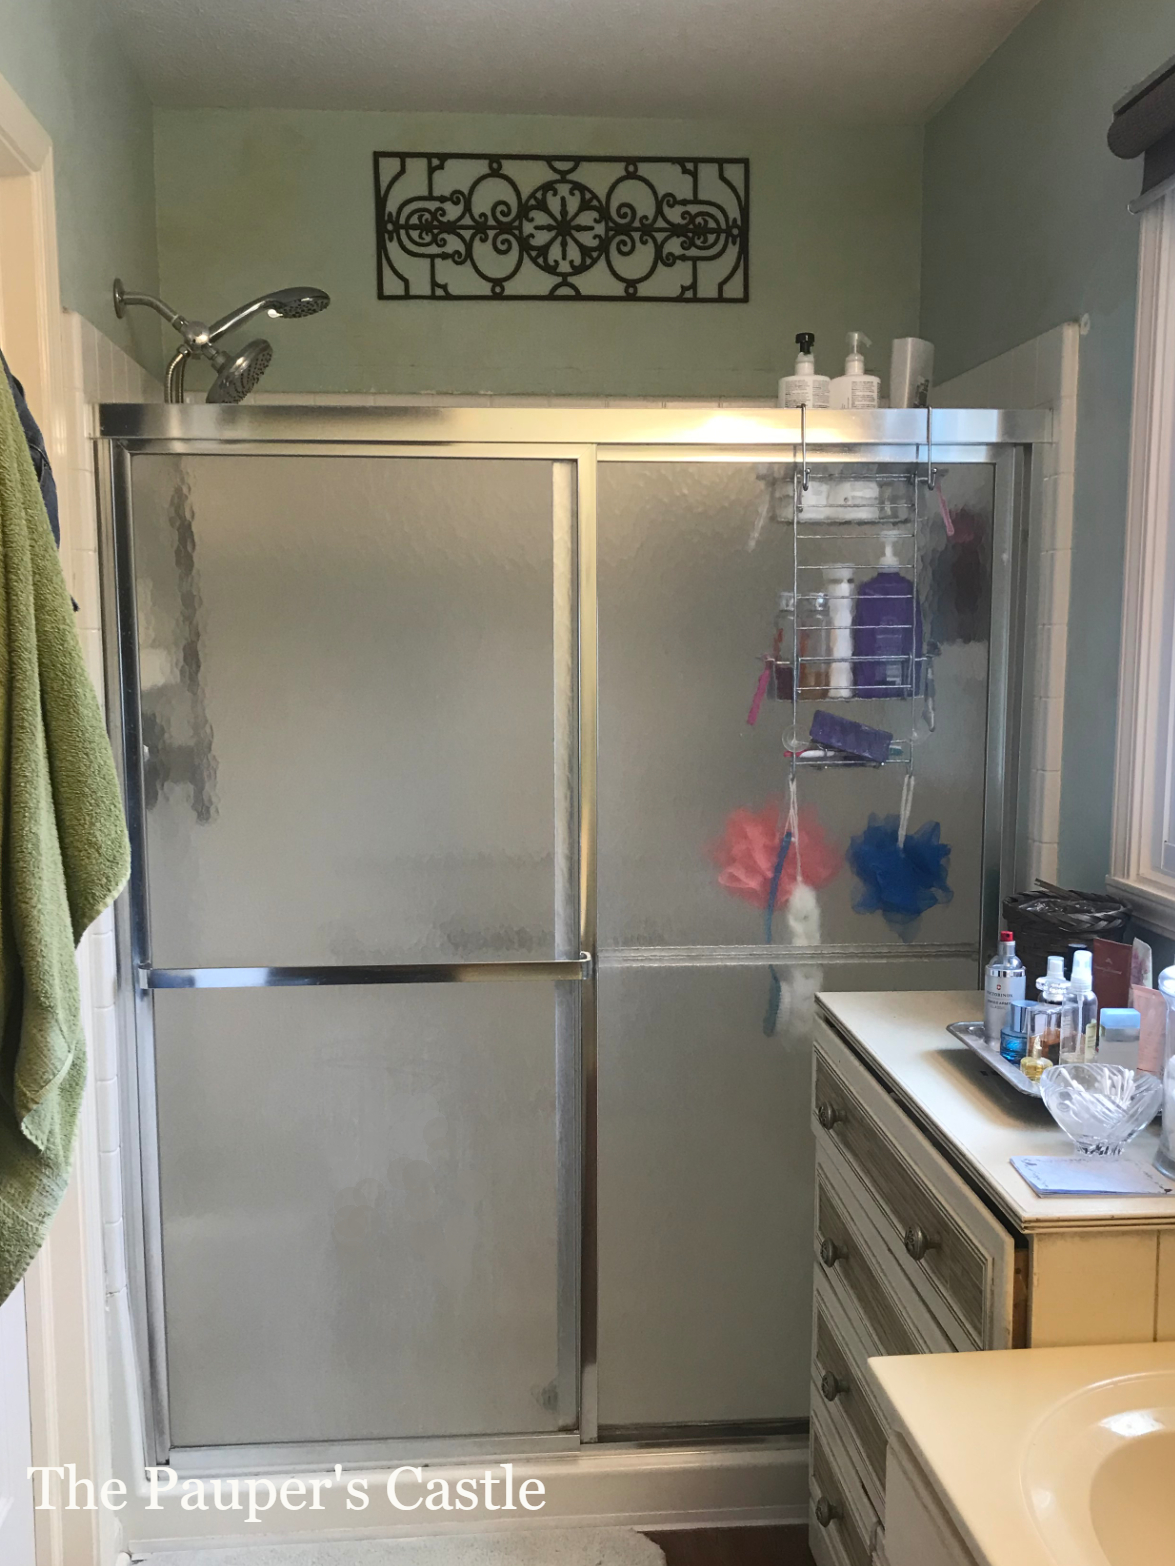
This entire shower make-over cost just under $300 (this includes painting the surround). I could not be happier with the way this came out. It took me three solid weekends to complete. While this was a lengthy project, I think the time invested and the cost savings was totally worth it. I can’t wait to finish the rest of this bathroom.
Is this something you would consider doing?
Caio for now!


2 COMMENTS
LuAnne Wells
5 years agoLooks great…I am embarking on this journey soon!! Starting with stencil on the floor & moving onto the shower surround! I have to ask, did you put something on the actual doors themselves? They went from clear to opague, & I didn’t see mention of it in your directions. tia
Kellie Beadle
5 years ago AUTHORTia,
Thanks for your kind comment. I wish you much success on your journey. It was fun to see how paint could completely change the feel of a space. I have floors in my entryway I want to do but haven’t started that until I finish this bathroom. Good catch! I did add a privacy film to the shower doors. I know so many people have clear glass shower doors or no doors at all. While I love the look, I personally feel like I’m on display for the world. So I find it very uncomfortable. I hated the look of our showers doors before painting them, but the biggest reason we had a shower curtain over the doors was for privacy. I have used privacy film in several other areas of my house (our front door sidelights and the lower part of our bathroom window) and loved it. It was self-adhesive and not cling privacy film. I bought all of the film from JoAnn’s. I purchased the film for the shower doors online during the initial shutdowns for COVID and did curbside pick-up. I will confess I did not read the description because I assumed it would be self-adhesive too since it was the same brand that I had purchased for my other two projects. I had cut the product to fit and was ready to apply it before I realized it was not self-adhesive. While it seems to be sticking fine to the doors and doing what it is supposed to do the application is not as consistent as the self-adhesive. The self-adhesive is a uniform application and the coloring/texture is consistent. The self-cling of this is not. It looks great in the photos but in person, in certain directions and views, you can tell it’s not sticking to the glass in all areas, lots of little bubble pockets. This is why I did not mention it in the post. I plan to purchase a self-adhesive and replace it at some point but just haven’t made it a priority. It’s doing what I wanted and adding privacy. Shopping has been more complicated this year so eventually, I will get to this. Hope this helps answer your questions. Best of luck with your project!