
So you have a box some where of Grandma’s old doilies. You think they are pretty, but they just don’t work with your current decor…they are just too….well….Grandma!
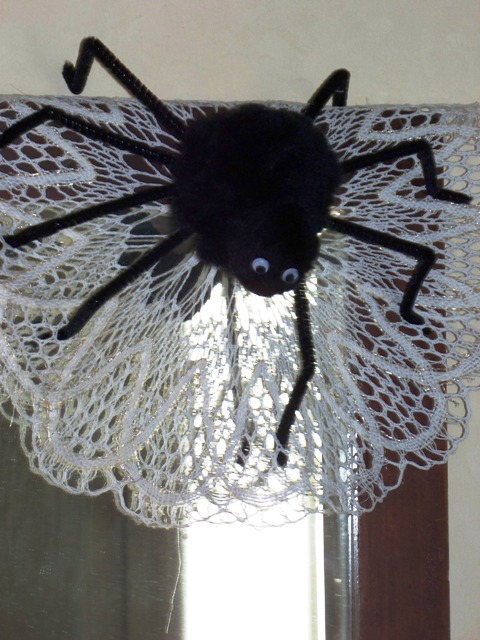 |
| Fred on his doily web |
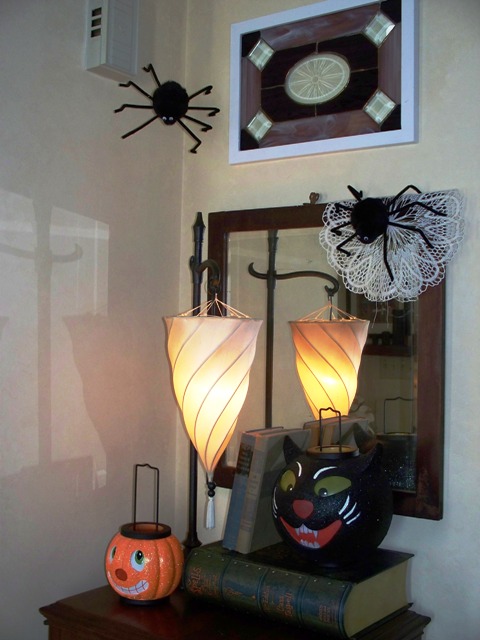 |
| This is our front entry! Fred on his web and Herman hanging near by. The cat and the pumpkin are luminaries from Illuminations. I miss that store, they had the best seasonal decor. |
Last weekend my husband dragged out all of our Halloween decor from the attic so we could start decorating. (PS…I still need to finish this project, what you see in the pictures, that’s what is complete) Now that my daughter is two and a half, I thought we needed to have a craft project. Something she could help “make” for our Halloween decorations. So we (I) decided on spiders. You know the simple ones you used to make in school with pom poms, pipe cleaners and wiggle eyes. She WAS thrilled!!!
 |
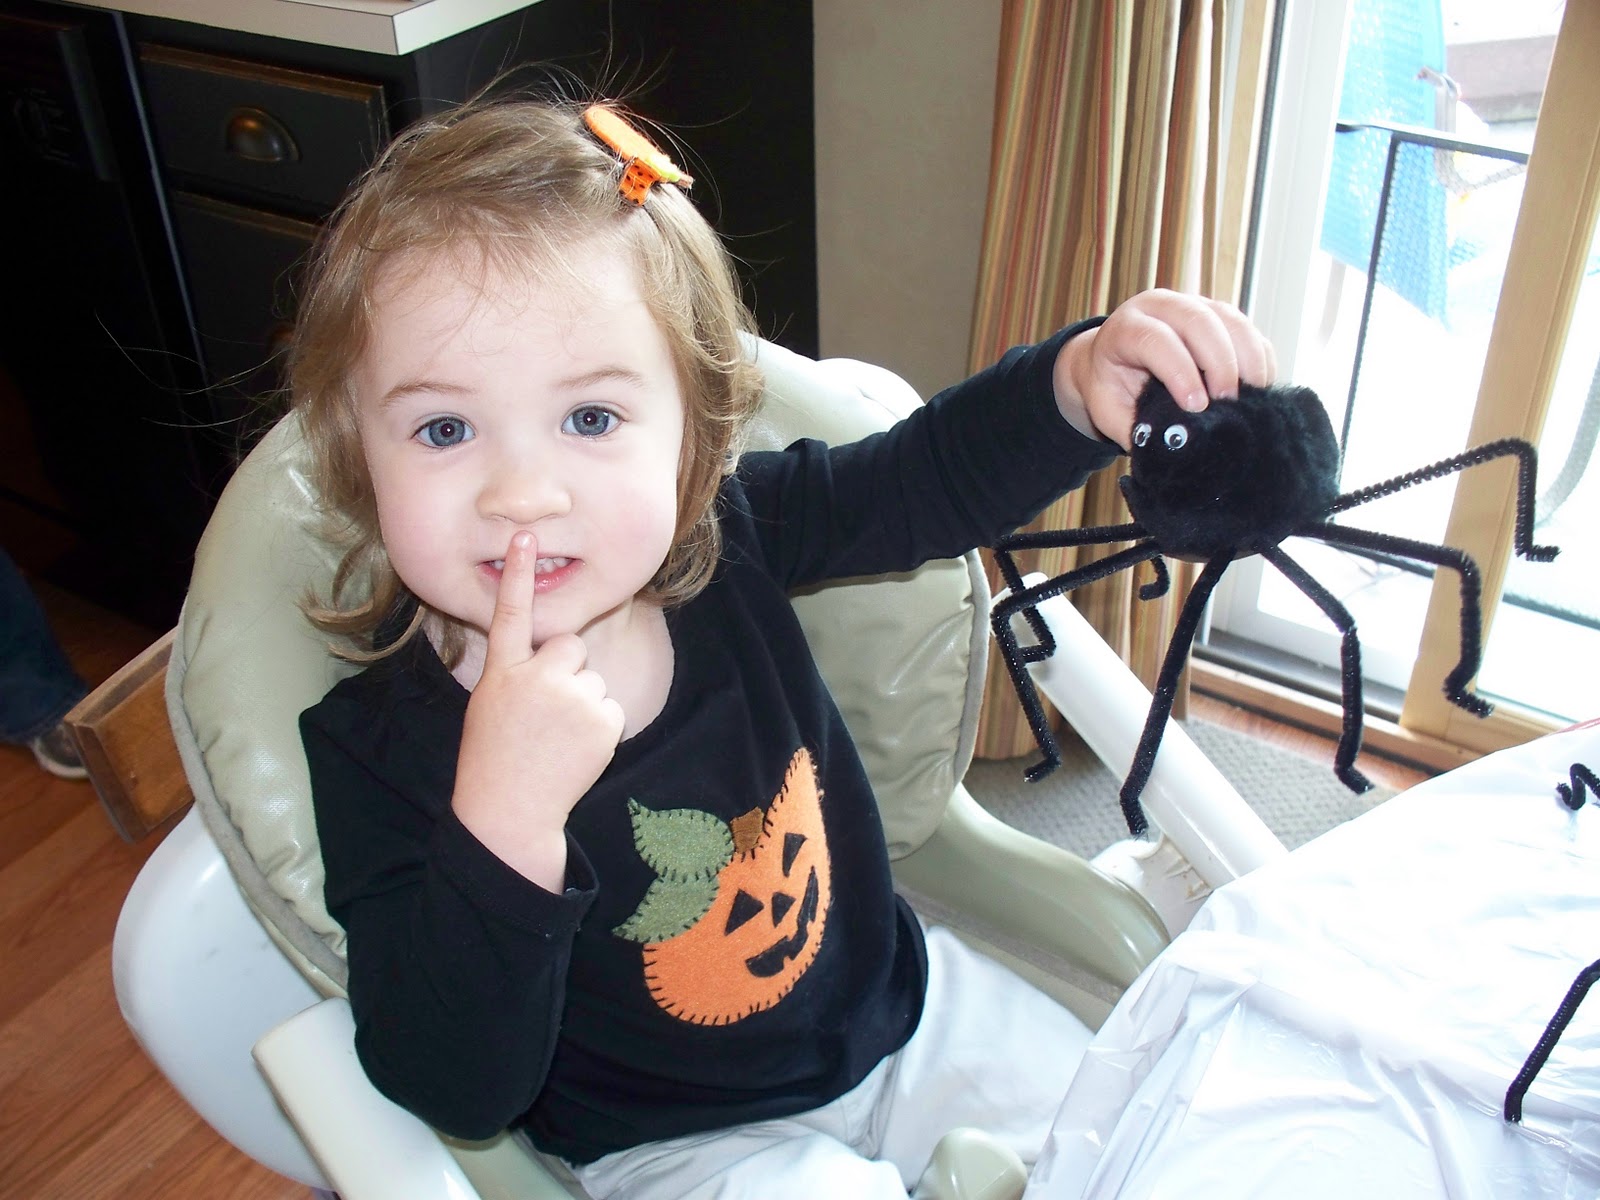
| Don’t you just love my shirt….it says “Candy Bandit” |

So we made 6 of these. She kept 2 and we used 4 to decorate the front entry and the fireplace. This was only after a few tears were shed because I was taking her “spider friends”. In the end she liked the idea and was OK with only having 2. Those two now look like they have been “stomped” on with 2 year old love!
 |
|
| So I haven’t named these spiders, but this is our mantel in the family room |
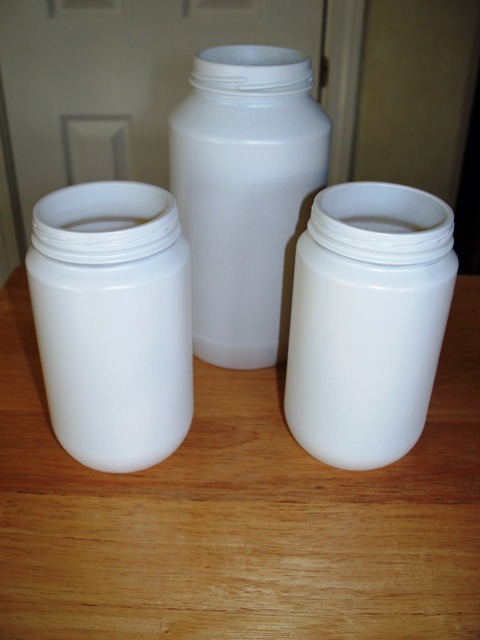
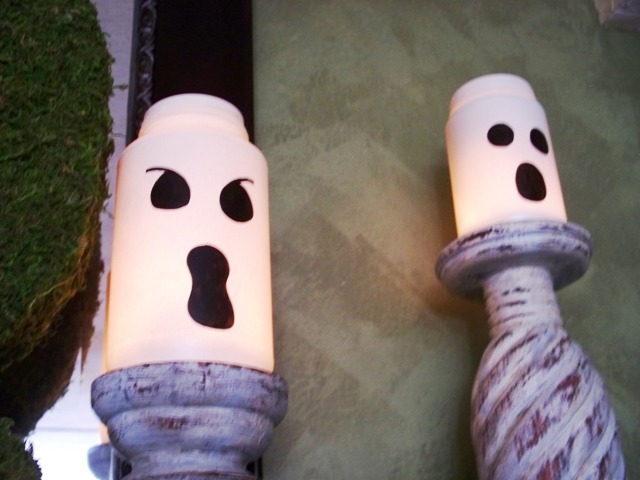
The ghost are the “yesterday’s trash”. These are made from old glass jars. I can’t take credit for this I saw these on Crafts by Amanda and thought they were WAY cute. I did change it up a bit. She used acrylic pant….I spray painted. Much faster! and I like the coverage better.
So here is what I did:

1. Choose your glass jars. I used an old apple sauce jar and 2 gravy jars. Obvious, but just in case, you need to remove the label. You might have to use some goo gone to get all the glue off. Then I cleaned mine with Shaklee’s Basic H Degreaser to remove any of the remaining goo gone. The paint won’t stick if you don’t.
2. Then I sprayed them with Rustoleum 2X coverage. Let dry.
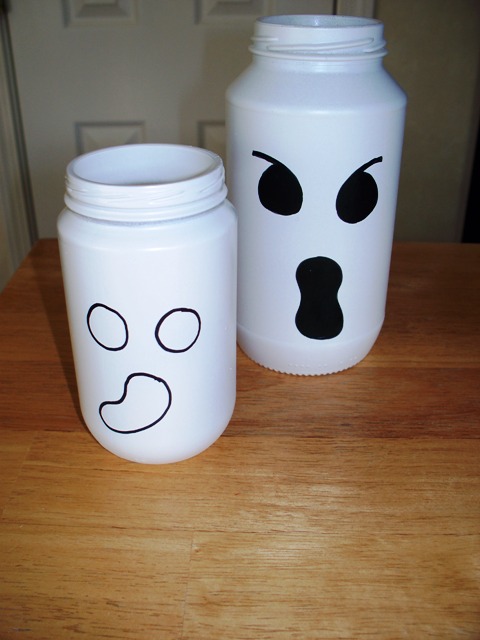
3. Then I used a sharpie marker and drew on my face. I free handed it.
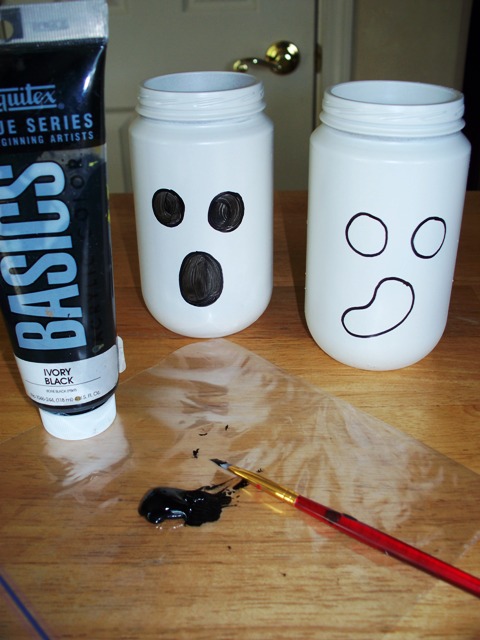
4. Then I painted in my face with basic acrylic paint. 2 coats is what it took to get the opaque look.


Fun and Fast! Oh…did I mention FREE! I had all supplies on hand with the exception of the supplies to make the spiders. This I purchased at Hobby Lobby for less than $5.00. Happy creating and Happy (early) Halloween!
Sharing at:
 |
| http://mommahenscoop.blogspot.com/ |
 |
| http://www.myuncommonsliceofsuburbia.com |
 |
| http://debbie-debbiedoos.blogspot.com/2011/10/fall-porch-decorating-part-ii-newbie.html |
 |
| http://www.craftskeepmesane.blogspot.com/ |
 |
| http://houseinroses.blogspot.com/ |

0 COMMENTS
Rosemary@villabarnes
13 years agoI love the doilies as spider webs. I never would have thought of that. You should link this up to a few blog parties.
Debbiedoo's blogging and blabbing
13 years agoThis is a fabulous idea! So cute and crafty. Thanks for sharing with the newbie party, I am still going through all the fun links! See you again soon.
MommaHen
13 years agoWhat cute crafts! I want to make the jars to line my sidewalk outside. What a great idea! Thank you so much for linking up- Hope to see you back next week.
Geneva
13 years agoVery tastefully done, and I loved the way your little girl helped you! Just made a memory there! I loved reading this post and enjoyed all of your pictures! TY for sharing!!!
Debbiedoo's blogging and blabbing
13 years agoEEEK! But oh so cute. Love the craft jars too. Thanks for sharing.
The Paupers Castle
13 years agoThank you to all for you kind comments!