

Happy Monday to all of you. Hopefully you have adjusted to the time change and not too sleepy for the start of the week. I heard on the news this morning that it takes the average person 3 days to adjust to the new time schedule. So if you aren’t feeling like yourself today, you should be back on your toes by tomorrow.
Last Thursday I posted how to make simple budget friendly curtains using table cloths. I also promised in that post I would share how to put it all together. I promised by Friday. I fell short of the that promise. I’m not really sure I had a ton of people sitting on the edge of their seat waiting for that post, but if I did, I sincerely apologize! Somehow I seem to think there are 48 hours in one day and not just 24. If you follow me on facebook then you know we celebrated my daughters 6th birthday with eight little Elsa’s.
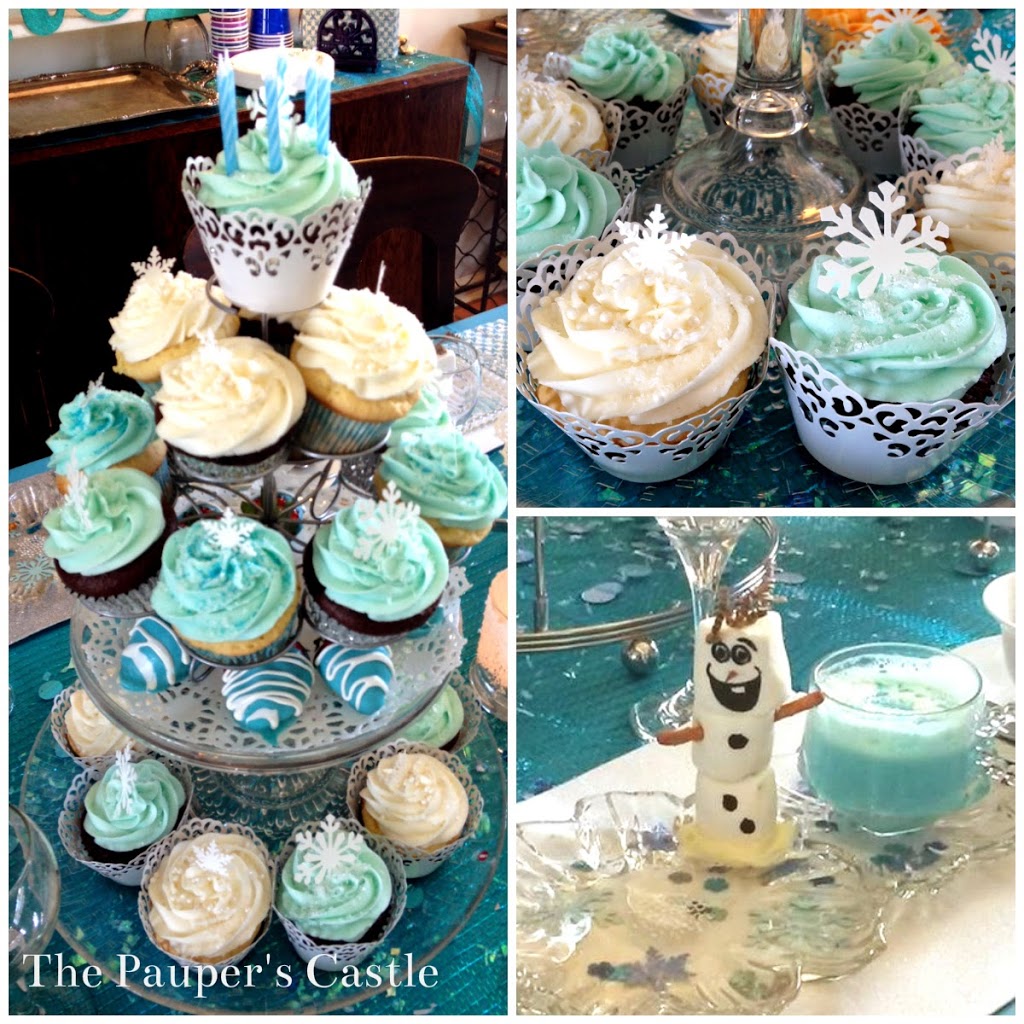
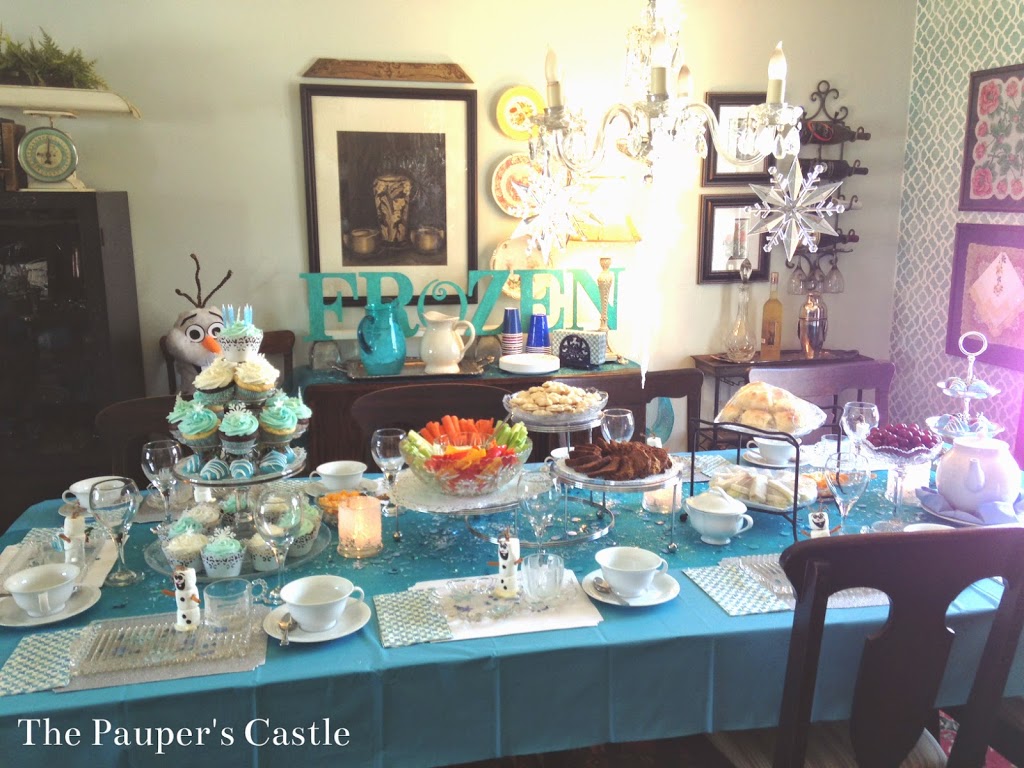
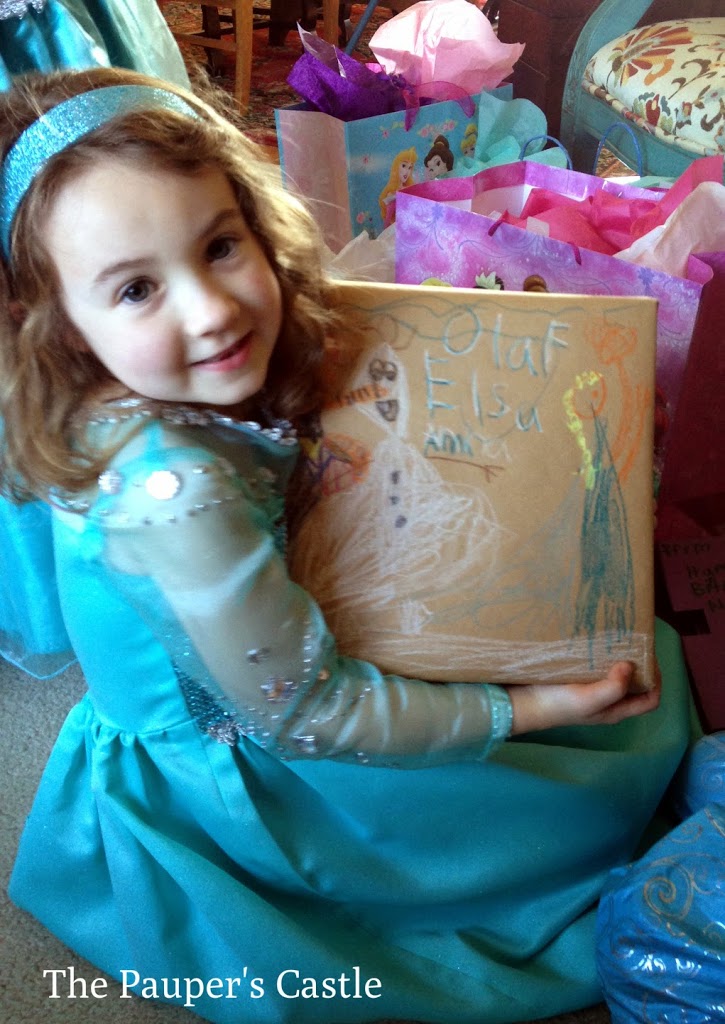
Needless to say, Thursday and Friday were devoted to her and prepping for our Frozen Themed Tea Party. I simply ran out of time. So here I am on Monday, posting what I should have posted on Friday.
If you remember in my post on Thursday I said we would be doing some SIMPLE sewing. This is not rocket science I promise. It’s a few simple straight lines which I know you can handle.
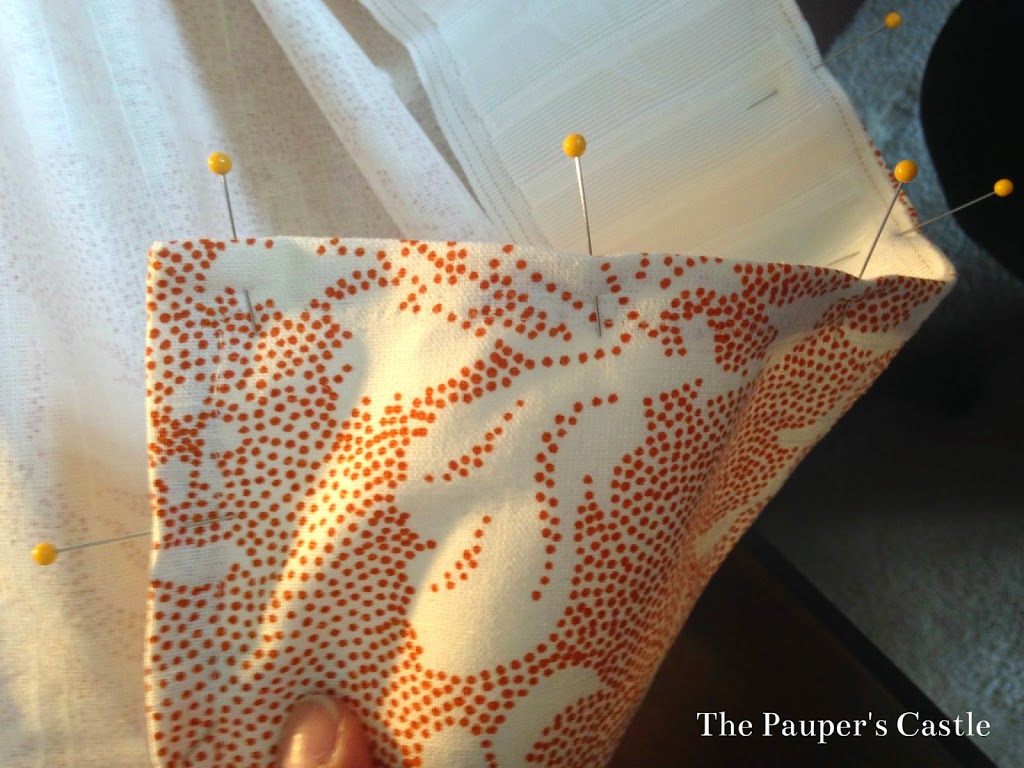
- We will start by pinning the pleater tape to one of the 60″ wide ends of the table cloth. If you have a pattern that has a one way direction (meaning it has a definite top and bottom) make sure you pin your pleater tape to the correct end of the table cloth. My pattern did not matter, It was random – no definite top or bottom. Be sure the opening for the hooks on the pleater tape is pointing to the bottom of the what will be curtain.
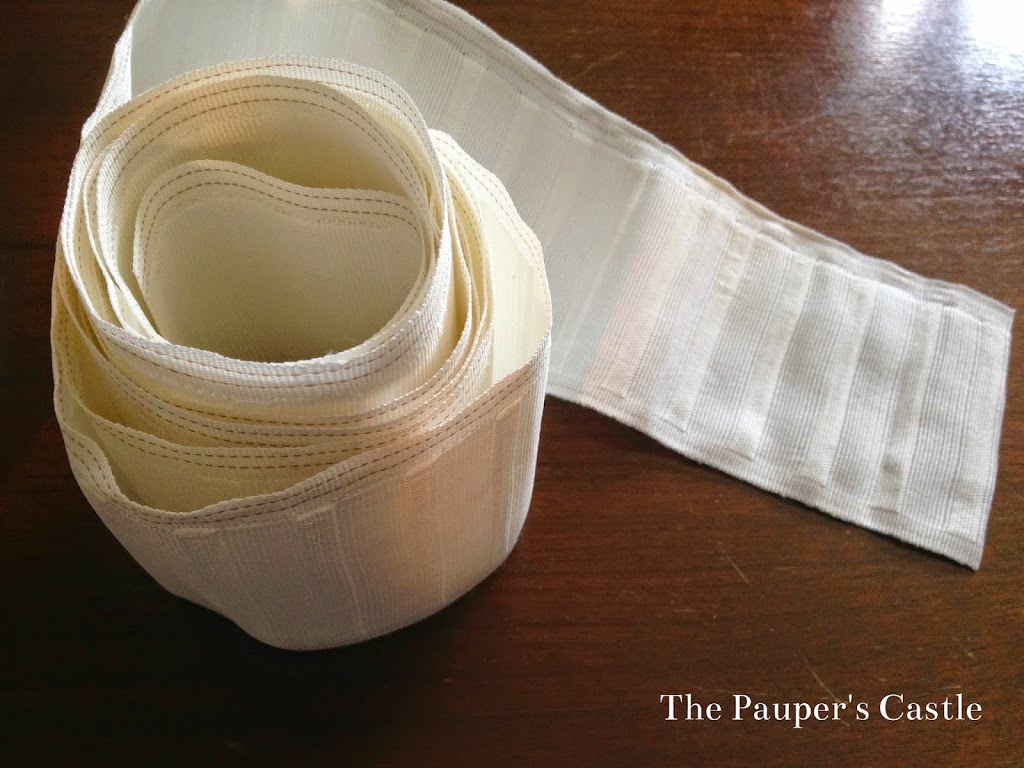 |
| Pleater tape |
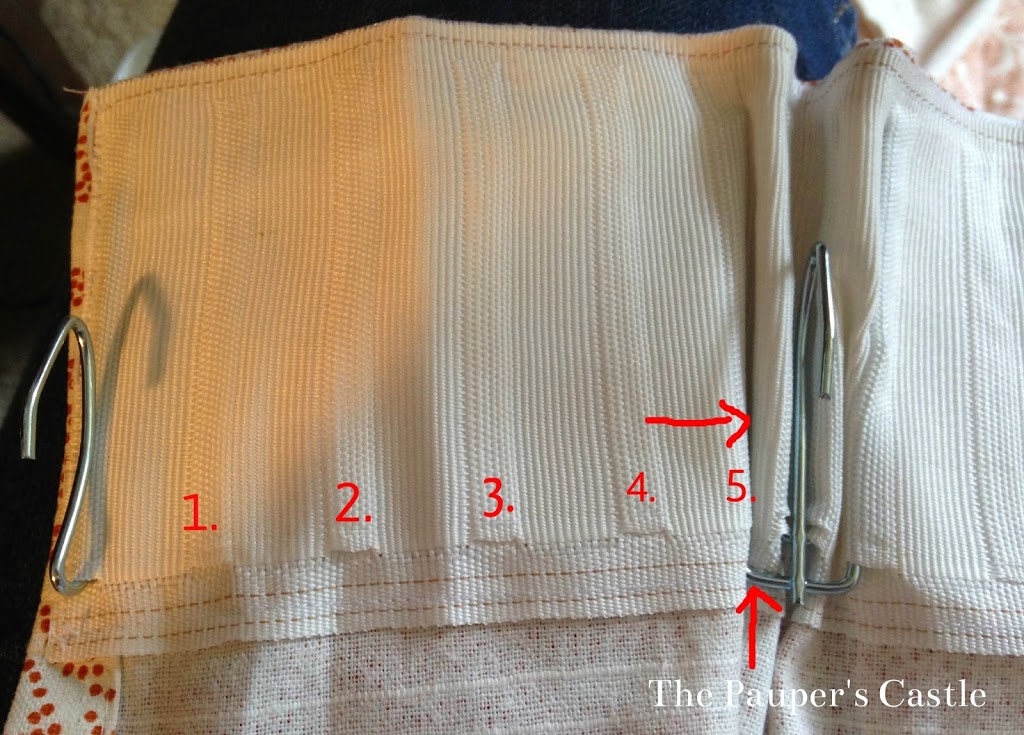
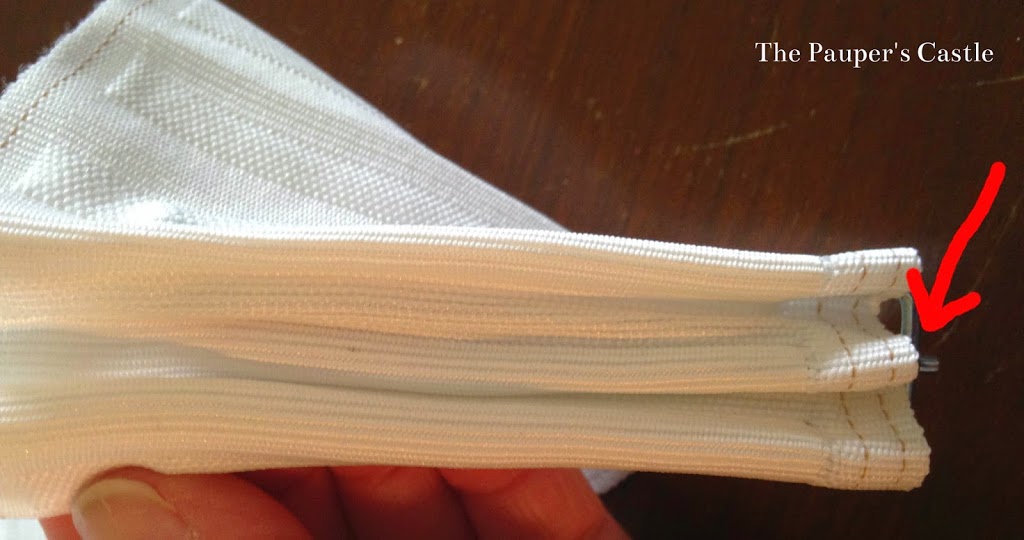
If your table clothes are 60″ x 84″ – cut 2 pieces 60″ long. I usually cut mine just a few inches longer and trim once I have started the pinning process. You don’t want it to be too short. Be sure to leave a hook pocket at each end. Trim close to the hook pocket, but not in the middle of one.
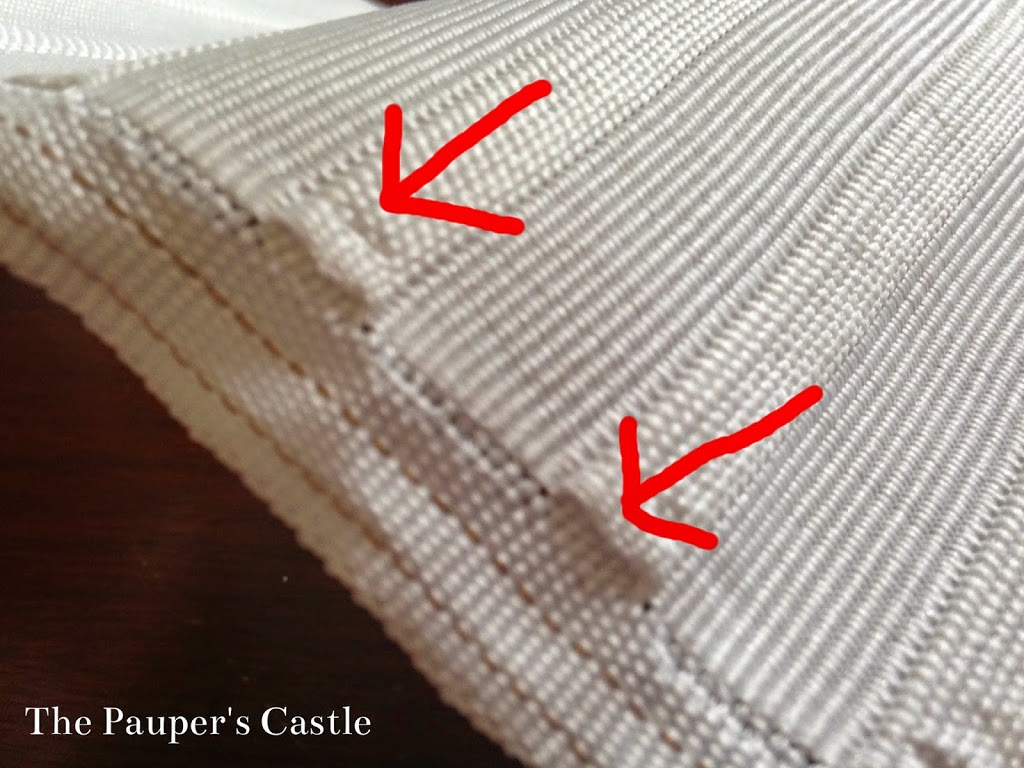
The arrows above show you were the pockets are. Be sure when you are pinning the tape to your table cloth the openings are pointing to the bottom of the panel and not to the top.
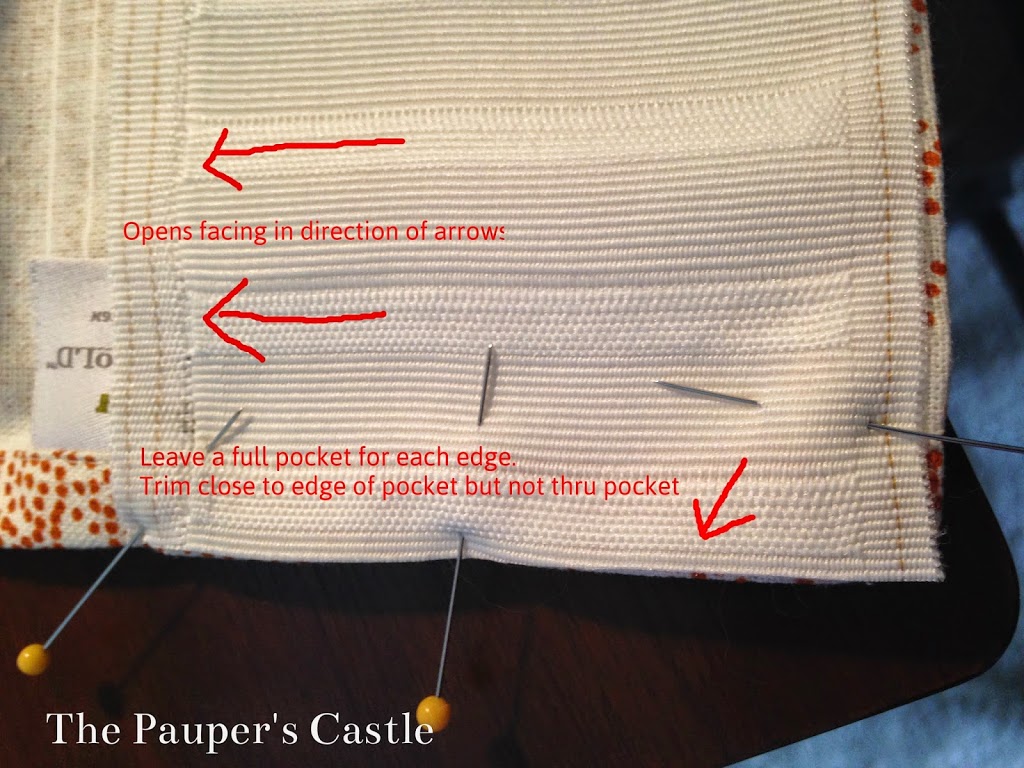
Pin your tape as close to the edge as you can, but make sure it’s not showing on the front side. Be sure to leave a hook pocket at the edge and the openings to the pocket are pointing to the bottom of the curtain.
 |
| Front view – no tape is showing at the edges (top or sides) |
2. After pinning the tape to the table cloth, stitch along the top edge, sides and bottom edge with a straight stitch. Be sure not to stitch closed your pockets for your hooks. To keep this from happening, use the orange broken line on the tape as your guide. It will also help keep you sewing in a straight line! See…I told you this was possible.
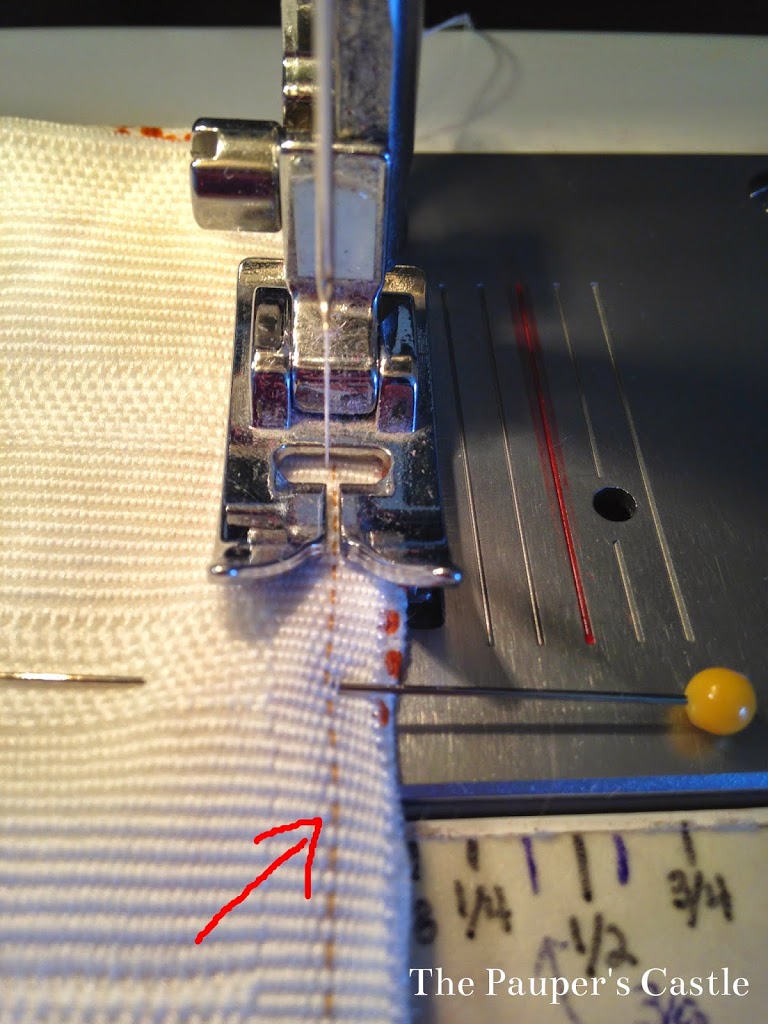 |
| The arrow is pointing at the orange broken line. Use this as your sewing guide. |
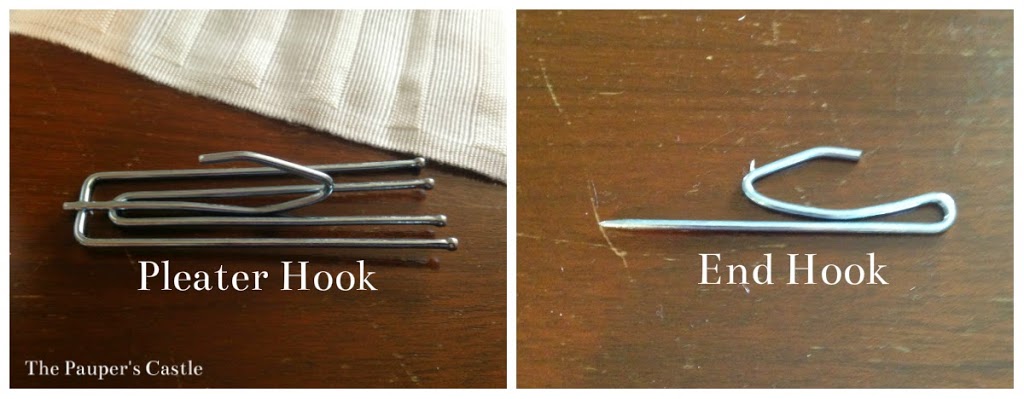
3. Next step is to insert your hooks. Remember, there are 2 types of hooks in the package. 4 end hooks and 10 pleater hooks. You will start and end with an end hook.
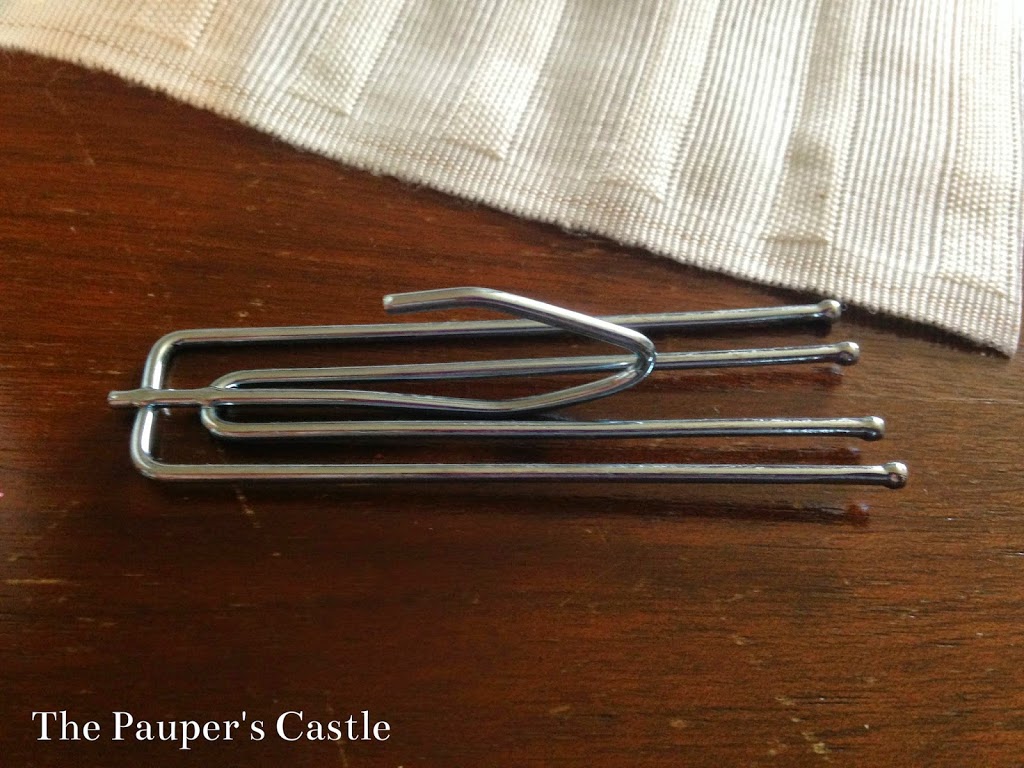
Starting at one end, I suggest the inside edge (meaning the edge that will come together with the other panel once they are hung and closed). Insert the “end” hook at the edge. Then count 5 openings and insert the first prong of the pleater hook. See photo above for spacing. (You can change the spacing if you want. This is the spacing I used for my curtains. I used 2 end hooks and 9 pleater hooks per panel using this spacing). I recommend reading my first post if you are confused.
 |
| pleater hook |
 |
| Inserting a pleater hook to the pleater tape |
 |
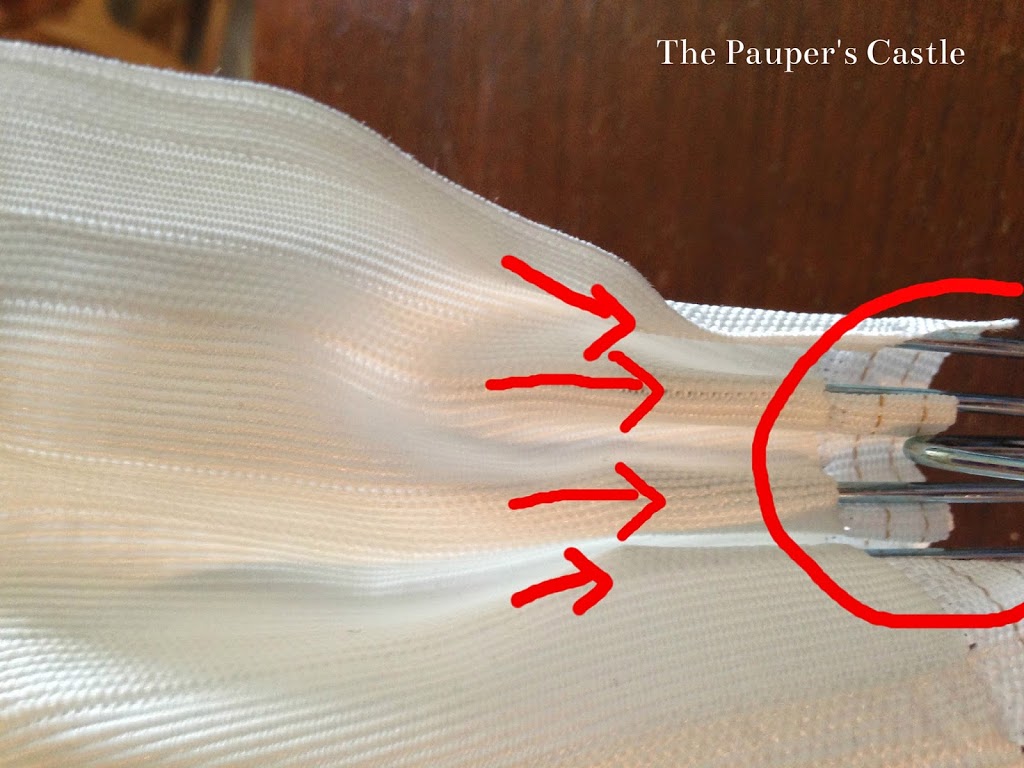
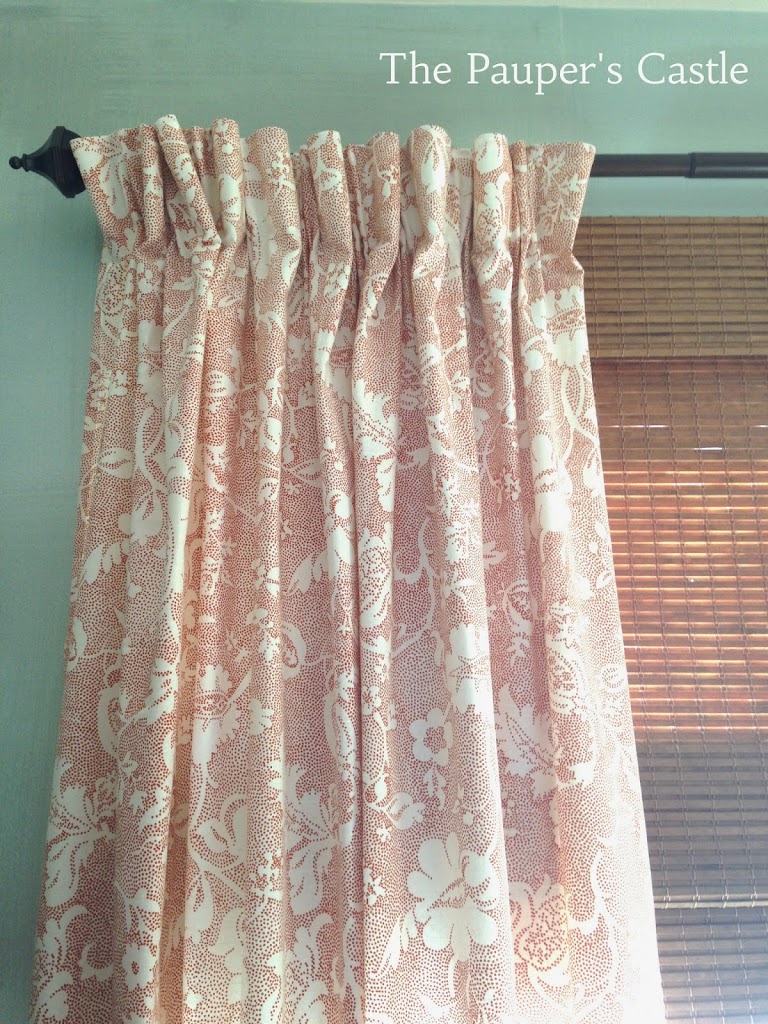
| how the tape looks from the front side after the pleater hook is inserted. |
Continue inserting all your hooks on both panels. Remember you will end your panel with an “end” hook. With using 2 – end hooks and 9 pleater hooks and a spacing of every 5, there will only be 4 spaces between your pleater hook and your end hook on the outside of the panel. This is why I suggest starting at the inside edge. The slightly off spacing will be less noticeable at the rod end vs. in the middle when they are closed.
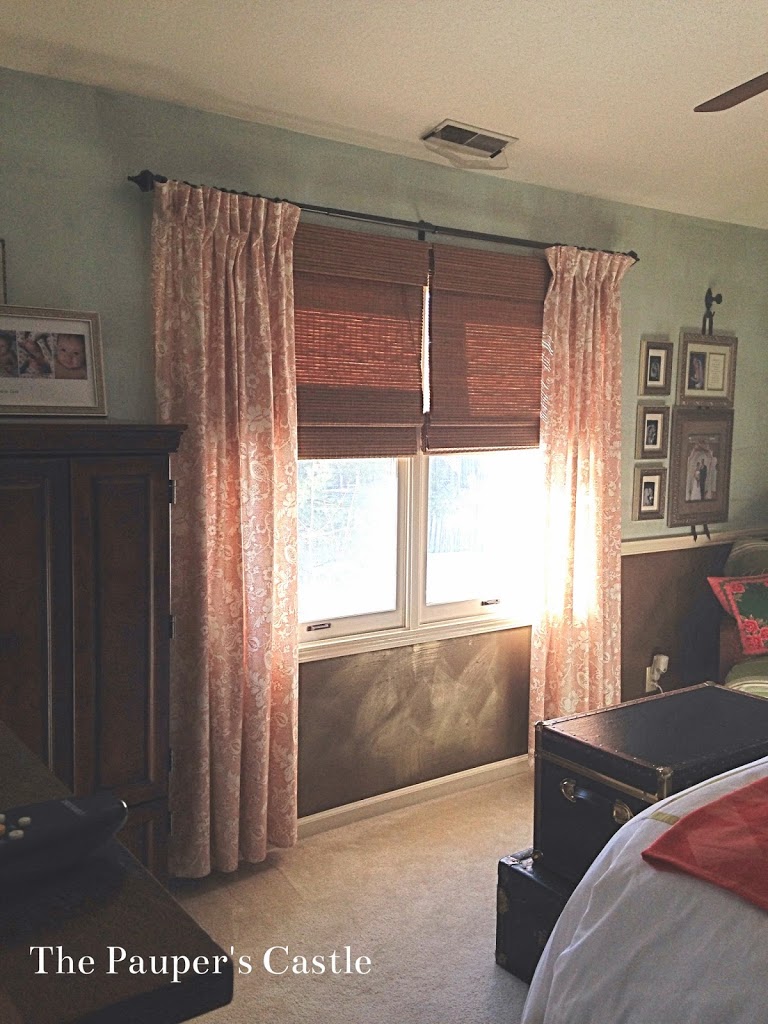
4. To hang your curtains, slide the Curtain rod clip rings – click HERE for sample onto your curtain rod. Then simply insert the hook thru the small circle hook on the clips. That’s it! Your curtains are finished.
It took me approximately 1 hour from start to finish for my curtains. And when I say 1 hour, I mean they were hung and ready to be admired in 1 hour! Quick, simple, budget friendly and professional looking!
These curtains cost me less than $20 total (see the pricing in my first post). Don’t you thinks it’s worth some savvy shopping, basic sewing skills and 1 hour of your time? Heck at this price you could have new curtains for all 4 seasons and still spend less than if you had custom drapes made or even premade curtains for that matter.
Have fun and enjoy!
If you decide to make your own pinch pleat table cloth curtains, please share on our Facebook Page. I would love to see them.
Ciao for now! and Happy Sewing
Kellie


Leave a Comment