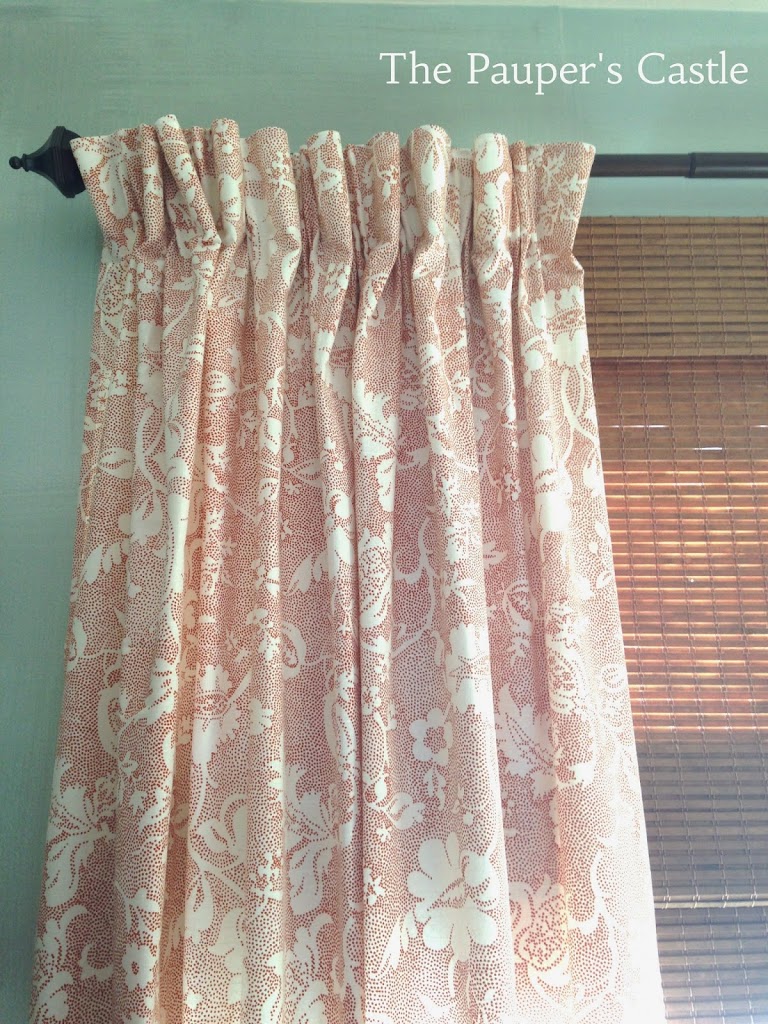
Want to look of custom curtains, but don’t have the budget for them? Today I am sharing a quick, simple and budget friendly project that will allow you to have custom looking curtains at a fraction of the cost.
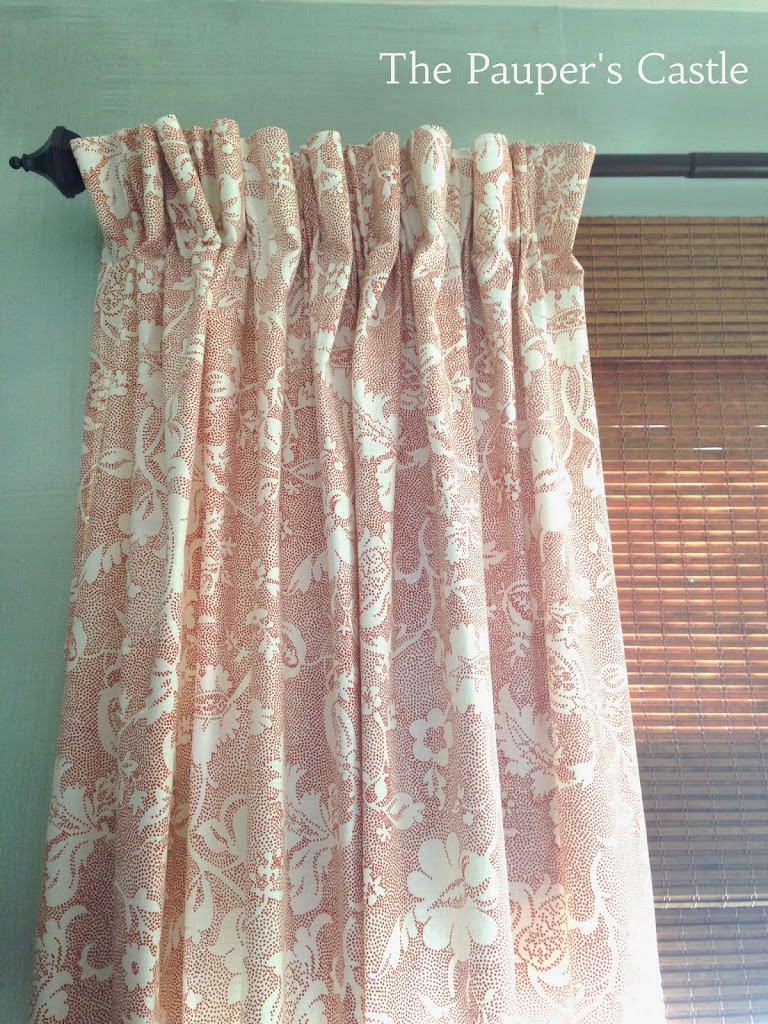
Pinch pleat curtains made from simple table cloths.
For this project you will need some very basic sewing skills. I know I said the dreaded sewing word. But I promise you can do this. When I say basic…I mean you are able to sew a straight line. I would suggest using a sewing machine, but hey, I guess if you are really ambitious, you could do this by hand. I am not that ambitious (really it’s about patience here – I have none).
Our window is 70″ wide. Rule of thumb for figuring out how much fabric you need to cover your window and still have fullness in the fabric is 2 to 2.5 times the width of your window. In this case, I would need a minimum of 140″ of fabric width. Since we RARELY close these curtains (I mean maybe twice a year) they are really more for looks than function. We close the blinds for privacy.
So I cheated. Yes! I said I broke the rules. That’s the beauty of DIY, you CAN break the rules.
The curtain police will not come to your house, I promise.
I only have 120″ of fabric width. If you are doing the math – I am 20″ short for the 2x rule. I used two 60″ x 84″ table cloths. If your curtain rod is higher than the window, then I would suggest using a 60″ x 104″ (or longer) table cloth. But know you will probably need to do some hemming. My curtain rod was not higher than my window so no hemming needed! FAST and simple.
If you plan to use the curtains for privacy, then I suggest sticking to the 2 to 2.5 times rule. In this case I would suggest purchasing 3-4 table cloths and sewing either 2 together length wise (120″ width for each panel) or splitting one down the middle length wise and sewing each half to a full 60″ x 84″ table cloth (this would make 90″ wide panels). If you are sewing 2 pieces together to make fuller panels, choose your print carefully. Matching could be required here and sewing skills need to increase. Ex – plaids, geometric prints, etc. Anything with an obvious repeat will need to be matched.
I’m sure you are wondering if I lined these. NO! (I know, I’m breaking the rules again.) Again, they rarely get closed and they are white on the backside. For these, I didn’t feel the extra time or expense was necessary. If the table cloth you choose is a solid color, printed on both sides, the print shows through the backside (usually happens with darker prints) or you want something that keeps the light out, then lining would probably be a good idea. But again, this is your choice. Remember….this is DIY.
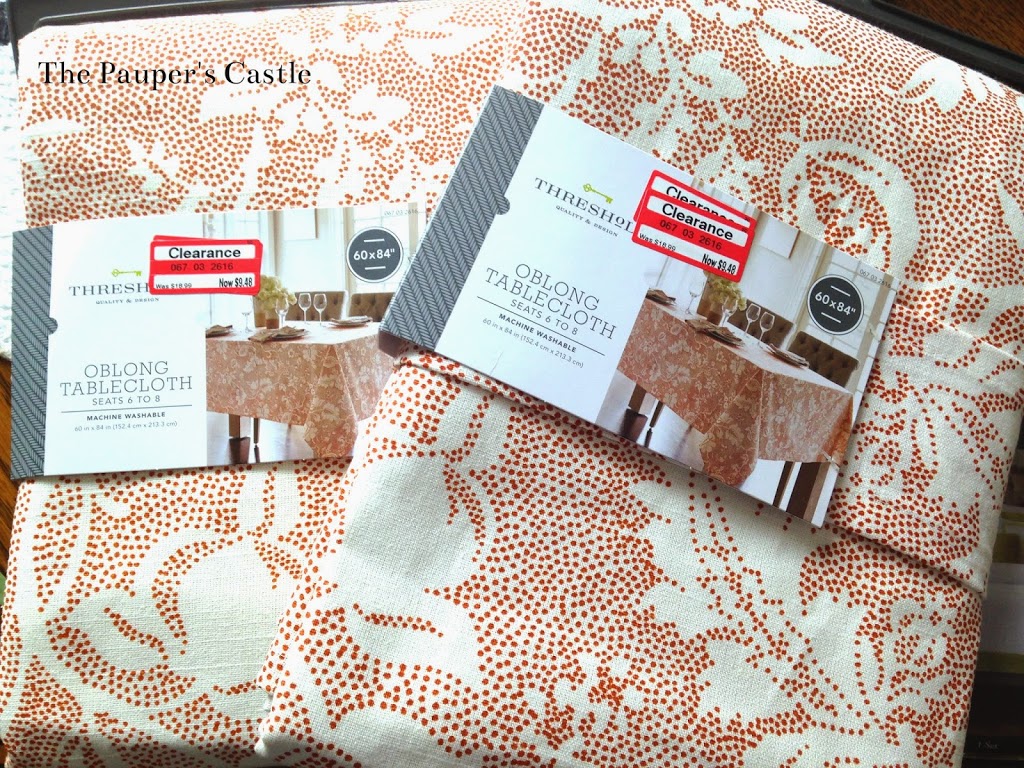
I found my table cloths on sale at Target for a little over $9.00 each! Score!
Two panels for under $20.
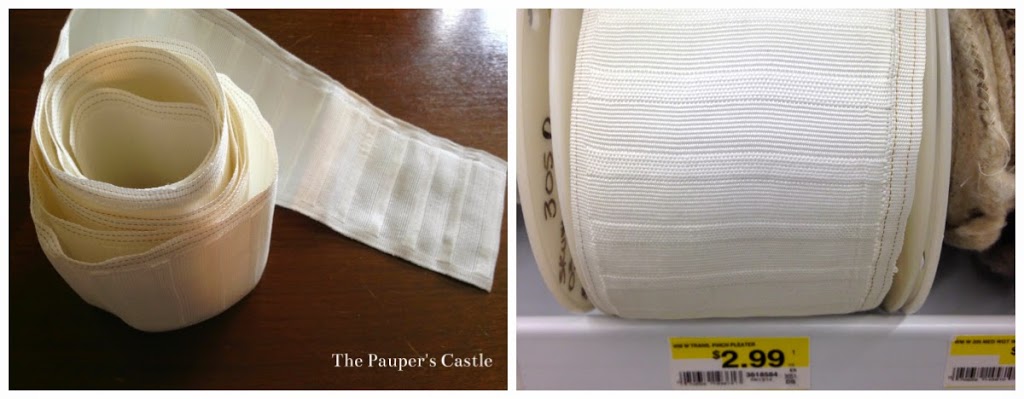
You will also need pleater tape. I used the multi pleat tape that I purchased at Joann’s (there are 2 kinds at Joann’s). I would assume Hancock Fabrics or possibly Hobby Lobby would carry it too. At the store Joann’s sells this for $2.99 a yard (online you have to buy a roll). If you are using two 60″ wide table cloths you will need 120″ or 4 yards. Use a coupon here! Remember….Budget.
$2.99 per yard x 4 yards = $11.96 – 40% coupon (sometimes they have 50% or 60% off) =
$7.17 for 4 yards of pleater tape.
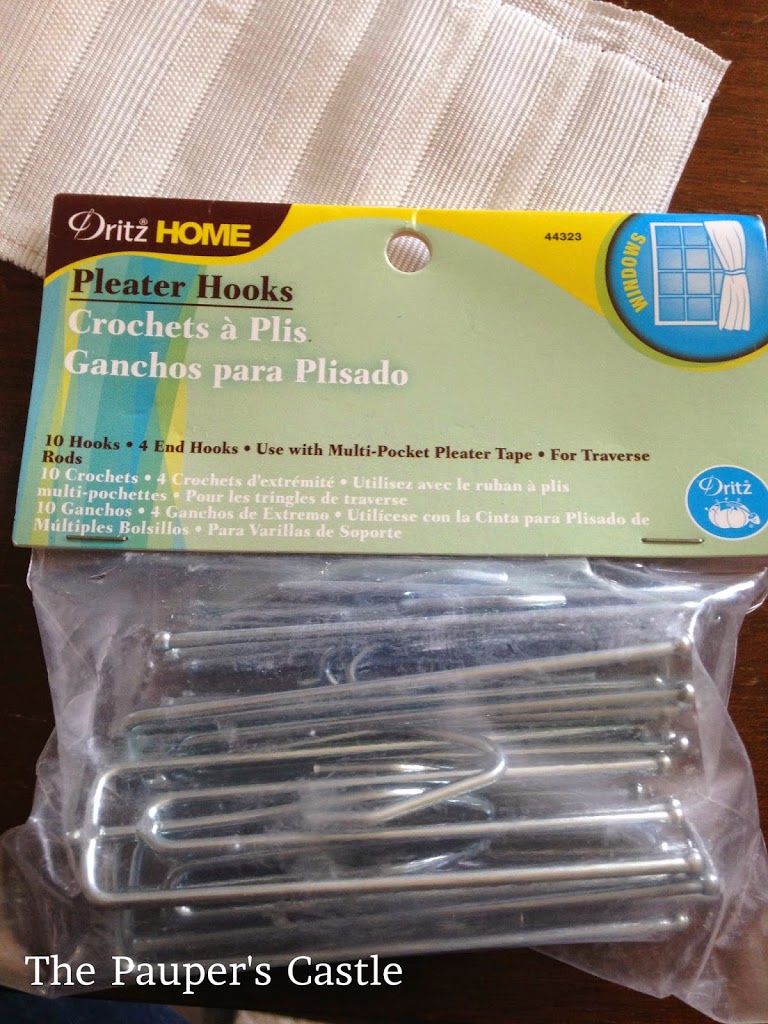
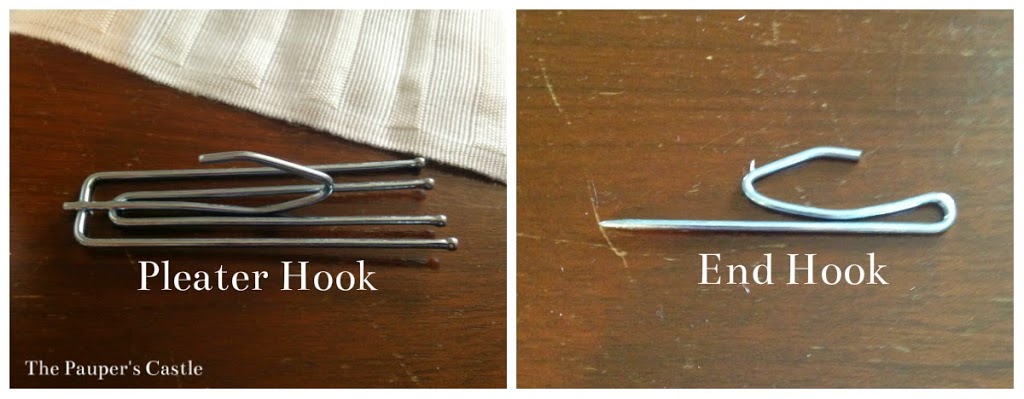
You will also need pleater hooks. These can also be purchased at Joann’s as well.
I suggest using a coupon again. It’s all about saving money peeps. Remember…we are on a budget. For my curtains, I needed 2 packages. This will depend on how many spaces you leave between pleats. I inserted my hooks every 5 pleat pockets. I needed 2 end hooks and 9 pleater hooks per panel. Each package comes with 4 end hooks and 10 pleater hooks.
Now I have to confess….for this project, I actually already had the pleater tape and hooks from a previous project so this cost was not factored into my over all cost for the new master bedroom curtains.
Tomorrow I will show you how to put all this together. But for now, you have a shopping list.
Supplies:
2-4 table cloths depending on your window size and how you will use the curtains
pleater tape – enough yardage to cover the total width of your finished curtains
(ex – two 60″ wide panels, you will need 120″ or 4 yards of pleater tape)
Pleater hooks – They come 10 specialty pleating hooks and 4 end hooks per pack – over buy what you THINK you need, you can ALWAYS return them.
1 sewing machine OR a lot of patience if you plan to do this by hand
thread to match your soon to be curtains
1 curtain rod (I already had this)
Curtain rod clip rings – click HERE for sample (I already had these)
I used 11 clip rings per panel for my 60″ panels.
Again, over buy on your clips and hooks. You can always return what you don’t use. Since pleating is subjective to your likings it’s hard to tell you exactly how many you will need. Your window size will also play a roll here in how many you need. So buy one extra package of rings and hooks than you think you will need. There is nothing more frustrating than trying to finish a project and having to go back to the store because you don’t have enough.
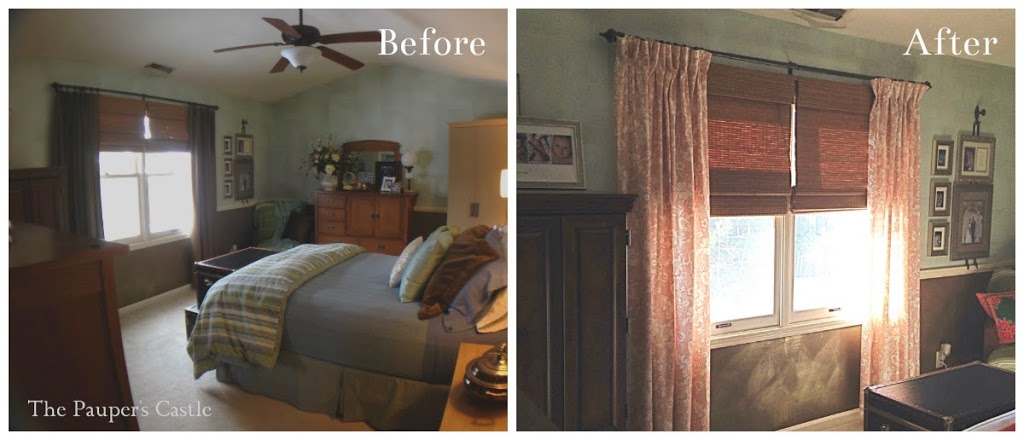
See you tomorrow for sewing and hanging tutorial. But for now, I will leave you with the before and after the master bedroom curtains.
In case you need me to tell you…Yes we are in the process of redoing this room.
Ciao for now! Kellie



Leave a Comment