
She asked me to send her the blog post in draft form!
OK! Seems easy enough, just send the link, right?
Well, turns out my link was password protected and I could never figure out how to fix this. So, instead of frustrating her further and make myself look like more of an idiot than I already had (we had several other issues prior to this part that I won’t bore you with), I gave up. She didn’t contact me again and it’s just been sitting there in draft form, waiting for me to do something with it!
Today, I decided since I had taken the time to write the post, I should go ahead and use it on my own blog. So …I am! Hope you enjoy!
~~~~~~~~~~~~~~~~~~~~~~~~~~~~~~~~~~~~~~~~~~~~~~~~~~~~~

Supplies
- 2 recycled windows without window panes
- Zinsser 123 Primer (I used brush on)
- Chalkboard paint (I used brush on)
- Magnetic Primer (I used brush on)
- Multiple colors of paint in your choice of colors (I used CeCe Caldwell’s Chalk & Clay Paint)
- CeCe Caldwell’s Clear Wax, CeCe Caldwell’s Satin Finish or your choice of sealer
- 2-Flat Tip Butt Hinges with non-removable pins
- 2 – 1.5 foot lengths of chain
- 4 screws to attach the chain
- Magnet letters and numbers
- 2 pencil caddies
- 2-4 screws to attach caddies
- chalk for drawing on the frame and for the kids to draw on the board
For the Magnetic Side of the Easel
- Prime your glass with a glossy surface primer. I used Zinsser 123.
- Once the primer is dry, paint the primed glass surface with a magnetic primer. (I used 3 coats)
- When the magnetic primer is dry, then top coat the surface with a color of your choice. You will want to do this since the magnetic paint is only a primer.
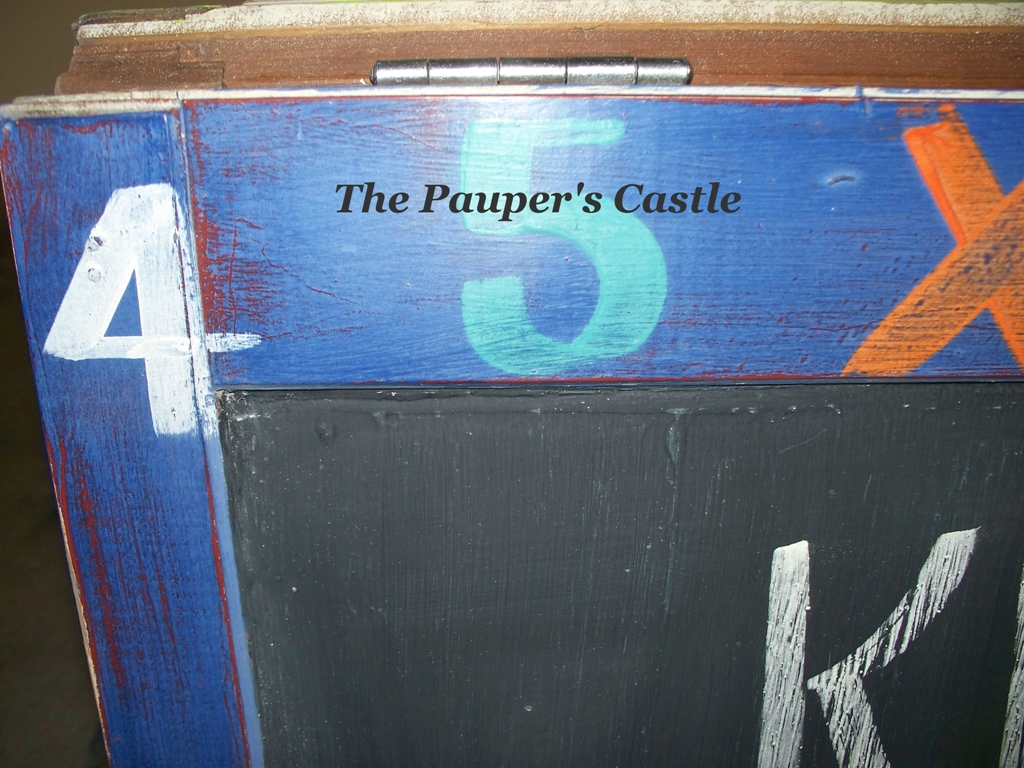
- Paint the window frame in the color or your choice
- If you choose to decorate the frame with a design, phrase, numbers or letters then simply sketch on your design with chalk and paint in the color of your choice. When that is dry, simply wipe off chalk lines with soft cloth.
- Now you will seal both the frame and the new magnetic surface with a sealer. I used CeCe’s Clear Wax, but you could use Satin Finish. I like these because they are 100% Natural and safe for children. However, you could use another sealer of your choice if you wish.
- If you used wax as your sealer, lightly buff with a soft cloth. If you decided on the satin finish…you are complete with this side of the easel
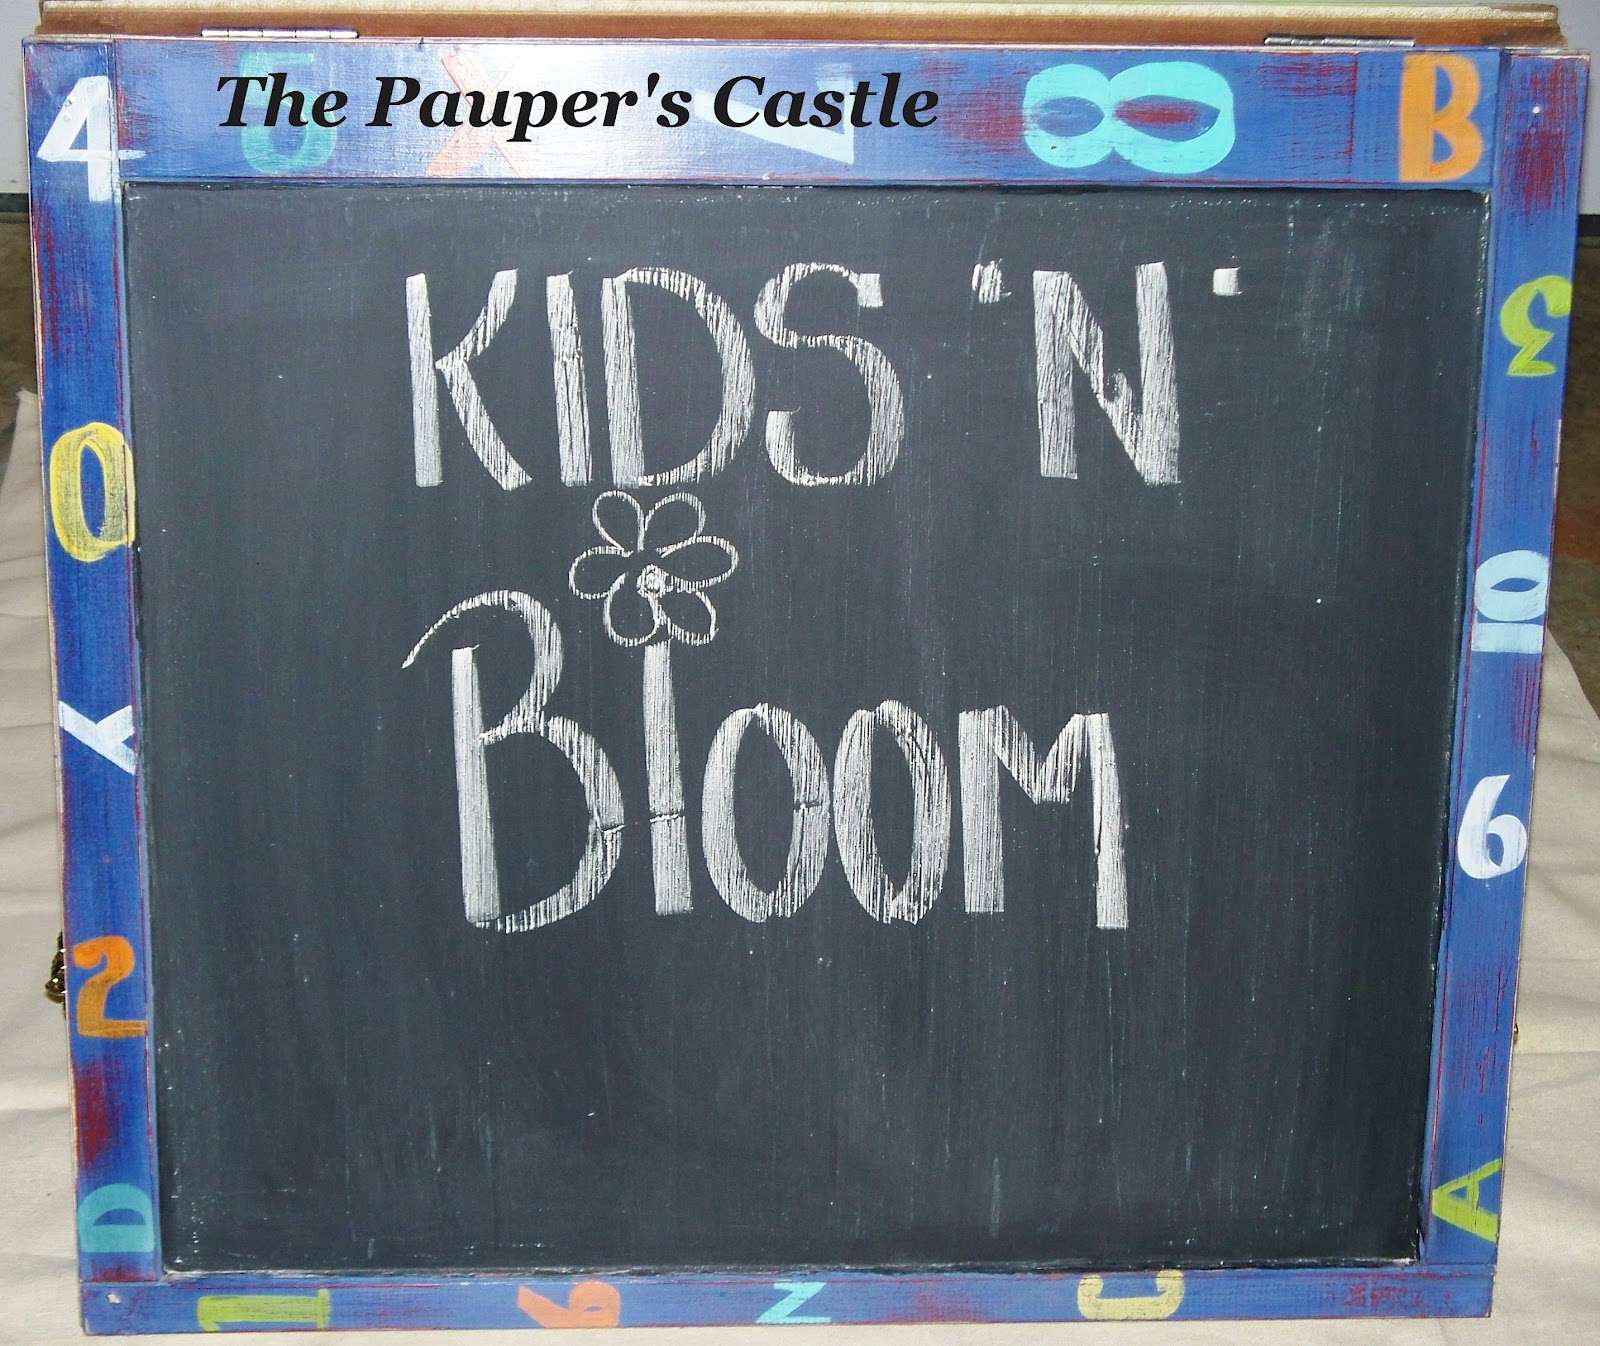
For the Chalkboard Side of the Easel
- Repeat steps 1 from above
- Once the primer is dry, paint the primed glass surface with a chalkboard paint (I used 3 coats).
- When the chalkboard paint is dry, this process usually takes about 24 hours from your last coat, prime the board by rubbing white chalk over the entire surface of the board and then erase. It is now ready to write on.
- Repeat steps 4 & 5 from above.
- You will want to seal your frame (see step 6 from above), but DO NOT coat the chalkboard surface like you did for the magnetic surface.
- Repeat step 7 from above for your frame.
Attaching your two boards together
- Lay your boards face down so the tops of both boards are touching
- Measure in 3-5 inches from the edge of the window frame on both the right and left side and make a small visible mark. I did this on the raw edge of the window frame and not my paint surface. Now, line up the edge of the hinge with your measurement mark and attach the hinge (refer to package instructions here). See picture below.
Turning your boards into an easel
- You may need some help here! So get a partner.
- Stand the boards into an easel position. With one person holding the boards in place, the other person can attach the chain so that it will stay in an easel position.
- Simply attach the chain on both the right and left side of the easel with the 4 screws. This should be close to the bottom of the frames and make sure they are the same distance from the floor on both sides. See photo below.

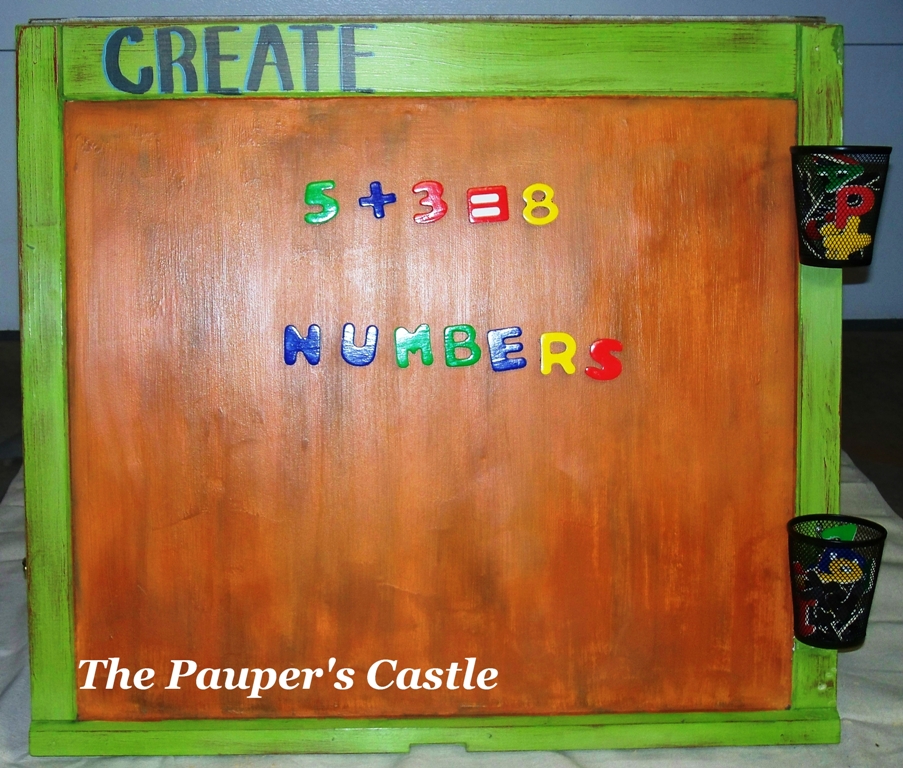 |
| magnetic side |
 |
||
| Chalkboard side |

0 COMMENTS
Anonymous
12 years agoΤhanks for shaгing ѕuсh а faѕtіdious thinkіng, pаragraph is niсe,
thats ωhу i have reaԁ it completely
Also visit my webpage ; terry sawyer
The Paupers Castle
12 years agoThanks so much! Glad you enjoyed!