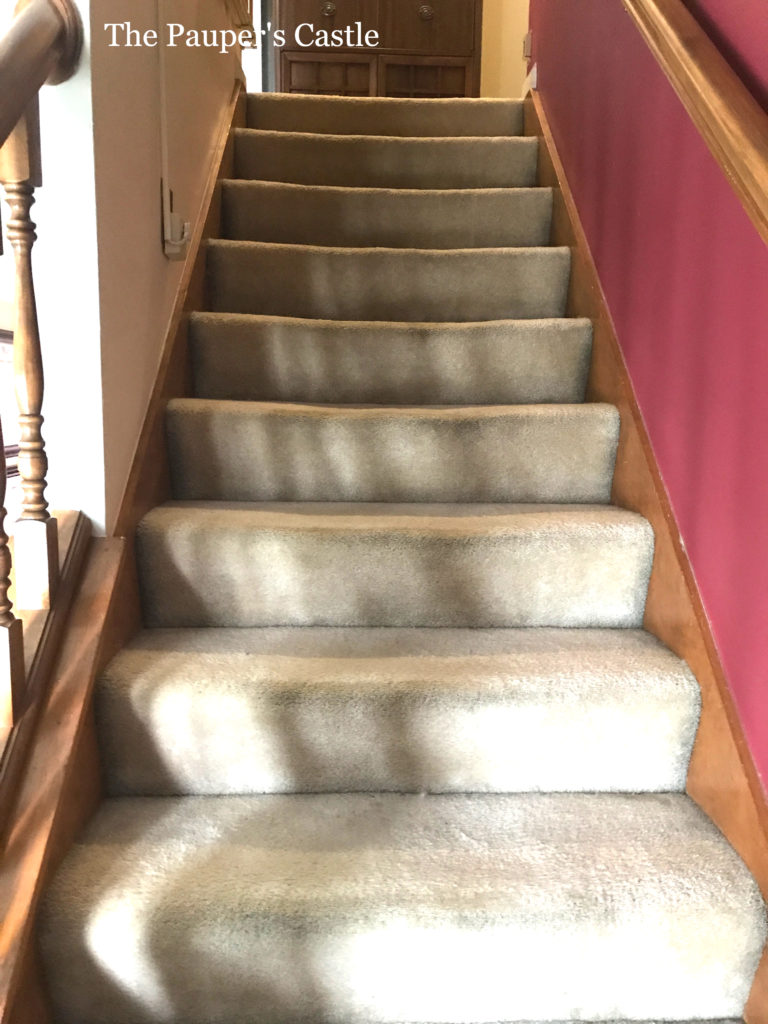
A couple of weeks ago, I shared the blog the initial process of our stairway renovation, why we chose oak, how to stain and seal the treads, the products we used, and how we installed them. These stairs have come a LONG way from where they started. I despised that carpet and was so happy to see it go! It was a process to clean, and in the end, it never looked clean.
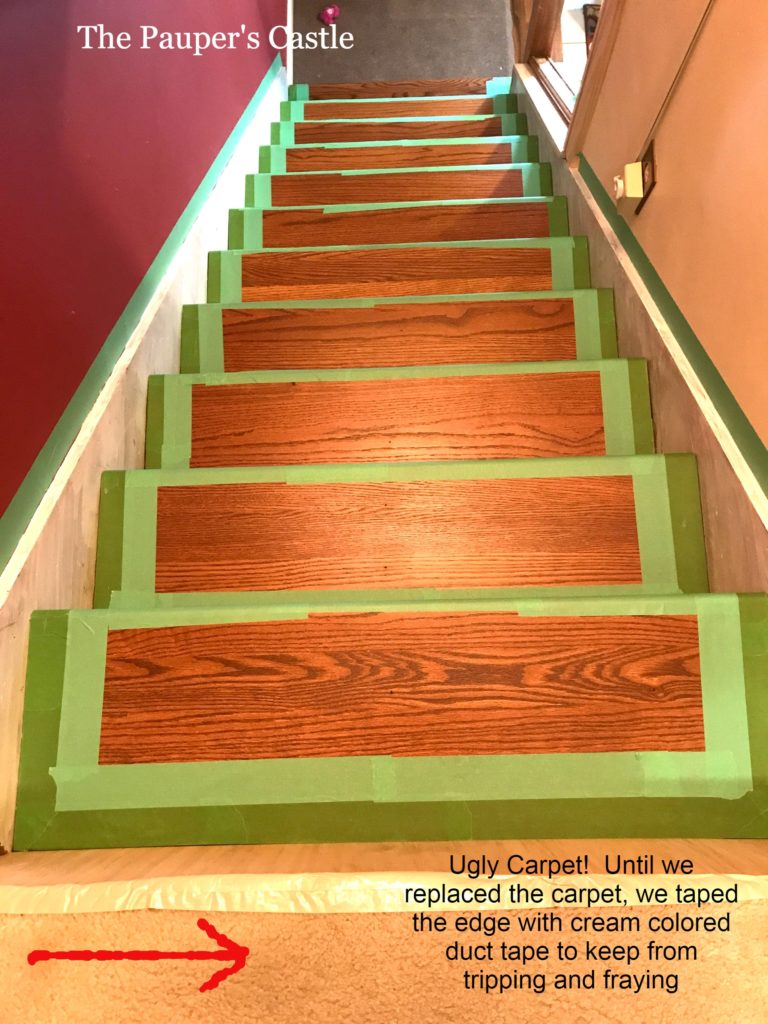
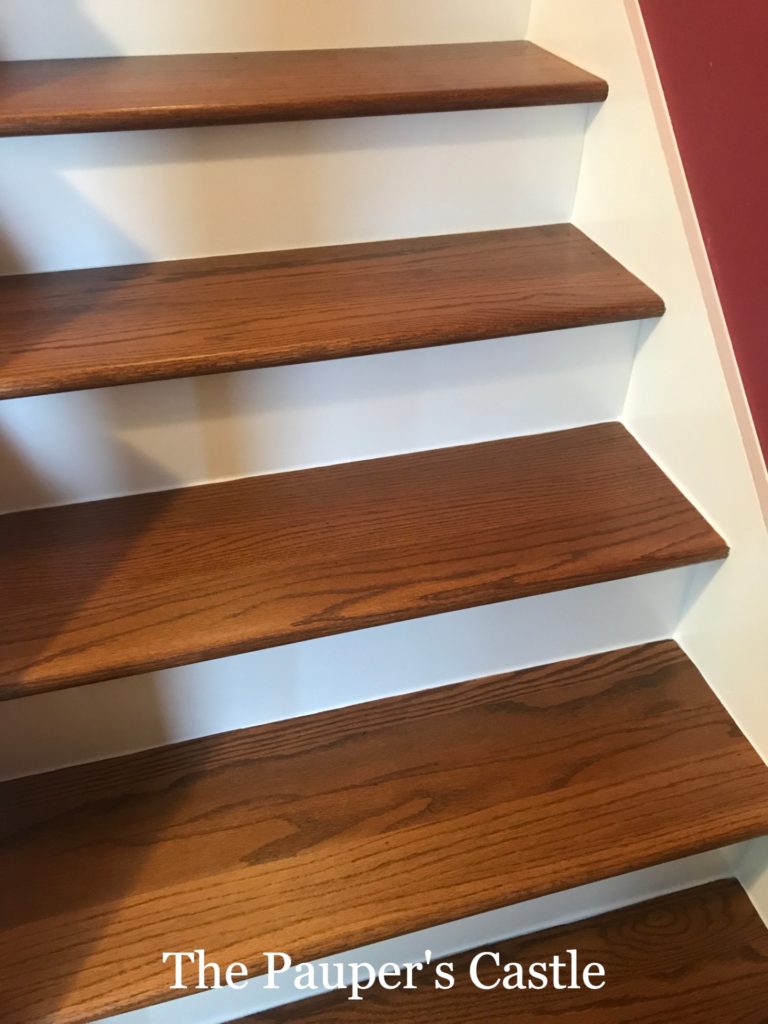
After securing all the treads in place, it was time to prime and paint; this is where the FULL vision started coming to fruition. The skirt we primed before installing the treads and risers. Priming before seemed to work out fine, but could do it after too. I think this is a personal preference. I found it easier to do before; however, there were areas I had to retouch as it was scrapped a bit when the treads were installed. I taped the edge of the stairs closest to the skirts with frog tape (dark green) to ensure the paint would not leak on to my pre-finished stair treads. Then taped the inside edge with a little extra painters tape (lighter green) just to make sure I didn’t get any paint on the treads. Let the priming and painting begin! MOST of our trim in our house we’ve painted in Benjamin Moore Advance Paint. I can’t express how much I love this paint. It glides on like butter and levels out beautifully, but more importantly, it wears better than any other paint I’ve used. Now get ready to gasp…the color is an SW color! I’m sorry to SW and BM! I know this is a conflict of interest. But you must know I started with SW paint in Roman Columns White. About eight years ago, I went around town, pulling every white sample I could find that I thought would work with our tile in our entryway to paint our trim. The original color was VERY yellow. I still needed to have a creamy tone to the paint. After sorting through literally hundreds of paint swatches, I finally settled on SW Roman Columns. LARGE projects in our house have already been
1. I found the SW paint yellowed over time, and it hasn’t held up that well. I’ve had issues with is chipping.
2. My brother is VP at Summit Paint in Barberton, OH, they sell BM and he recommended the Advance. I’m supporting family! However, it’s one of the best decisions I have made. Unfortunately, I really liked the SW color and I already had trim work, our fireplace, and a large hutch in our family room painted in this color. I didn’t want to have to re-paint all of it. I will eventually, but for now, I have other projects. So there you have it, my reason for using an SW color in BM paint.
I’m sorry to both companies but a girl has to what a girl has to do.
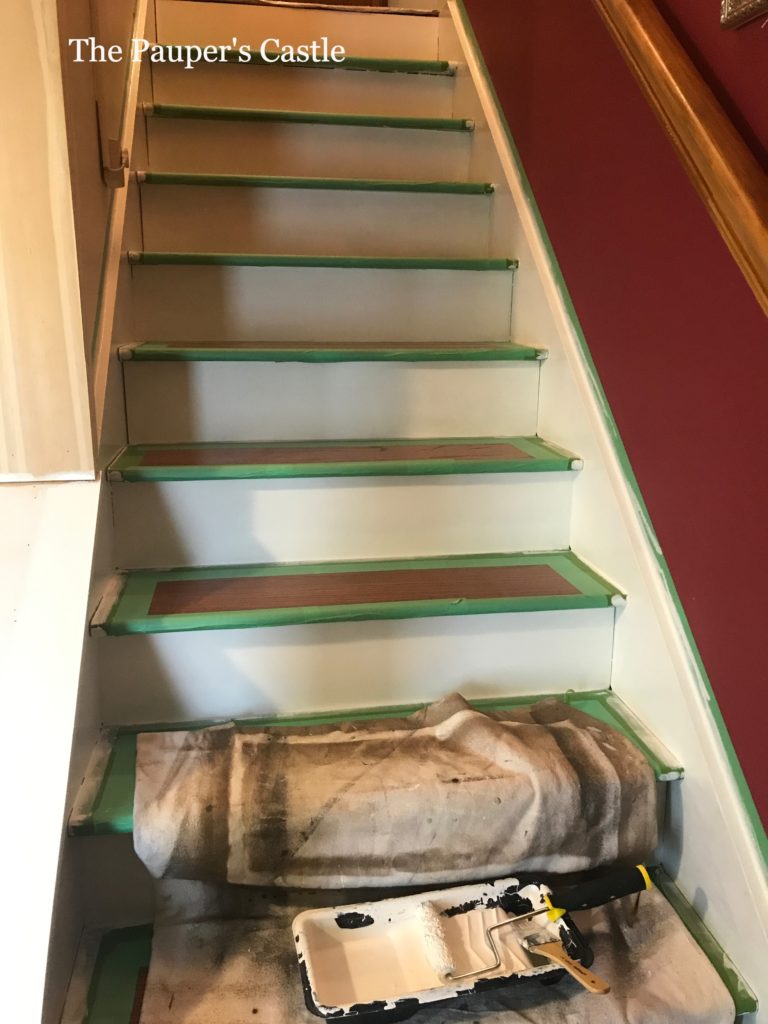
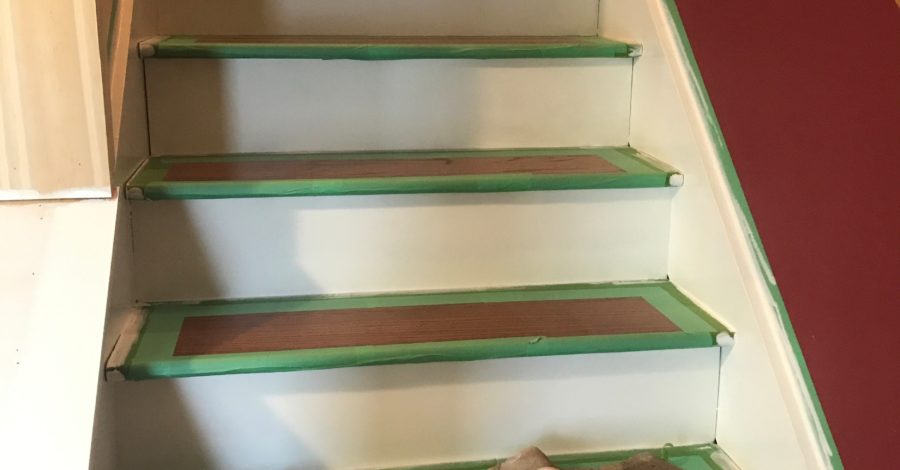
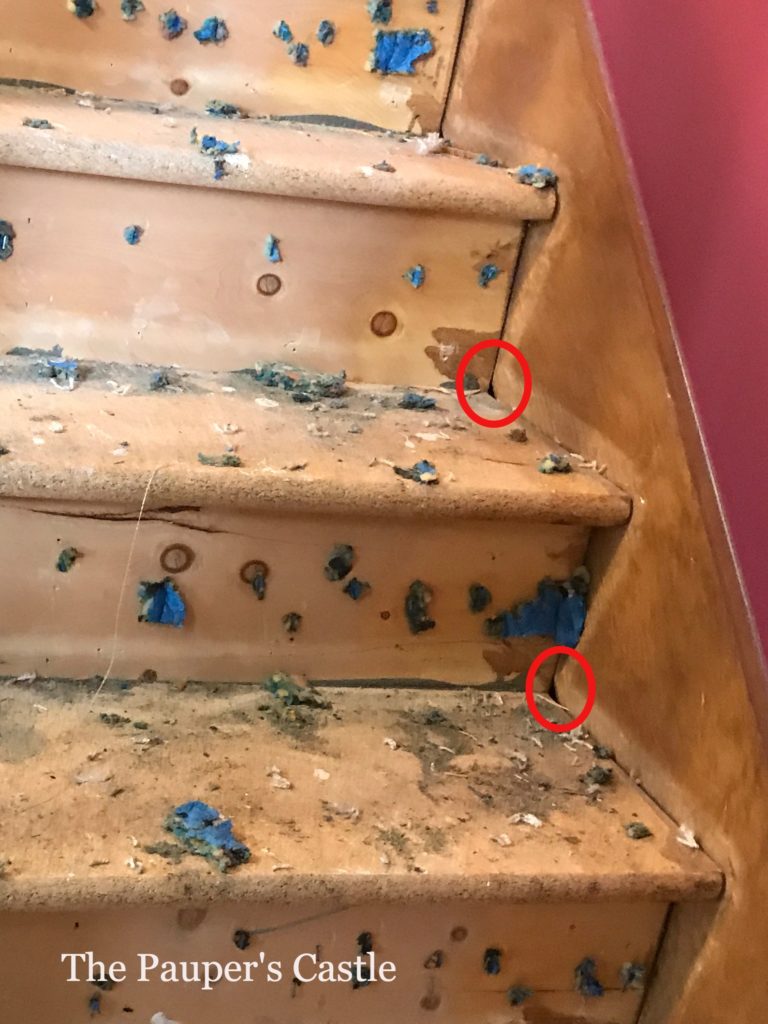
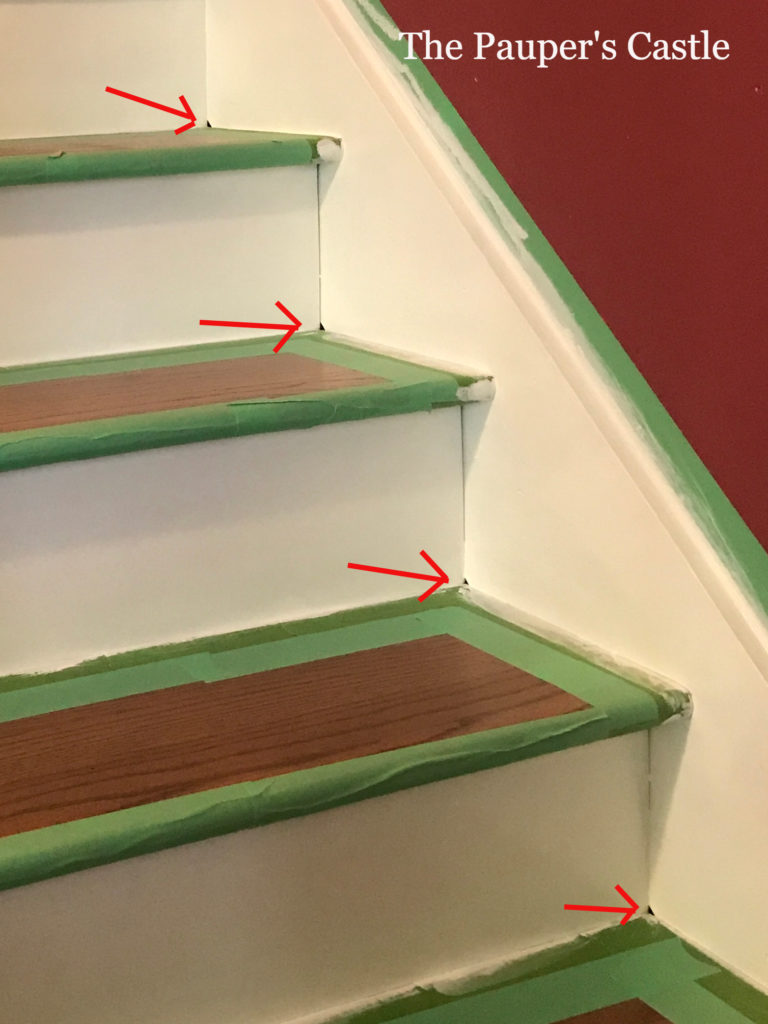
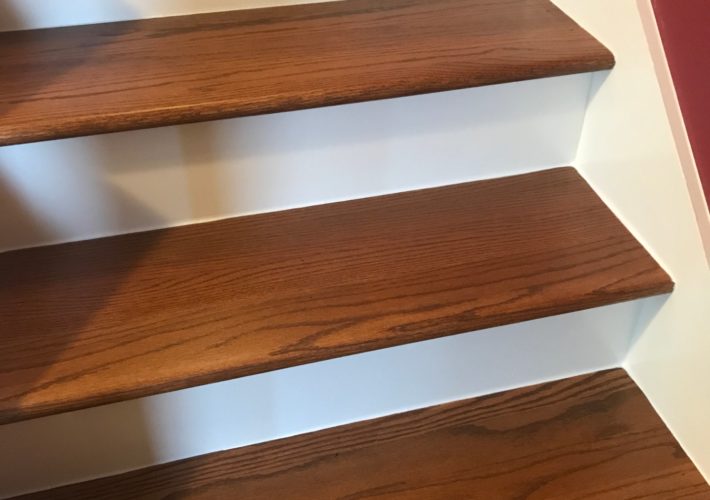
After priming and painting, I needed to caulk the back, right, and left edge of each tread. This process was rather straight forward except for the corners where the treads and risers met. The treads and risers didn’t come all the way up on the skirts leaving a triangular gap. Under the carpet, this was not an issue. I was hopeful with the new treads and refacing the risers, this would not be an issue, but it was. So I had to go over the corners a couple of times with caulk to make sure the little holes filled in. This seemed to work our fine. We have not had any issues with caulk pulling away or sinking in.
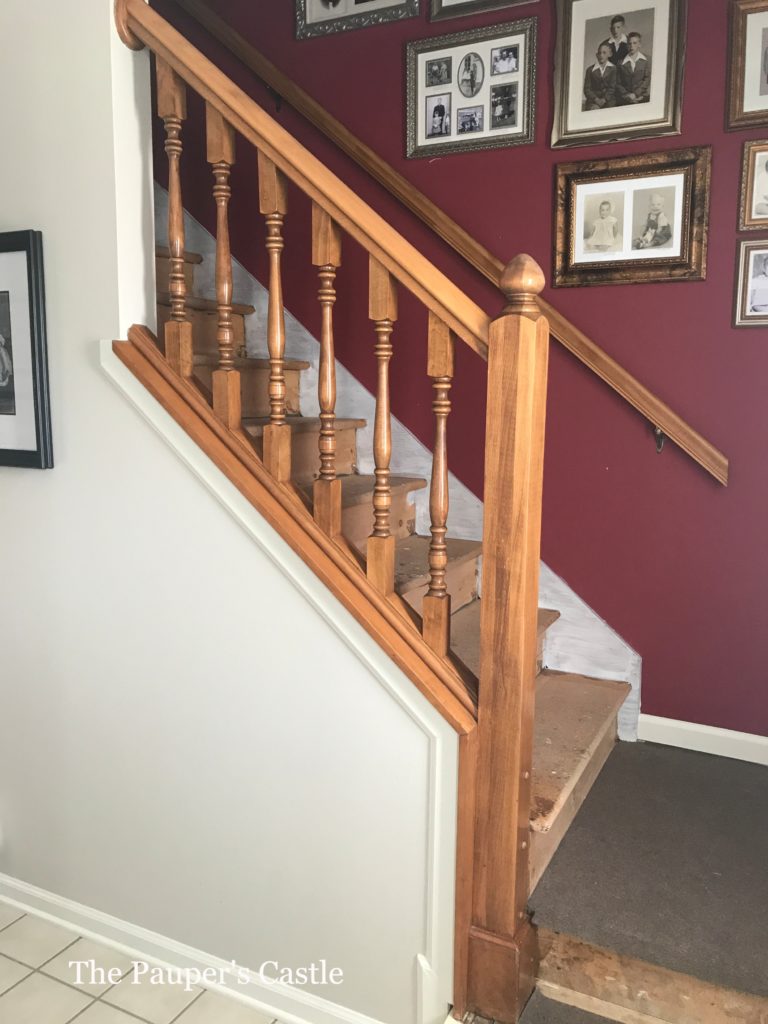
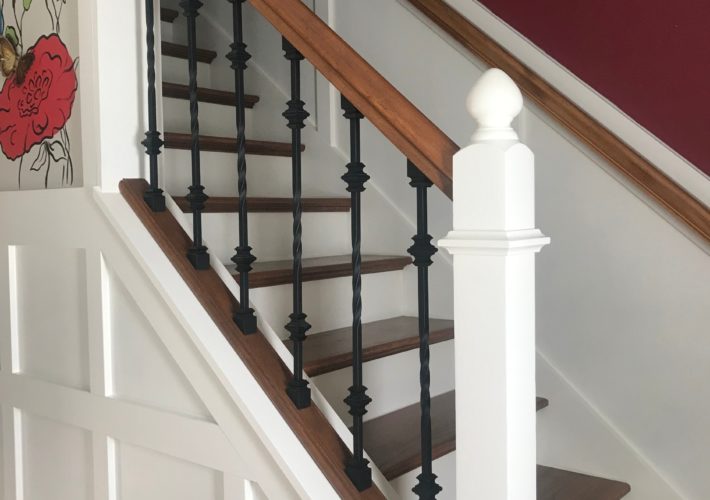
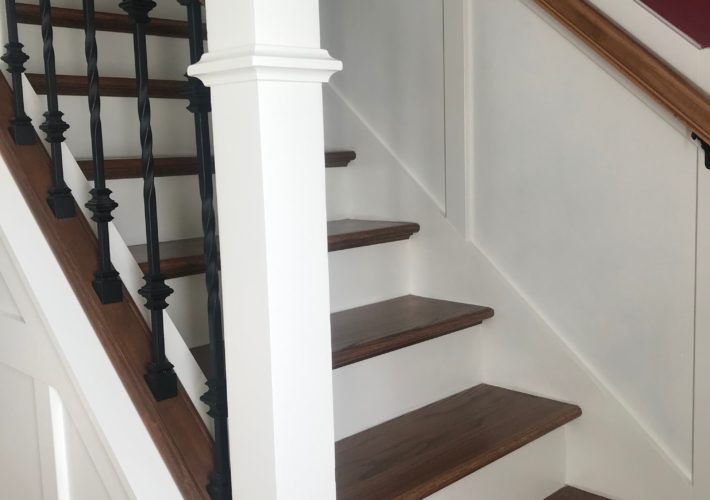
If you remember, in Stair Reno – Part I, we had plans of replacing the balusters and updating other parts of the railing. Once the stairs were installed, primed, painted, and caulked, we turned our attention to that. I’ll address the new railing and how we finished the landing at the bottom of the steps in Post III! I warned you; this was not a weekend project in my very first post! But it was completely worth the wait and work! I will also share the most important part that you want to know…how much did all this cost!
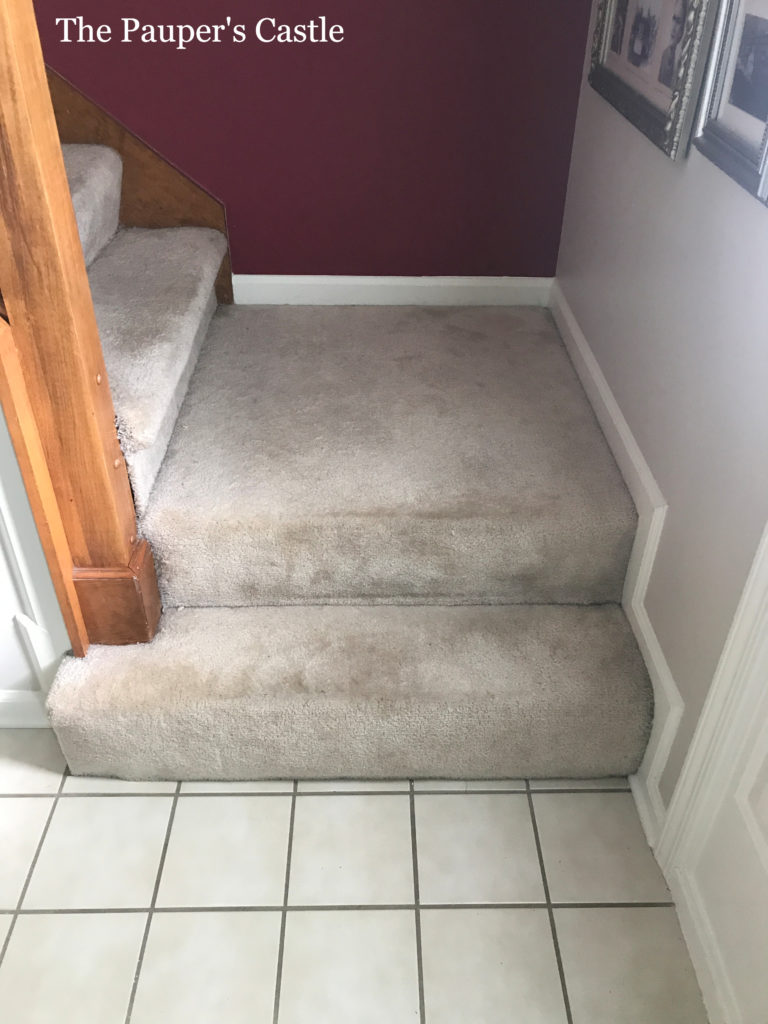
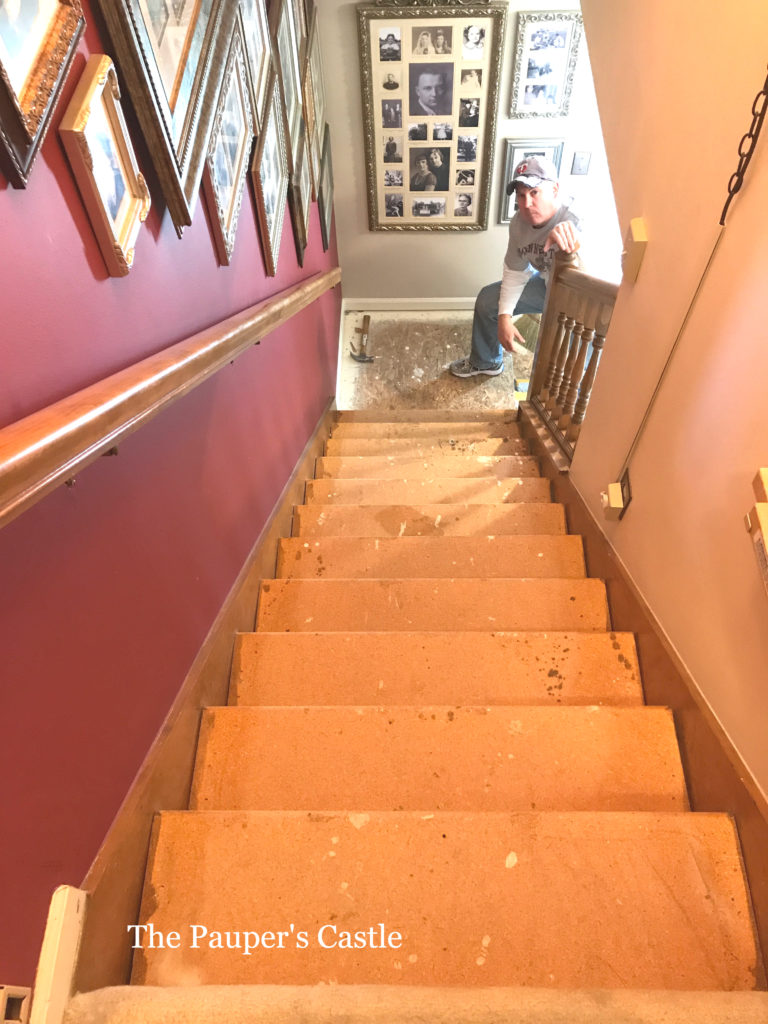
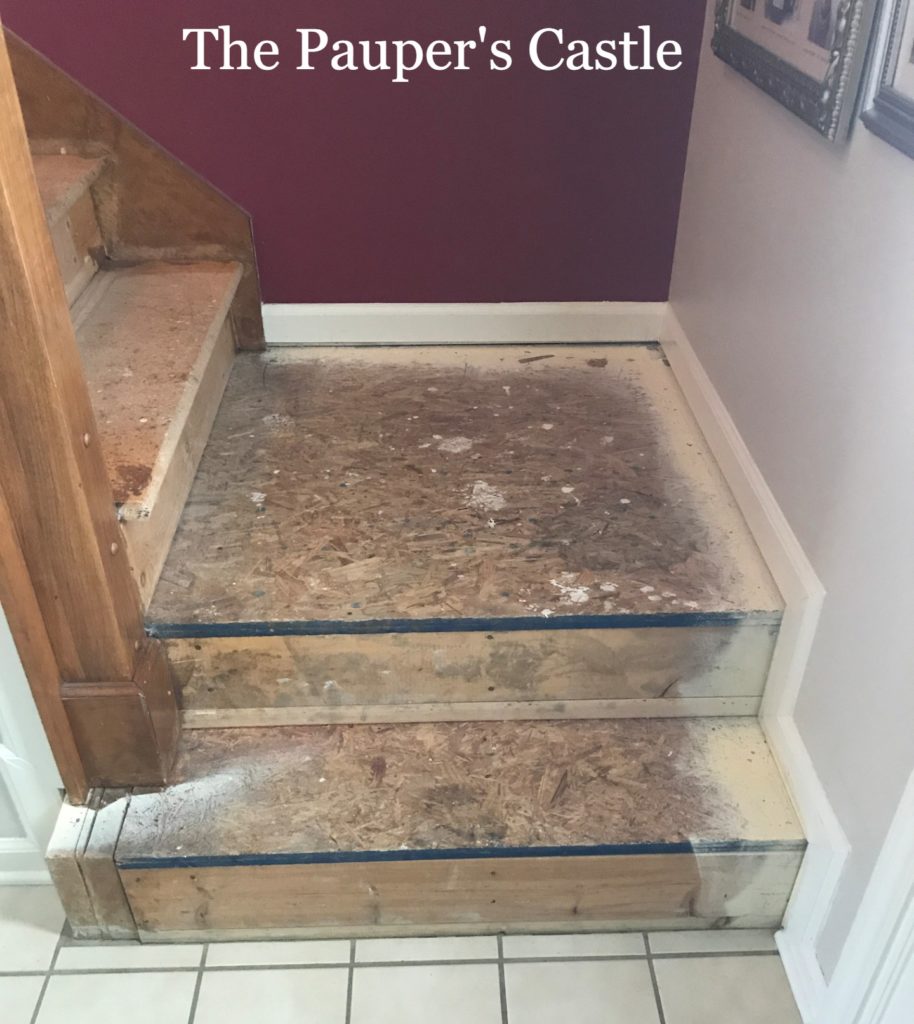
Right: The landing after the carpet was removed.

This project was featured!
Additional Tools and Supplies that might not have been mentioned or linked above.
(this is not a sponsored post, all opinions and suggestions are solely mine)
Mastercraft® 1″ x 11-1/2″ x 48″ Red Oak Stair Treads (14 Total)
1/4 x 4 x 8 Sanded Utility Plywood
11/16 x 11/16 x 8′ Long Mahogany Inside Corner (6 Total) Molding
White Lightning® All-Purpose Painter’s Premium White Caulk – 10 oz
Loctite® PL® 375 Heavy-Duty Construction Adhesive – 10 oz
Rust-oleum’s anti-skid additive
Mastercraft® 1/2″ x 1/2″ x 44″ Black Single Twist Wrought Iron Baluster
Mastercraft® 1-3/8″ x 1-3/8″ Angle Shoe For Wrought Iron Baluster
Mastercraft® 1-3/8″ x 1-3/8″ Knuckle for Black Wrought Iron Baluster
Table Saw
Jig Saw
Chop Saw
Pneumatic Nailer
Brads
Chisel
Shims
Painter’s Tape
Drill
Drill Bits
Screwdriver
Crow Bar
Hammer
Pliers
1,000-Grit Sandpaper
Drop Cloth
Wet/Dry Vacuum
Caio for now!


Leave a Comment