As I mentioned in my previous post (if you haven’t read it, I suggest starting there), I saw lots of fabulous Pins on Pinterest showing how to transform your stairwell on the weekend for under $60! Many of these transformations began by ripping plywood down for stair treads, or if they were lucky, using the pine treads, they found patiently waiting under their carpet. We entertained the idea of plywood; when we started this project, we thought that’s what our plans were. After looking at the plywood to rip down to tread size, pine treads, and solid oak treads, we had decided entirely against the plywood. So, it was down to pine ready to stain treads or Red Oak ready to stain treads. Oak was slightly more, but we decided that spending a little more now would be worth it later. After shopping around, Menards had the best price, and we opted to go with their Red Oak ready to stain treads. While the red oak was almost double the cost of pine, over time, I knew the oak would hold up better since it’s a harder wood. Not to mention, I prefer the look of oak. My thoughts were, if we were going through the process, we would likely not want to do this again any time soon, so the few extra dollars were worth it to us. We have lived in our home for 15 years and had no plans of going anywhere anytime soon. We paid approximately $23 per tread. In the end, we ended up purchasing 14 treads altogether; 12 for the actual stairs and two extras for the landing.
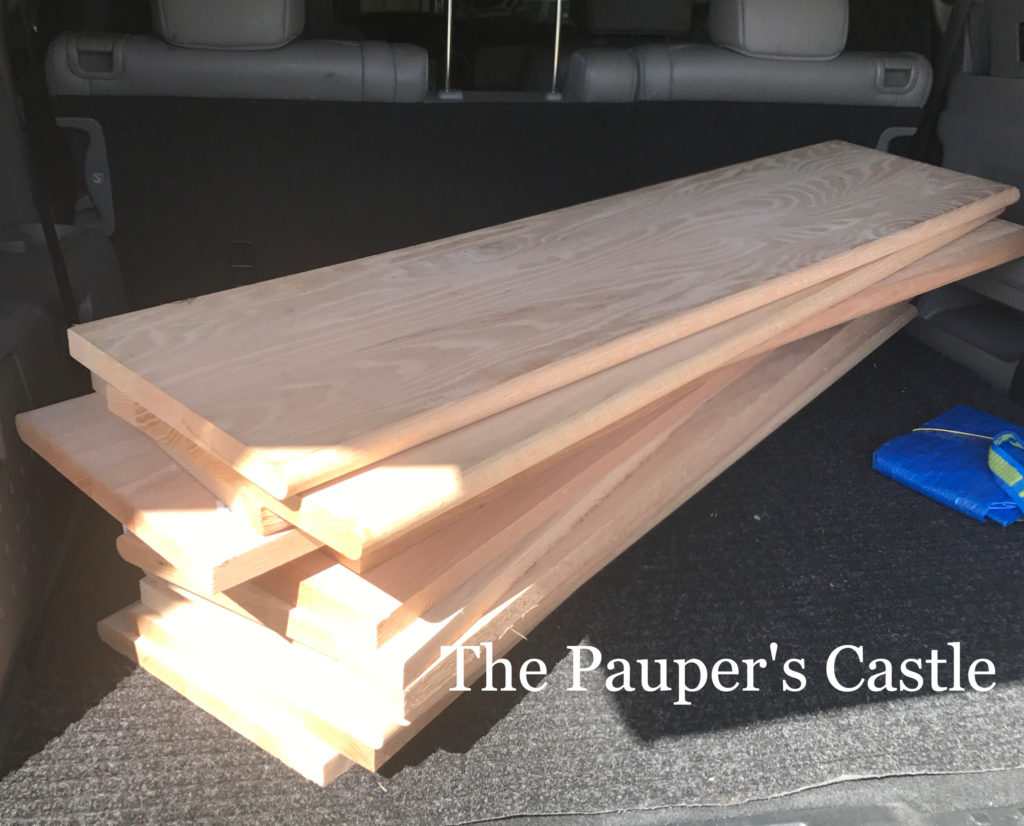
After getting the treads home, the hard work would begin.
I sanded each of the treads with 60-, 80- and 120-grit sandpaper using our random orbit sander. If you don’t have one, get one. Here is the one we have. You’ll thank me later. They aren’t that expensive, and it will save your arms. Don’t use any finer grit than 120. If you get the wood too smooth, you will seal off the pores of the wood, and it won’t accept the stain as well.
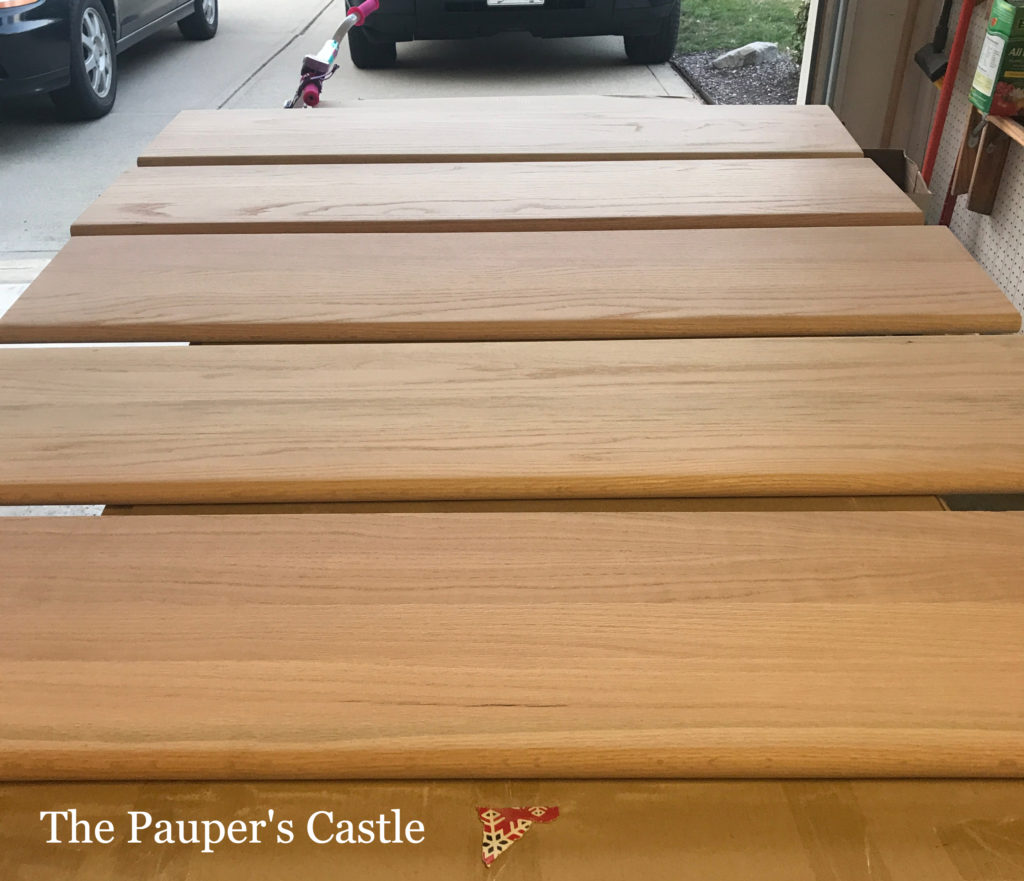
I also took the time to water pop the wood before staining the treads. If you don’t know what water popping is, water popping is a process that opens the pores in wood for more consistent stain penetration. It involves adding water to the wood before applying the stain with a slightly more than damp rag but not dripping wet. Wipe the rag over the wood and then wait for the wood to dry. It should take no more than 20-30 min. If it takes longer to dry, you are getting the wood too wet. When you run your hand over the dry water popped wood, you can feel the grain is raised—this what you want. I’m definitely glad that I did not skip this step! The stain is so much richer in color than without water popping. It allows the stain to really soak in and not just sit on the surface.
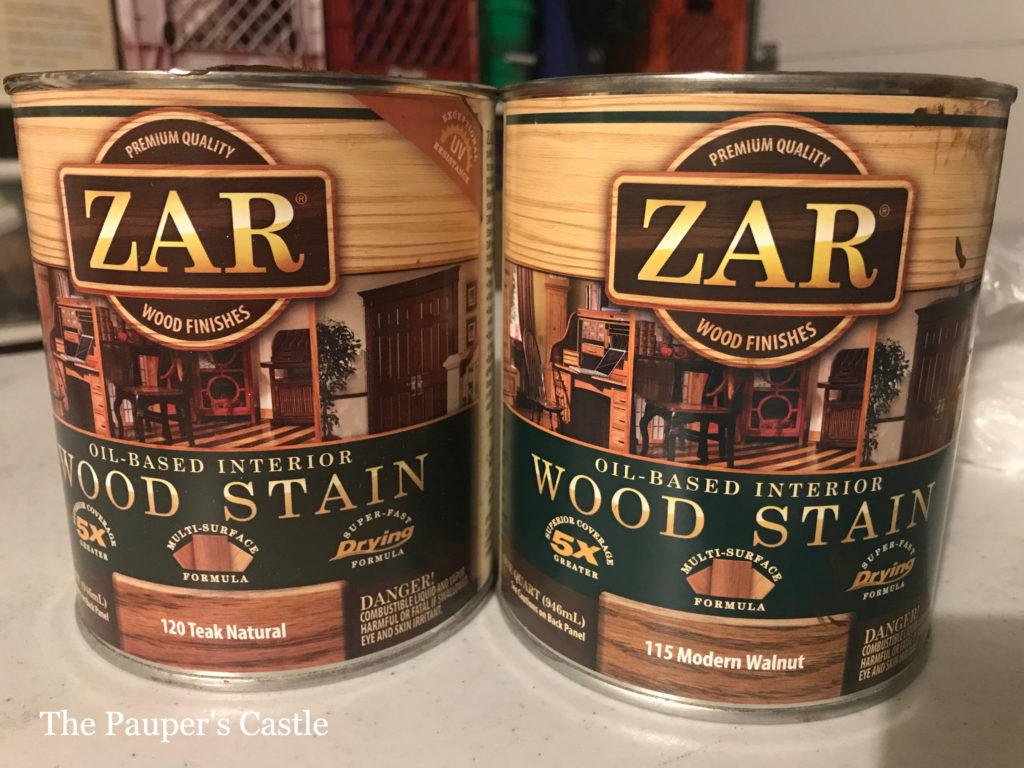
After the treads were dry from water popping, I stained them with Zar’s oil-based stain. In my opinion, it is the best on the market. I also recommend an oil-based stain over a water-based stain. The color is just prettier, and I feel like it’s a more durable finish. These are stairs after all, and you don’t want to have to do this again any time soon. Zar stain is easy to work with and very consistent in color. Water popping helps, but so does the quality of the stain you choose. I ended up mixing two colors; teak natural and modern walnut in a 50/50 ratio, to get the exact color I wanted.
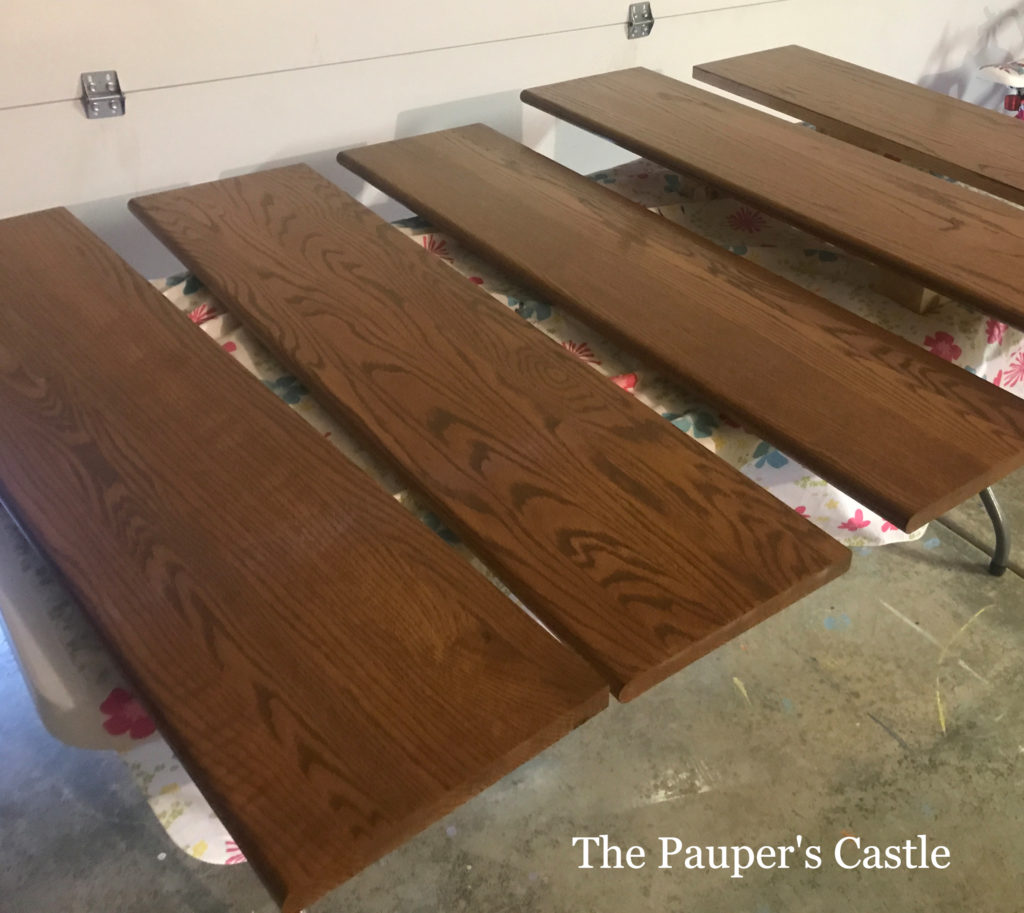
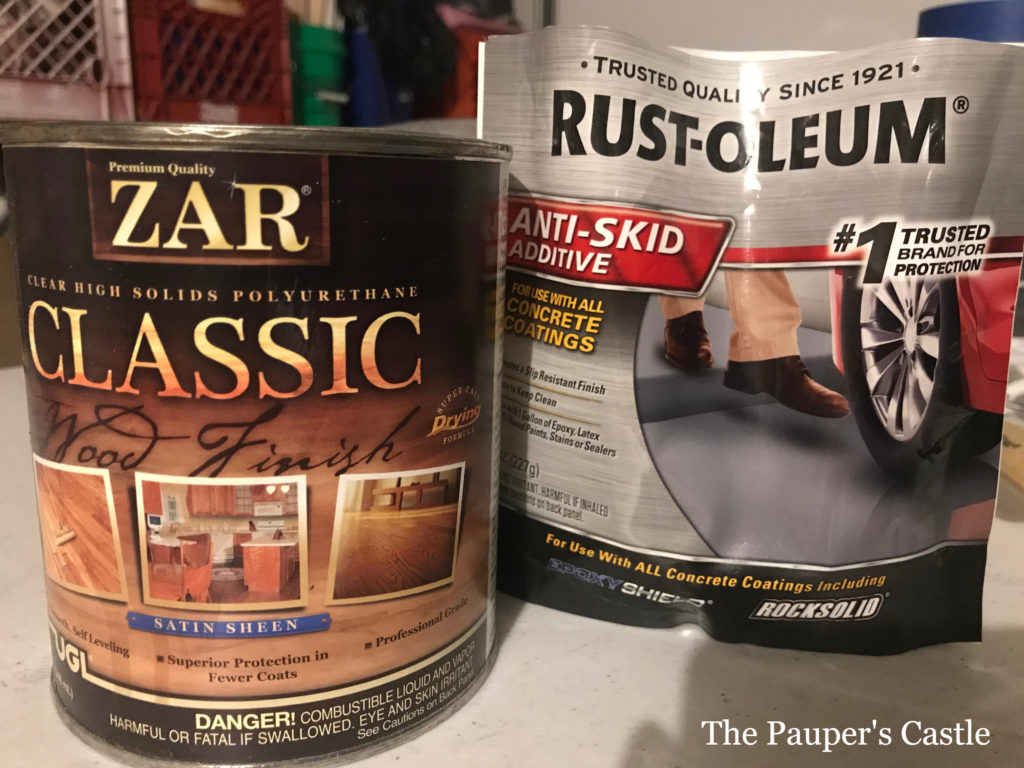
The treads sat for almost a week (which was good, lots of dry time) before I coated the treads with four coats of Zars classic oil-based polyurethane in a satin sheen. I sanded with 1,000-grit sandpaper between each coat of poly, then wiped thoroughly with a tack cloth before applying the next layer. The overall process took about a week to apply the four coats. The fifth coat I mixed in Rust-oleum’s anti-skid additive to the polyurethane. I used three teaspoons of anti-skid additive per cup of polyurethane. You can’t see the anti-skid additive, but you can feel it with your hand. We did this because we did not want to add a runner to the stairs. After all, the whole point of pulling the carpet off the stairs was to make the maintenance easier. Adding a runner would simply complicate the cleaning process again. The stairs were a bit slick before adding the 5th coat with the anti-skid additive. After adding this, we have not had issues with slipping at all.
We stained and applied the polyurethane before the installation of the treads. This is one process, I would not have changed. My dad helped us install them, and I think he thought I was nuts doing it this way. I know it’s not traditional practice to stain and poly prior; however, this allowed us to use the stairs right away without waiting for them to dry. It worked beautifully, and I would highly recommend this to anyone thinking of doing this project. Once the treads were installed, we could walk on them right away. Plus, we didn’t have the fumes of the stain and the polyurethane in the house.
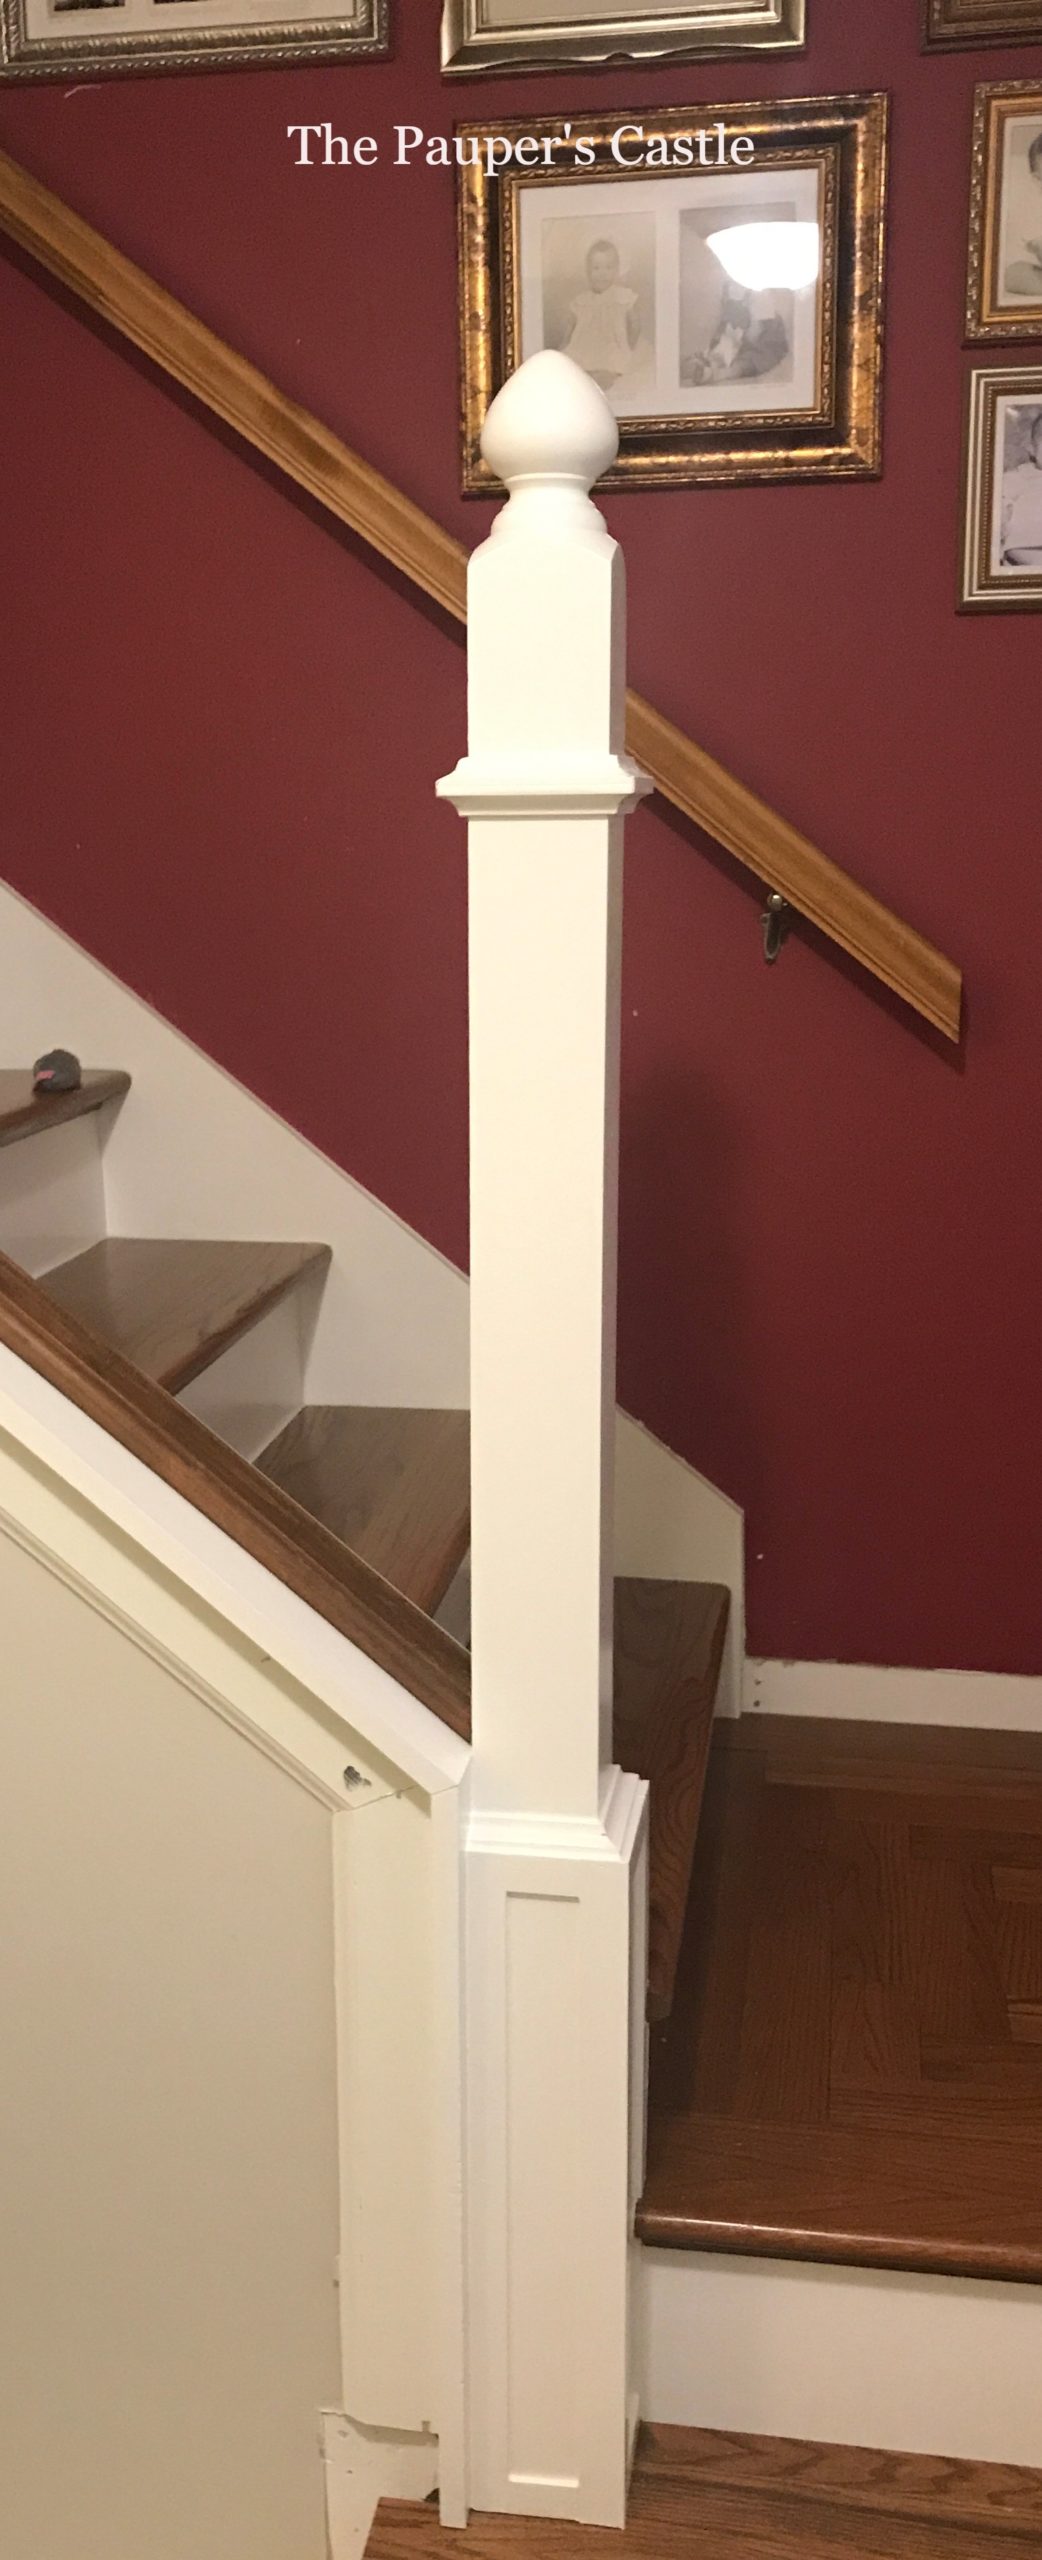
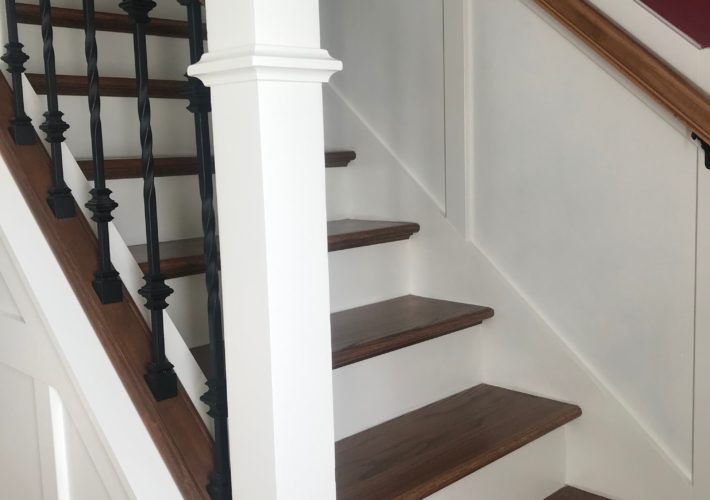
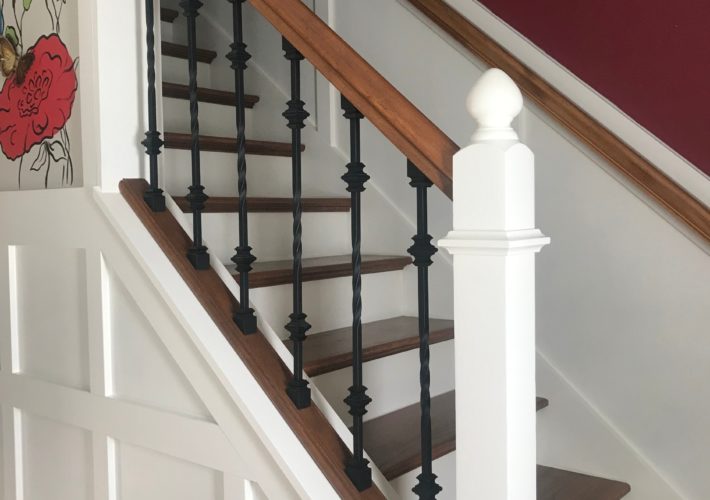
We decided that we wanted to replace parts of our stair railing to update it. Parts of this process needed to be done BEFORE installing the stair treads and risers. You can see in the photos below (1 and 2) how we trimmed out the newel post to update it. The bottom trim work needed to be done before installing stair treads.
1 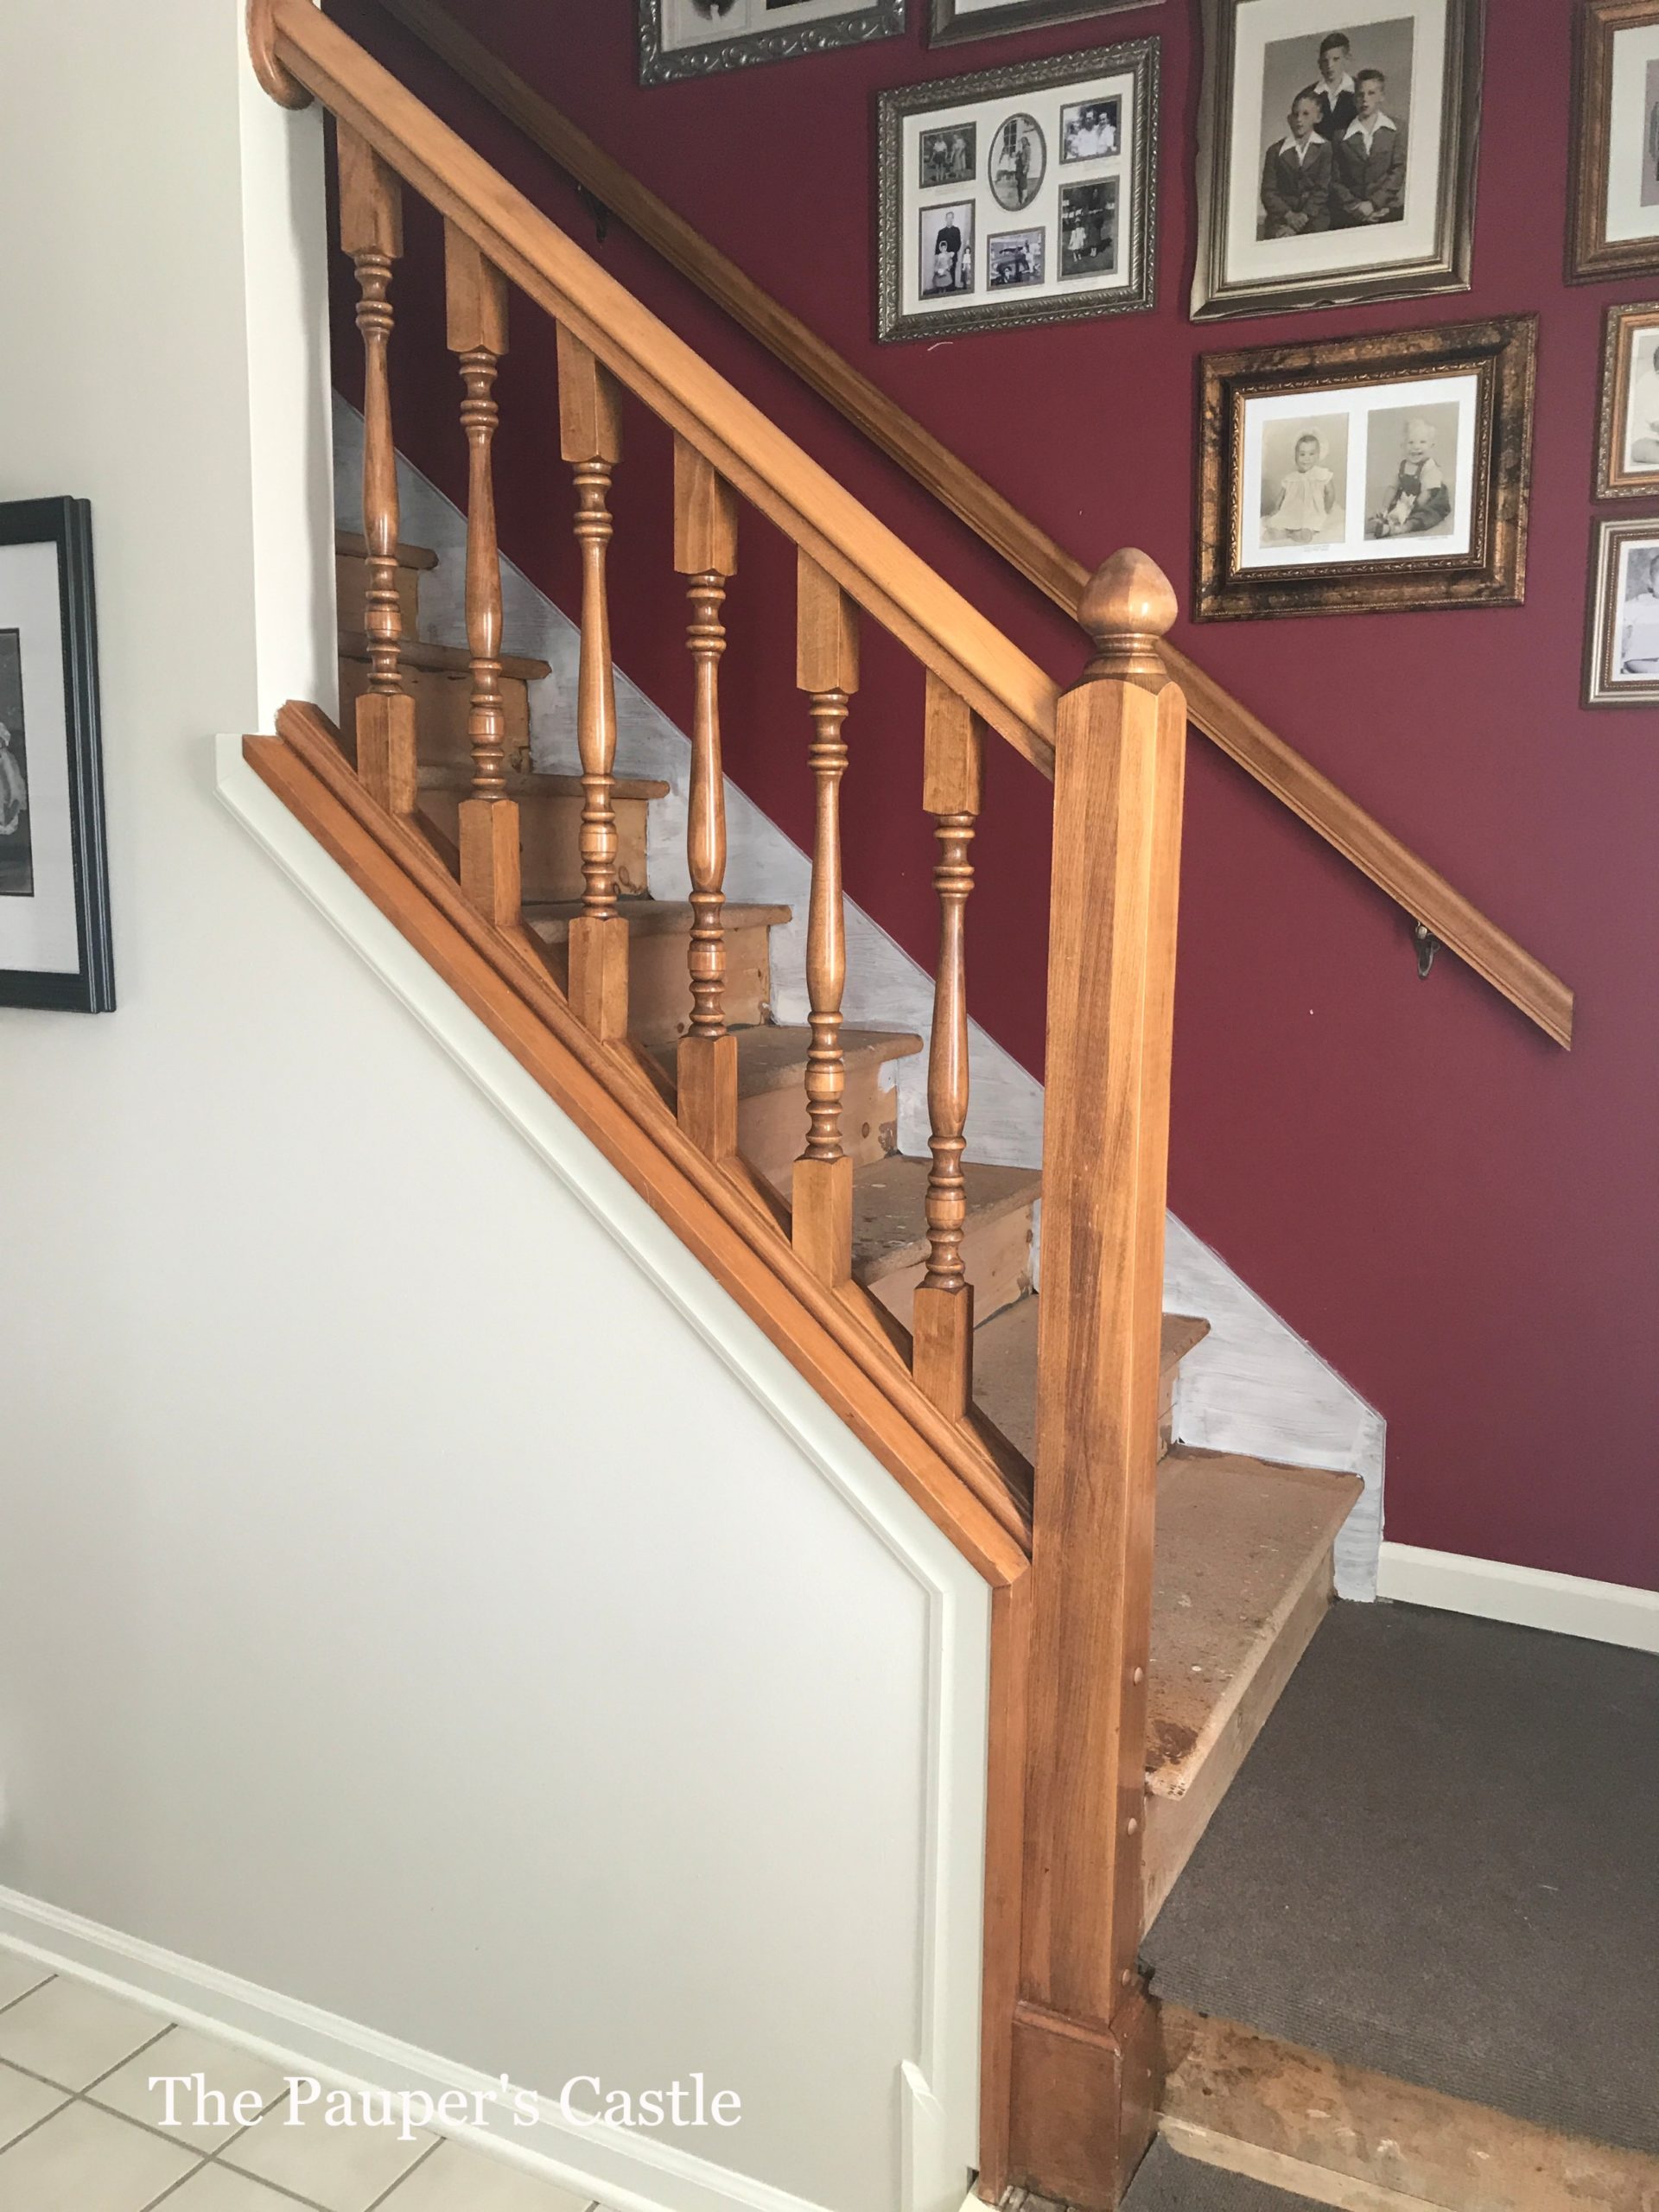
2 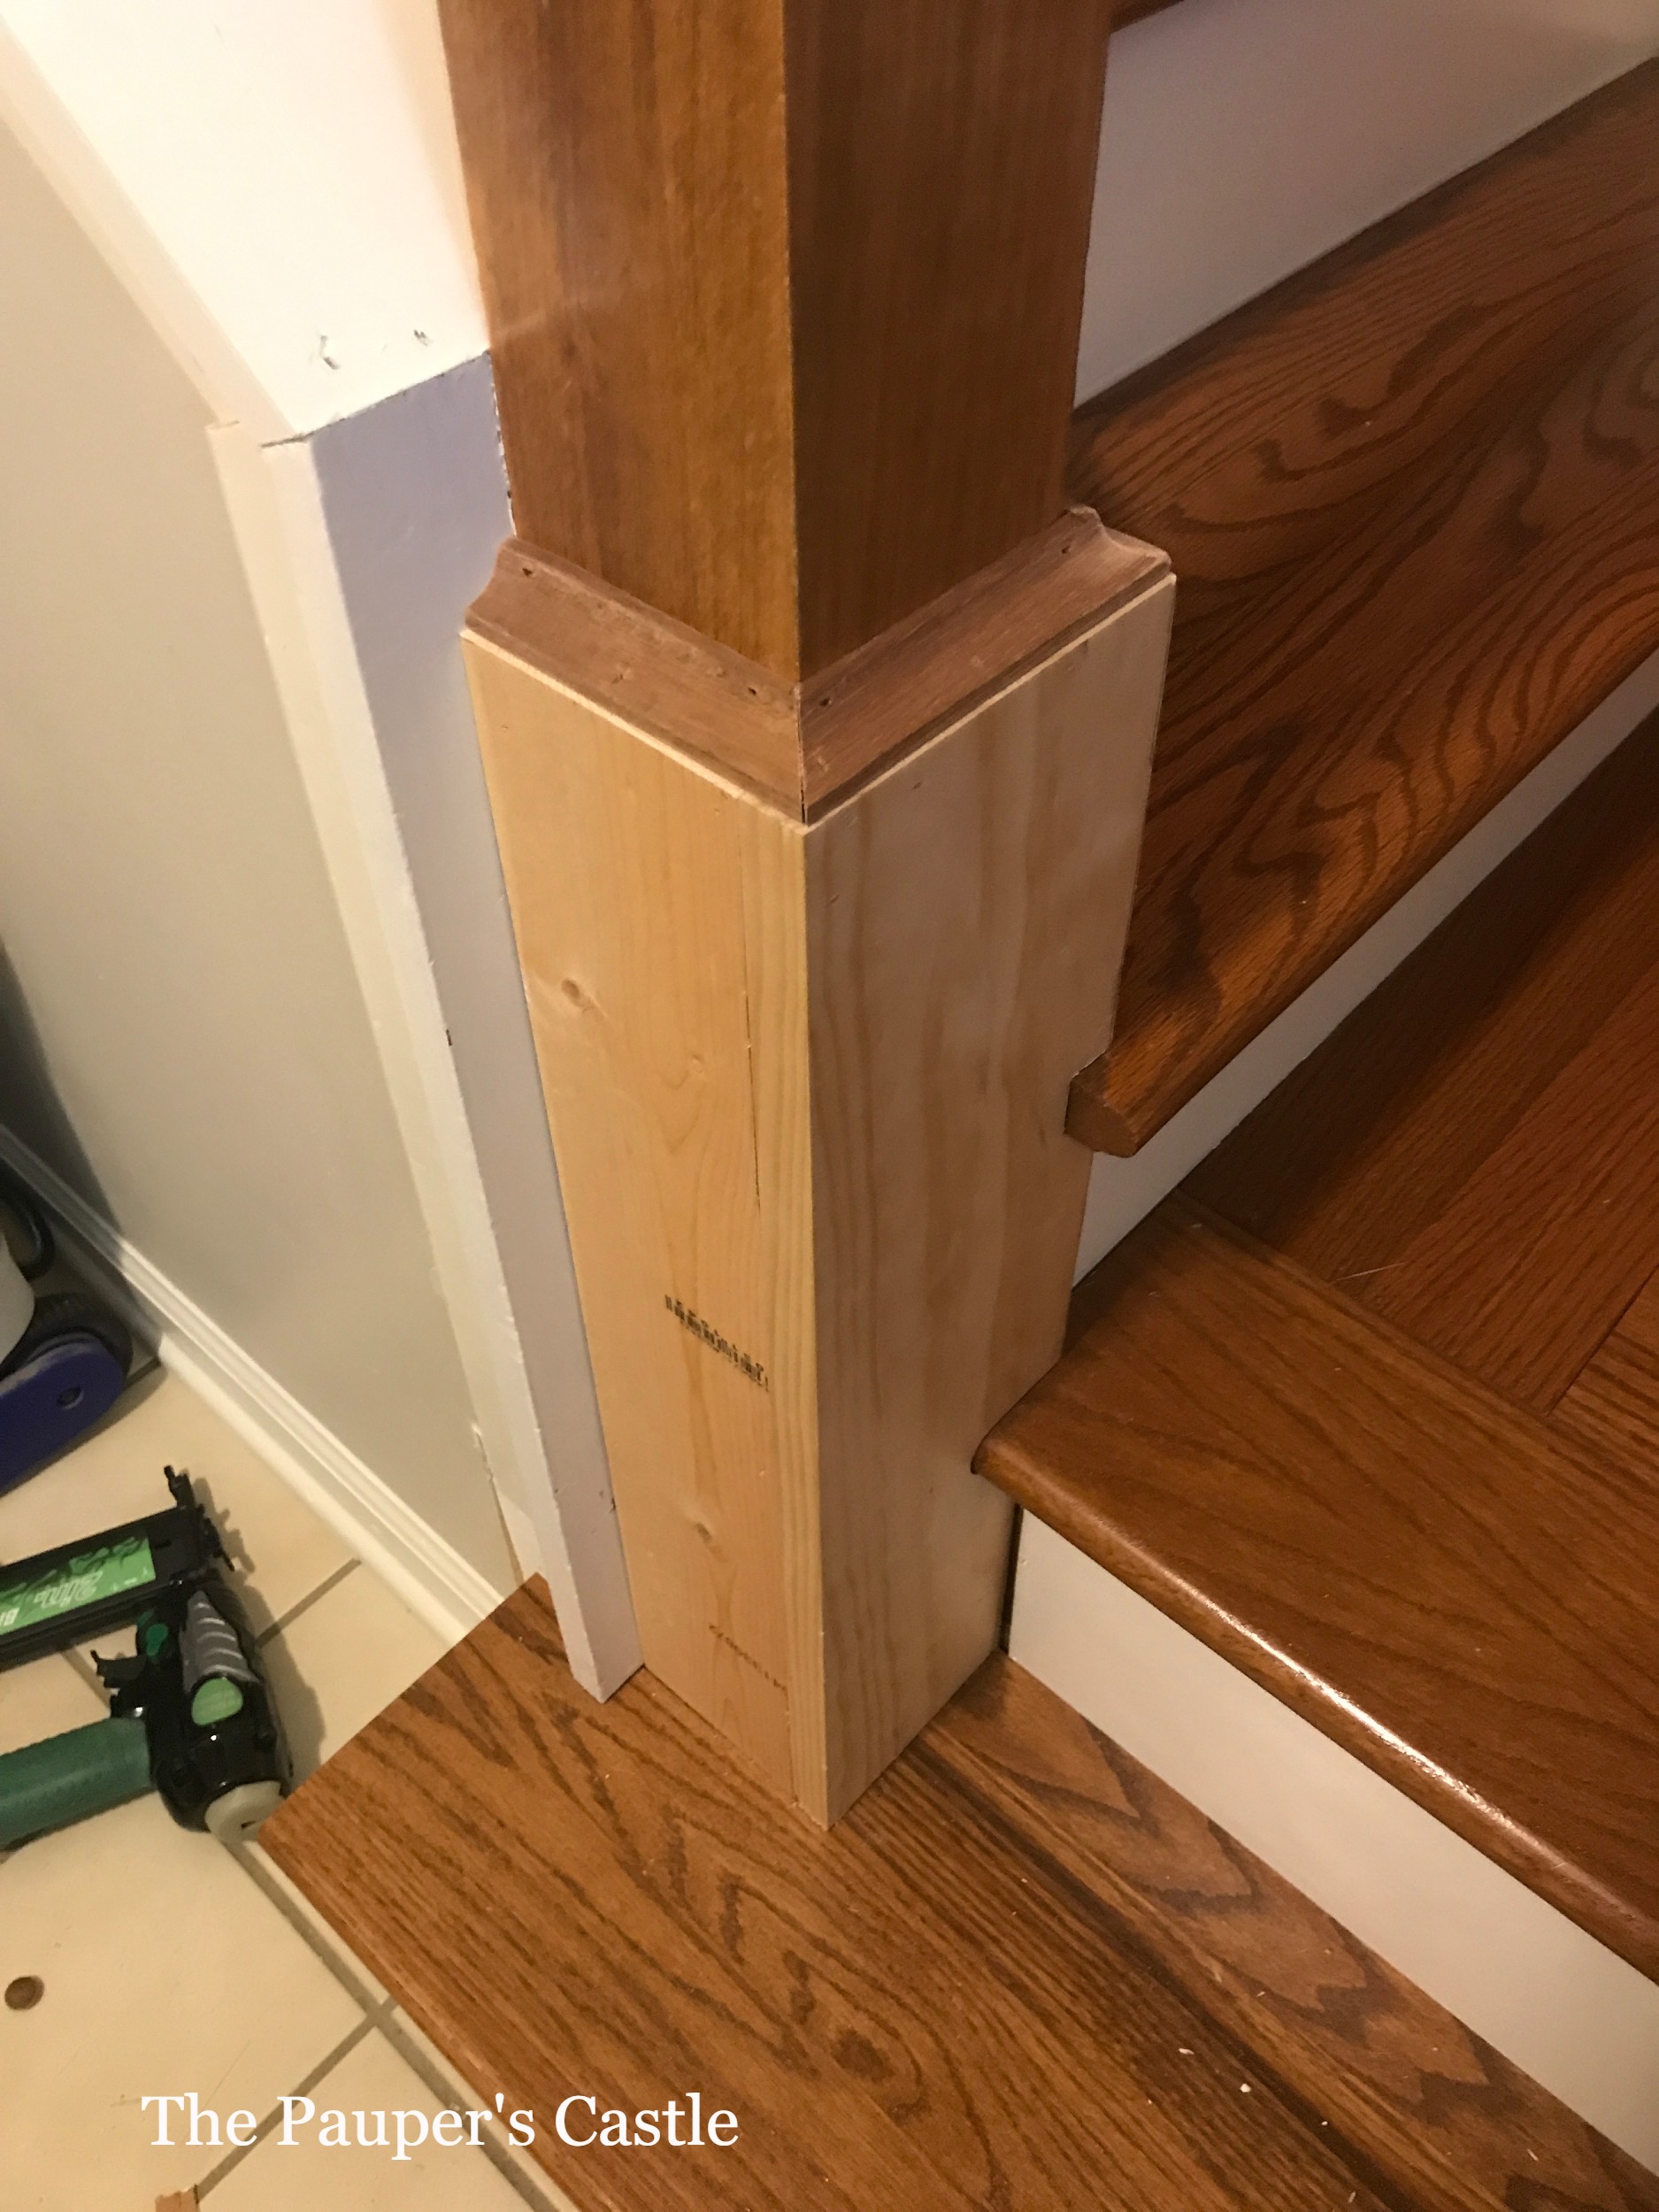
3 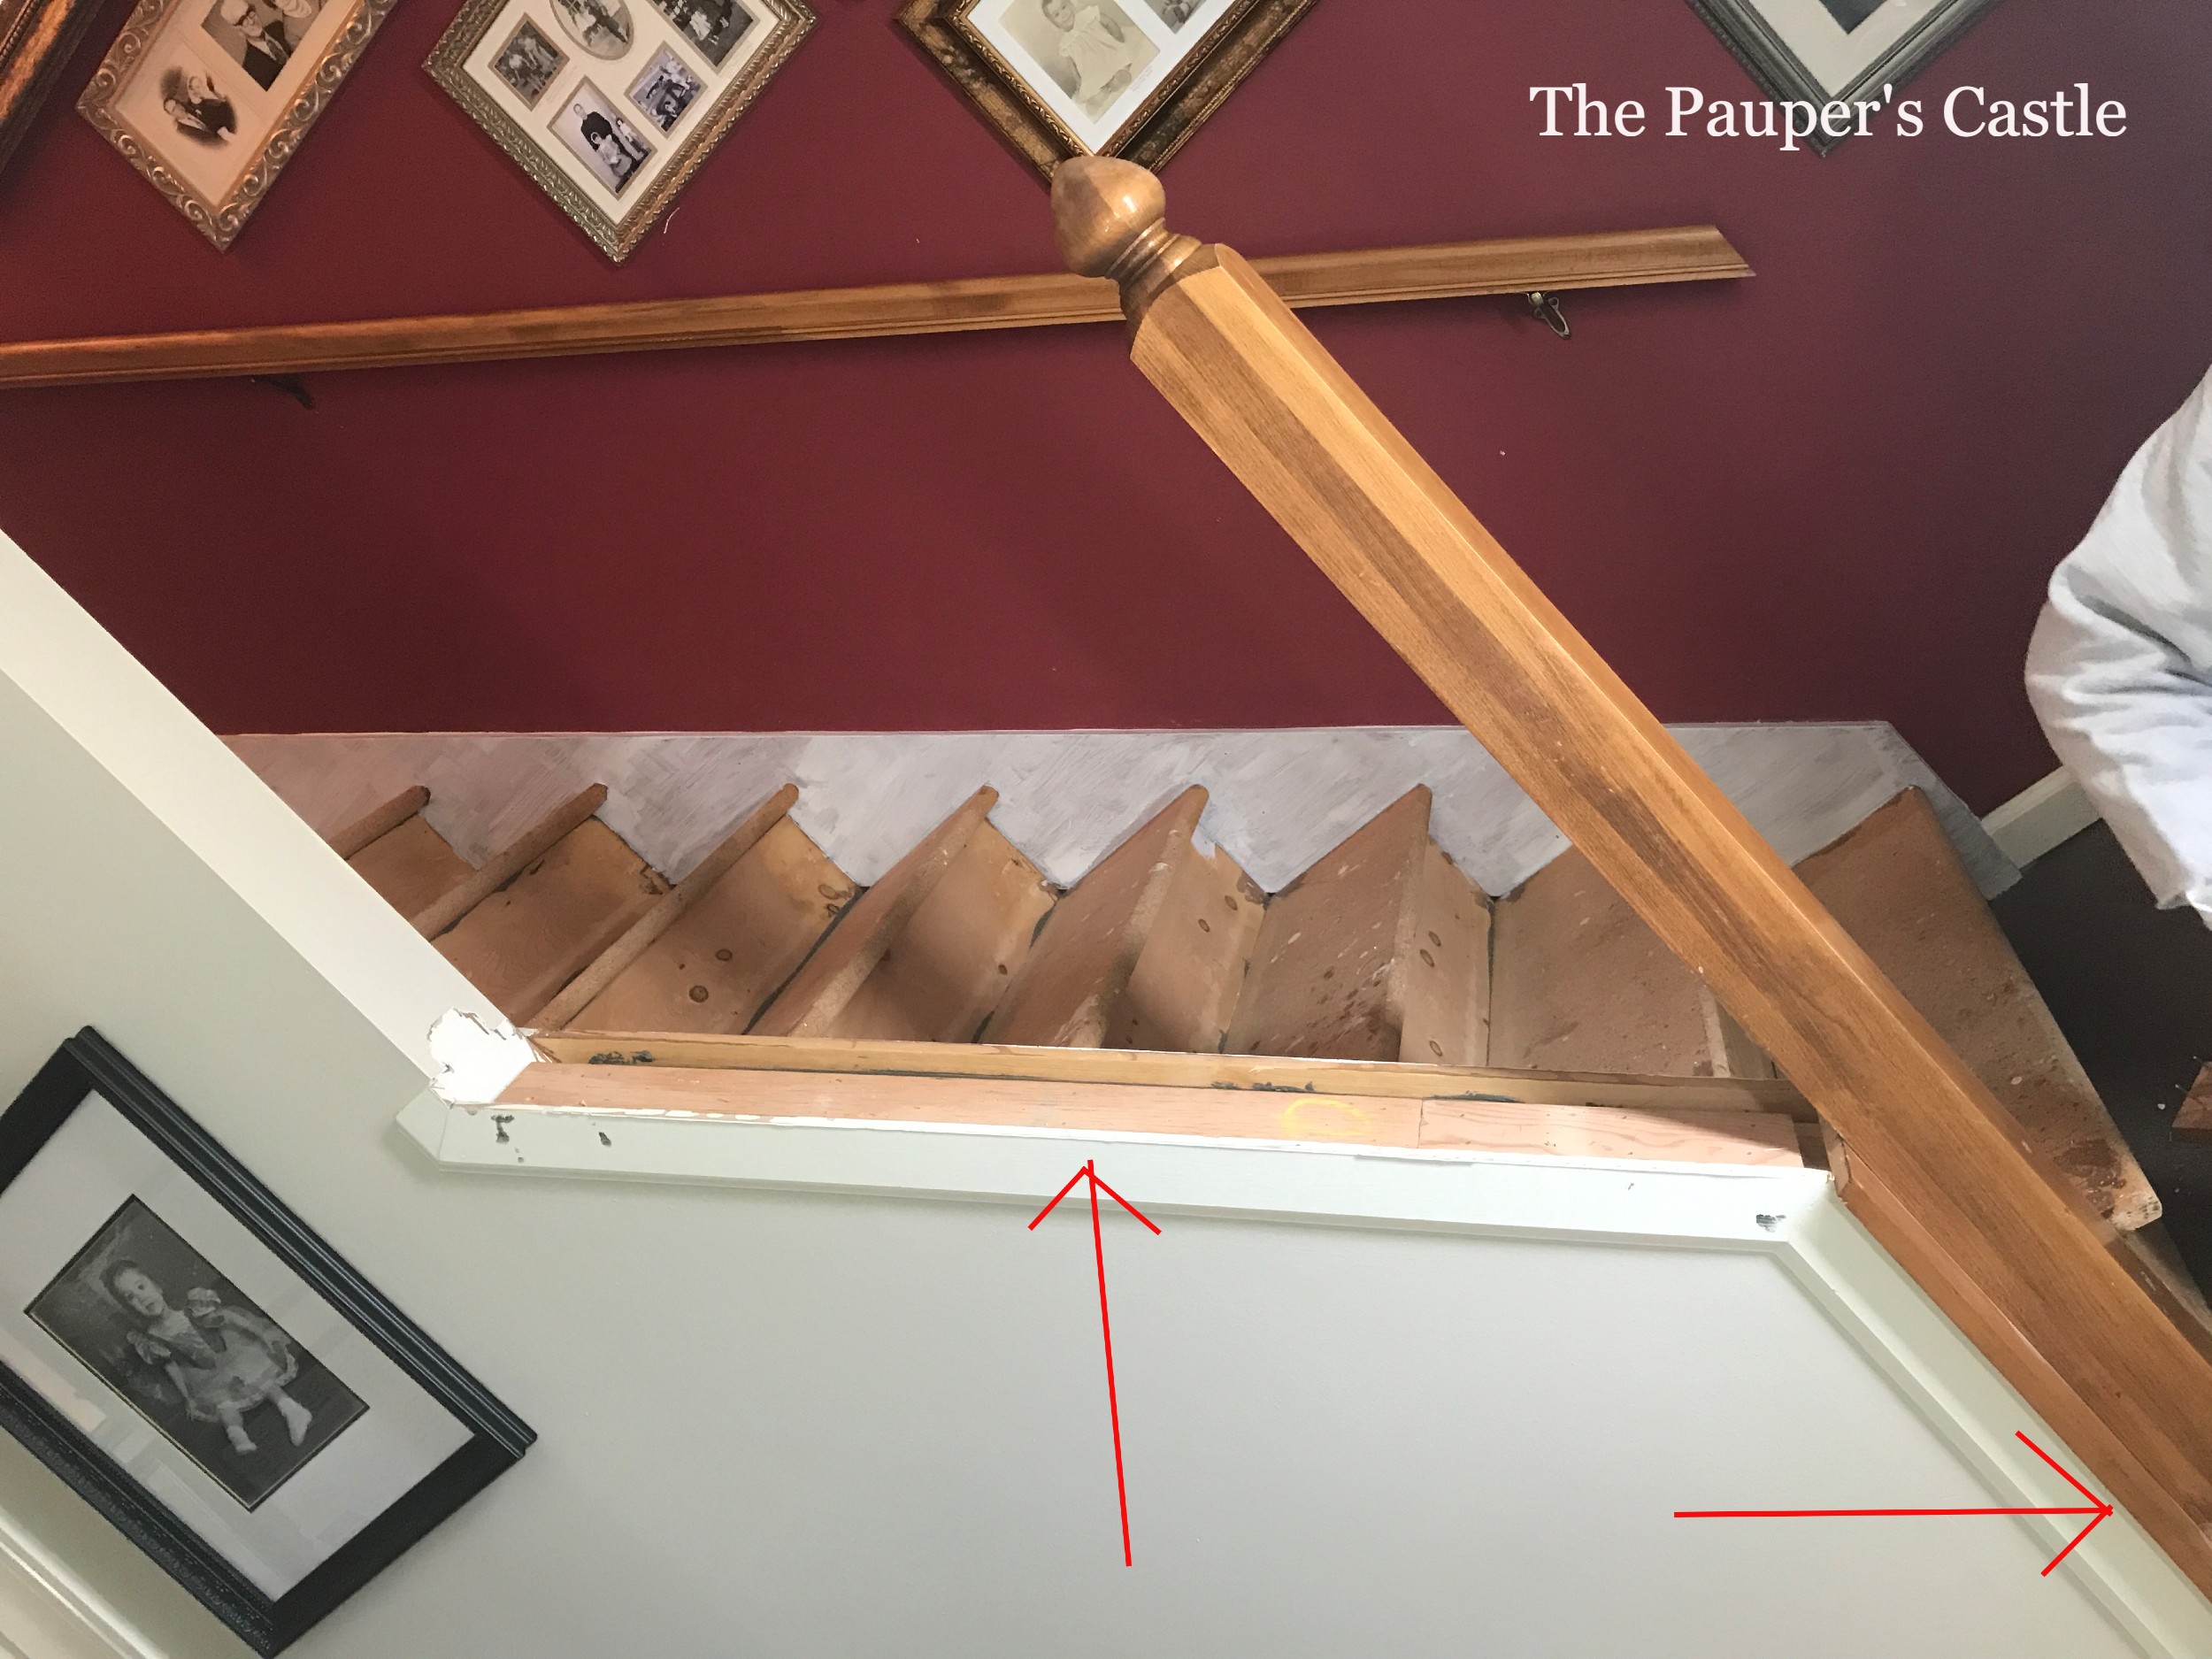
4
2. Stair Rail BEFORE
3. Trimming out the newel post at the bottom had to be done BEFORE installing treads (see arrow in photo 4)
4. We replaced the pine board under the balusters, the original did not survive pulling the trim molding off that the balusters went into. We wanted to reuse this vs. buying new. It was stripped and restained to match the stair treads.
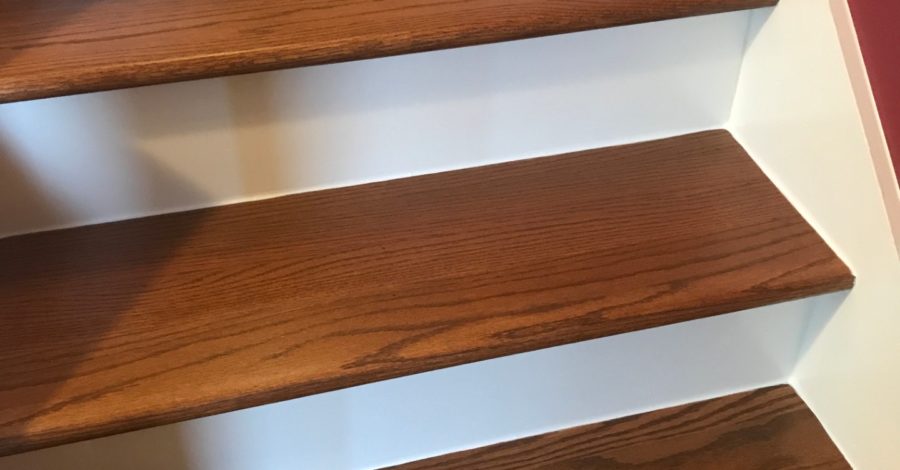
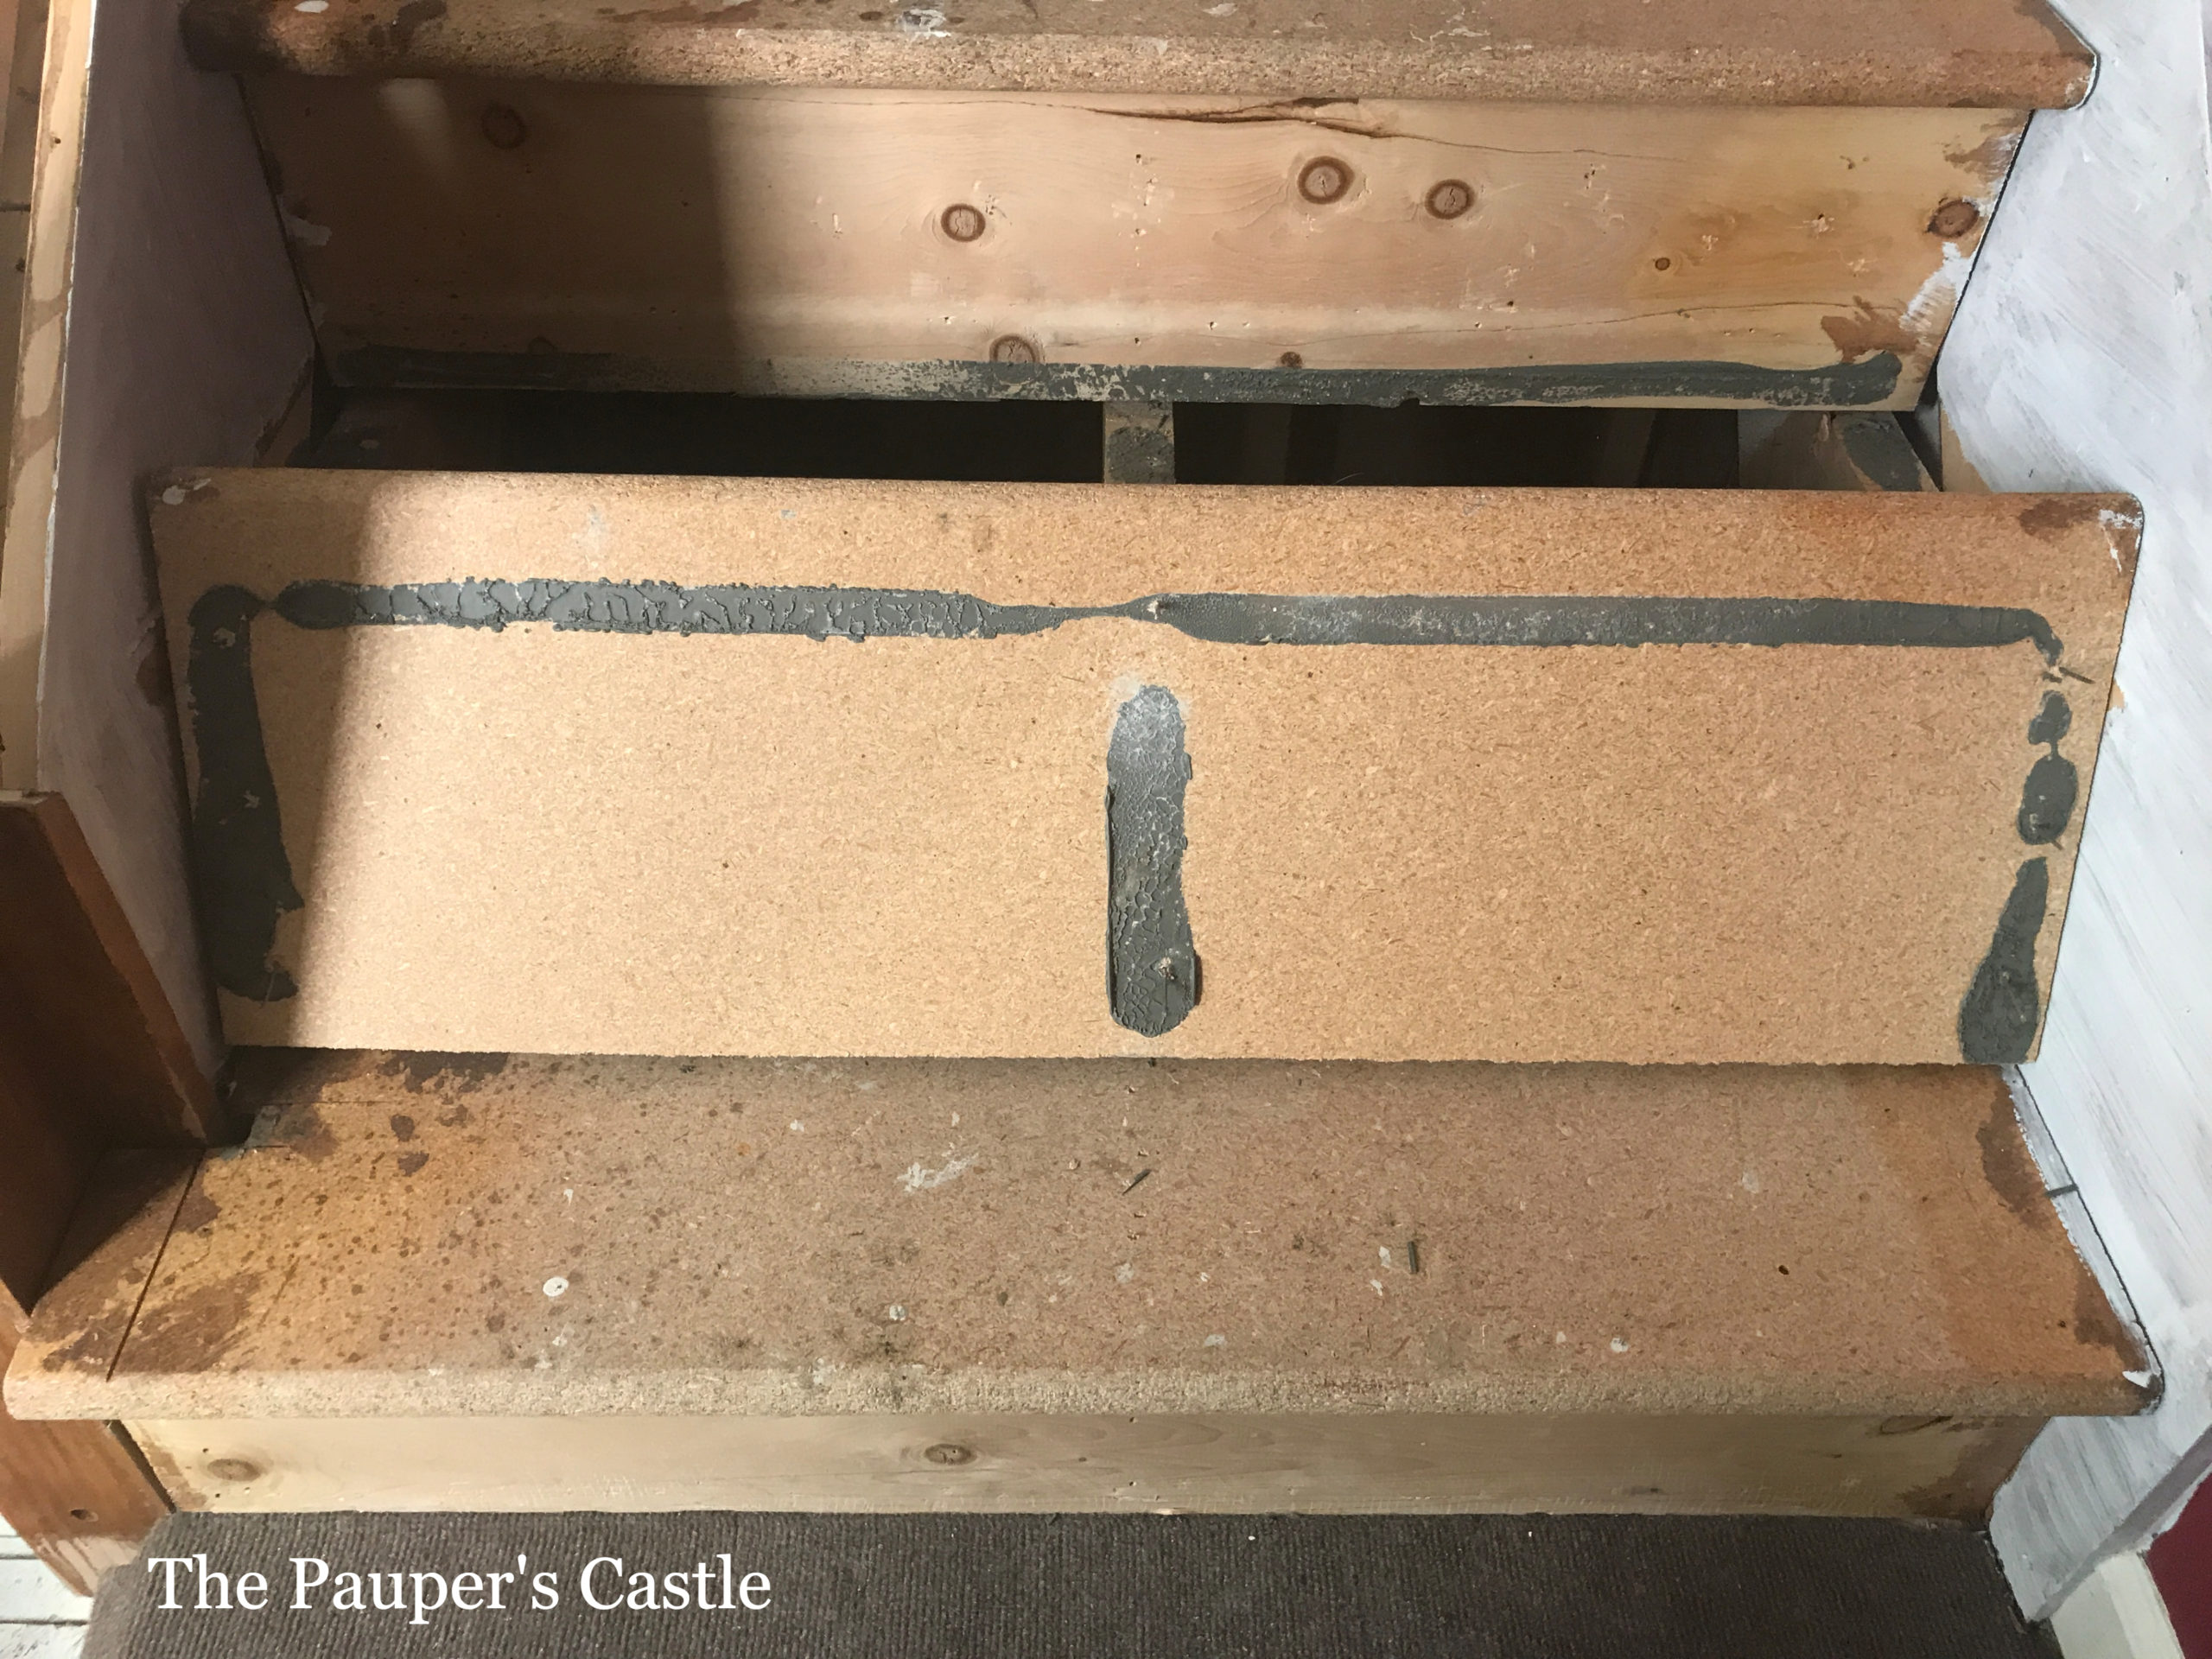
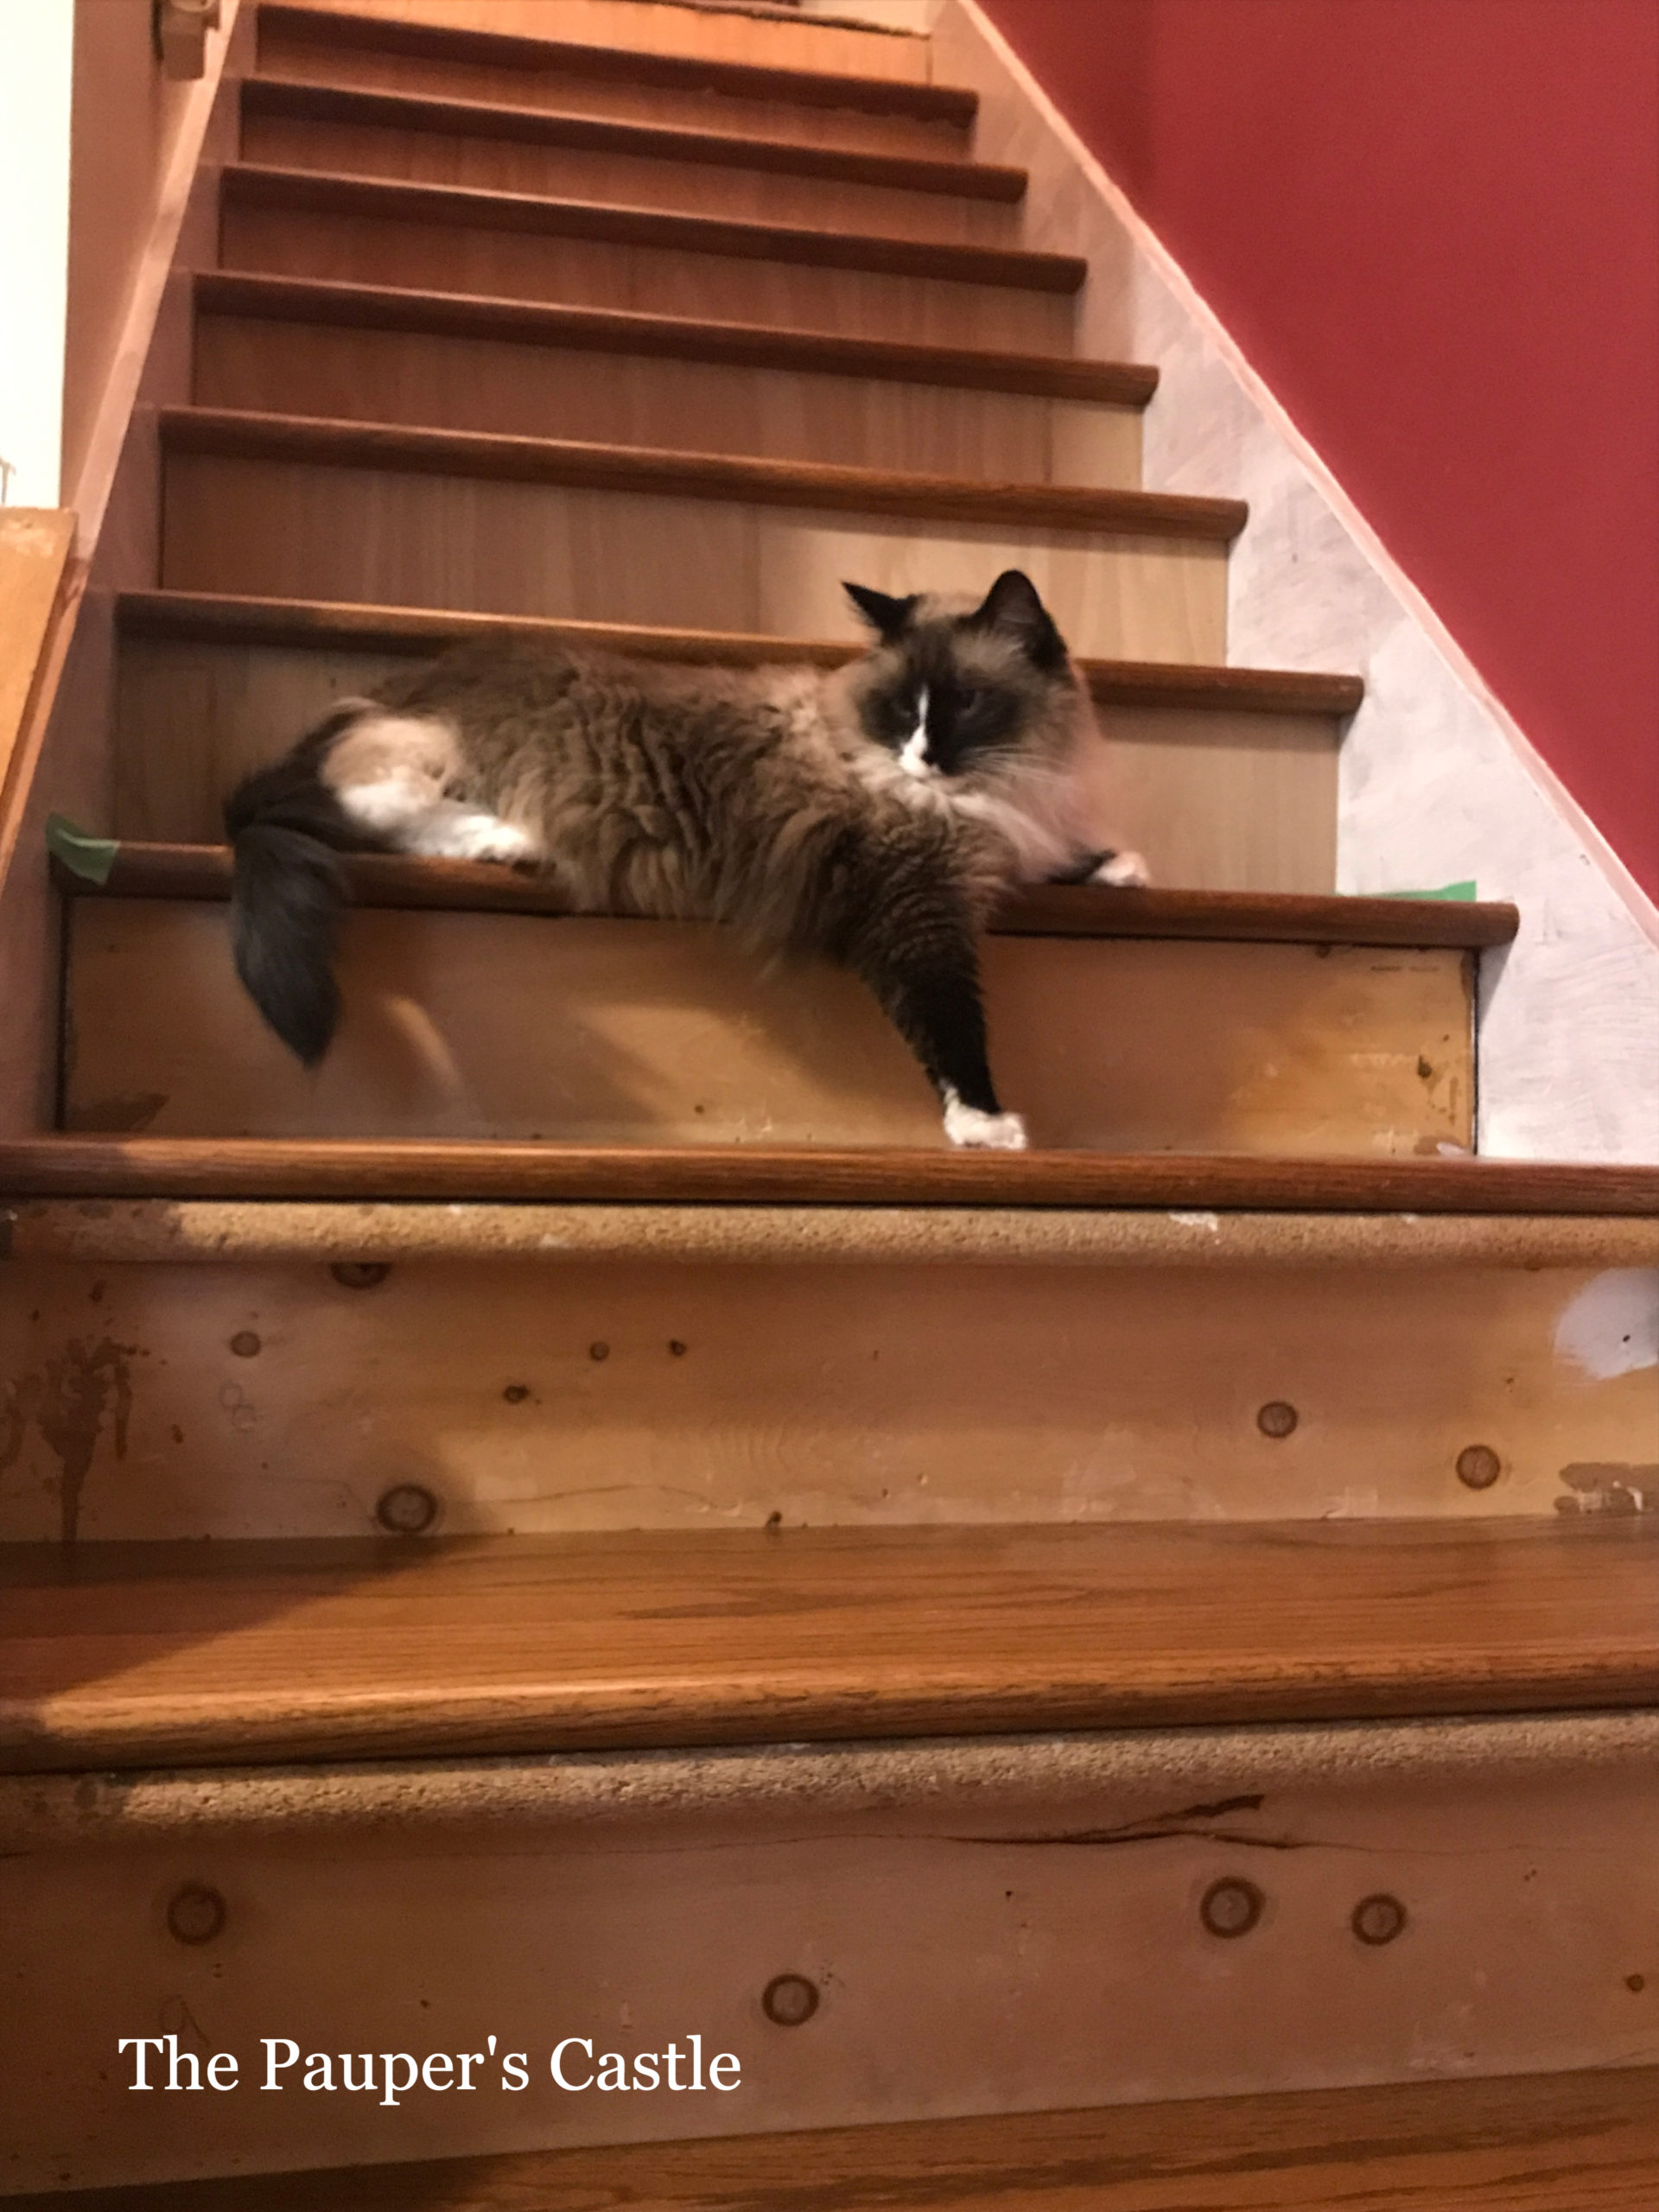
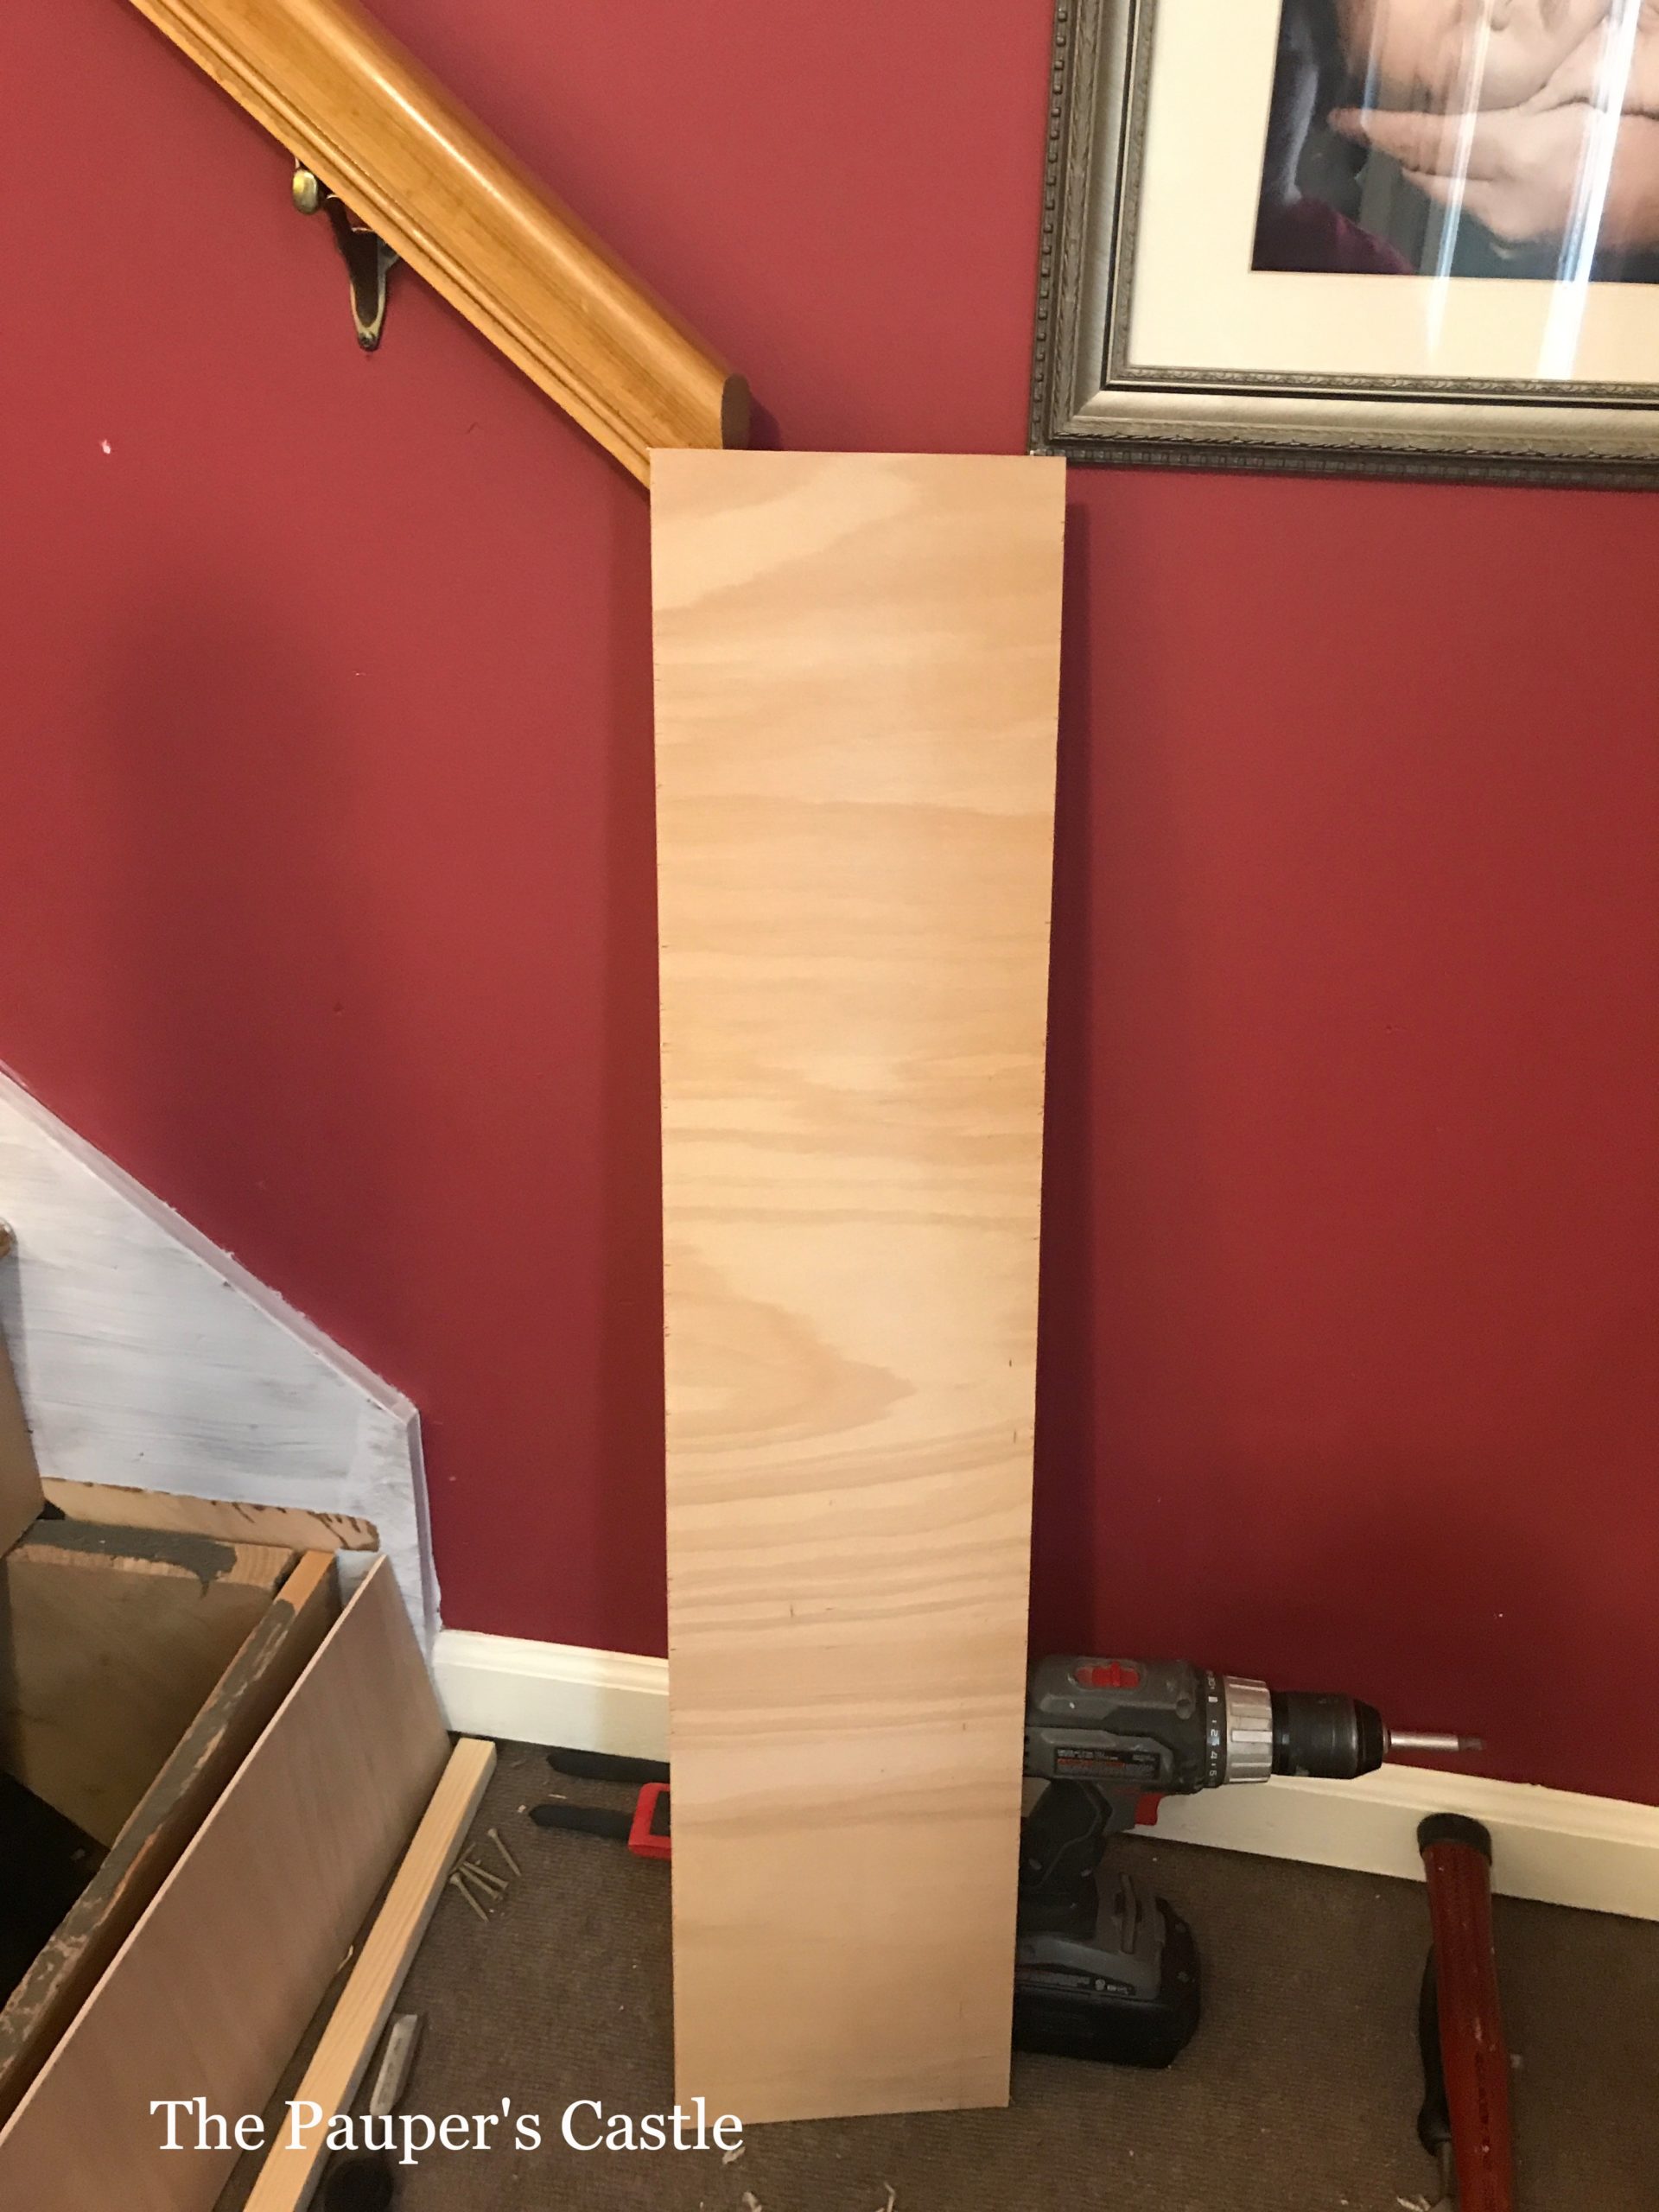
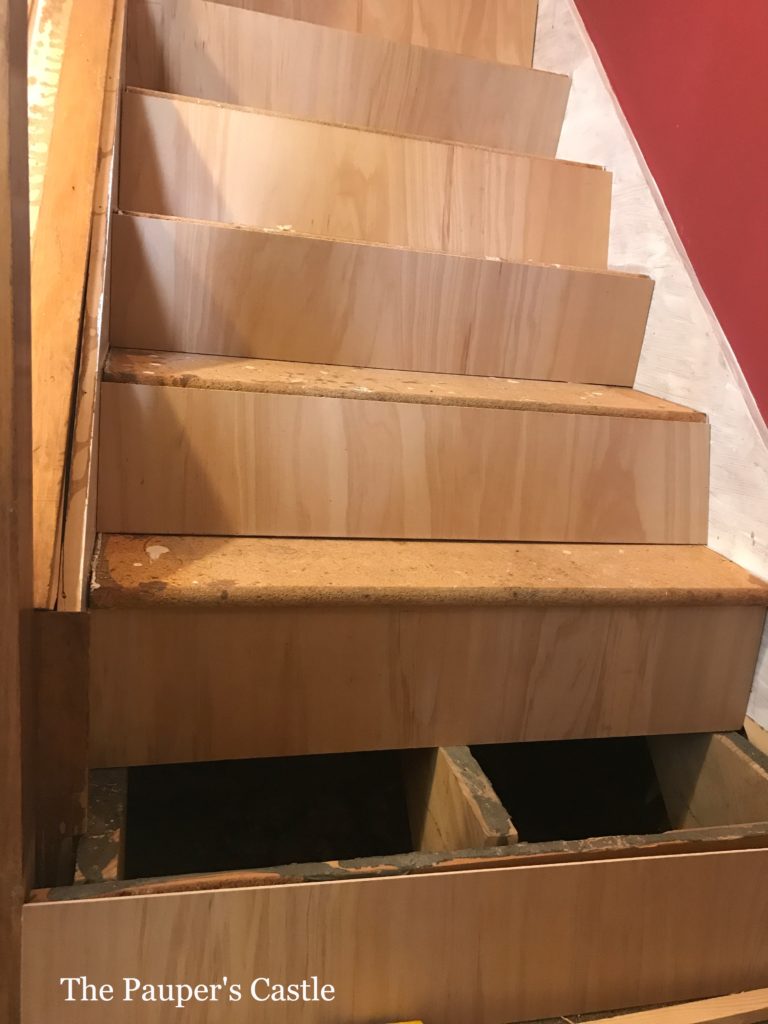
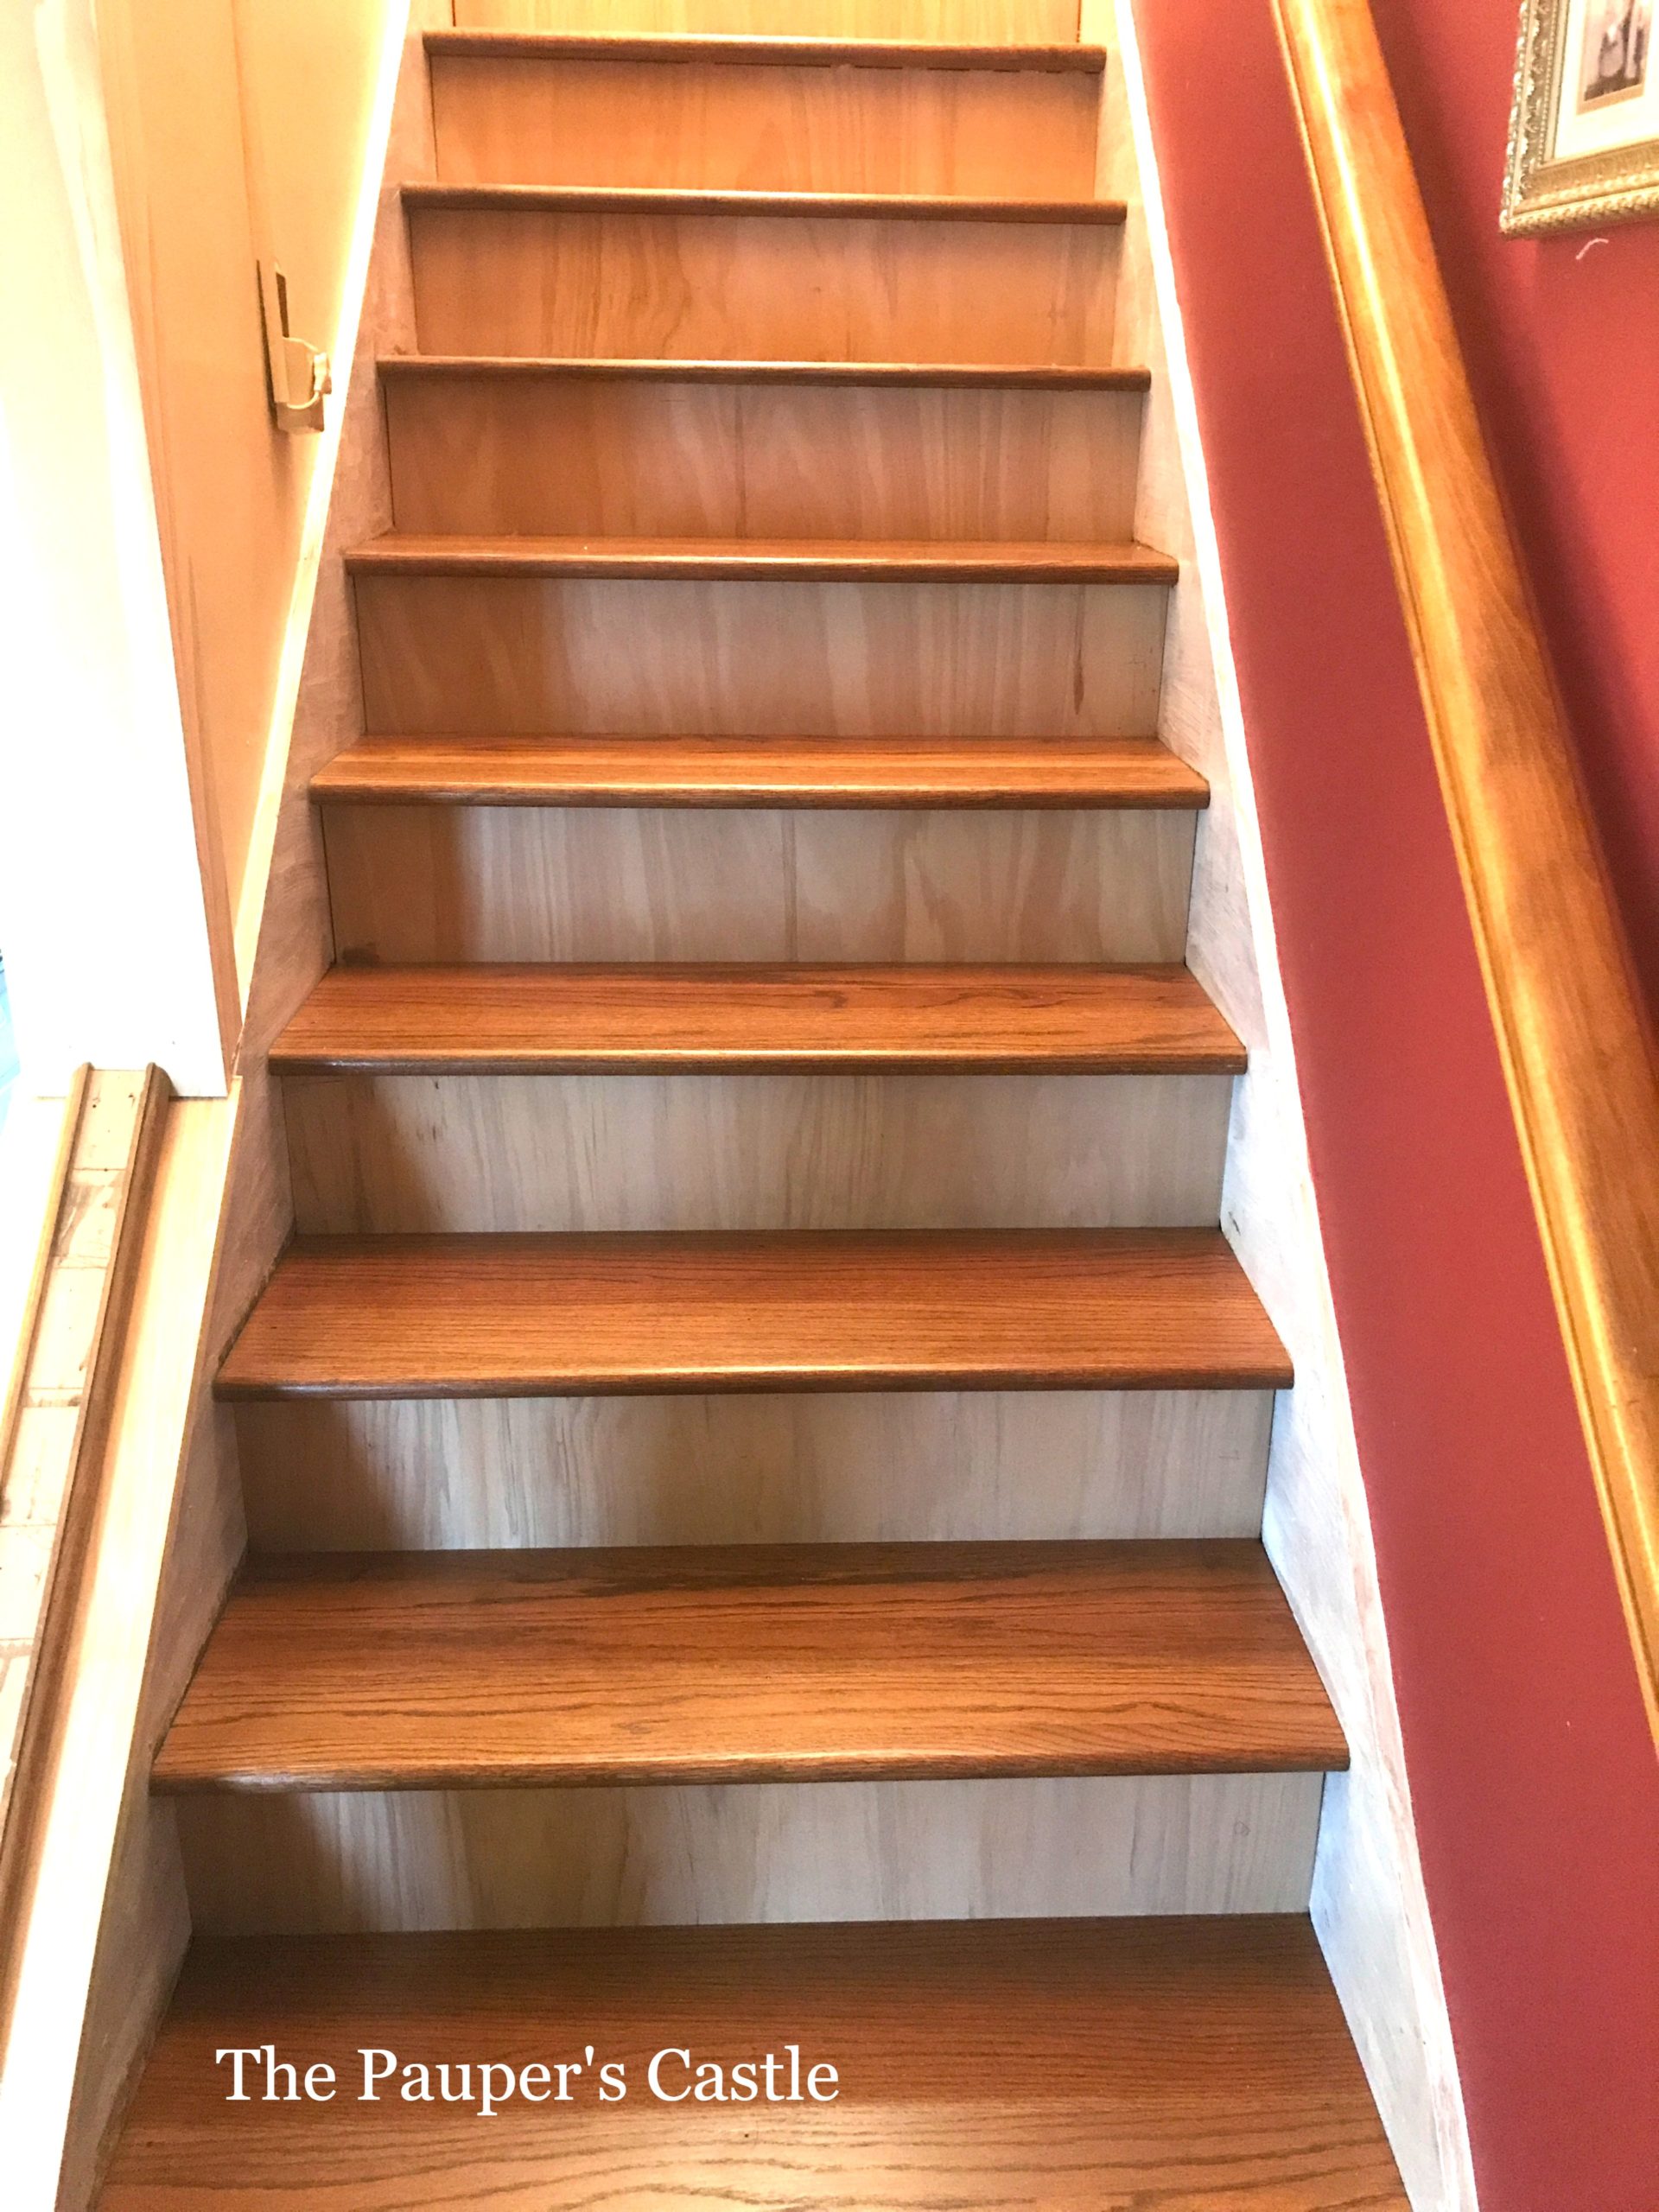
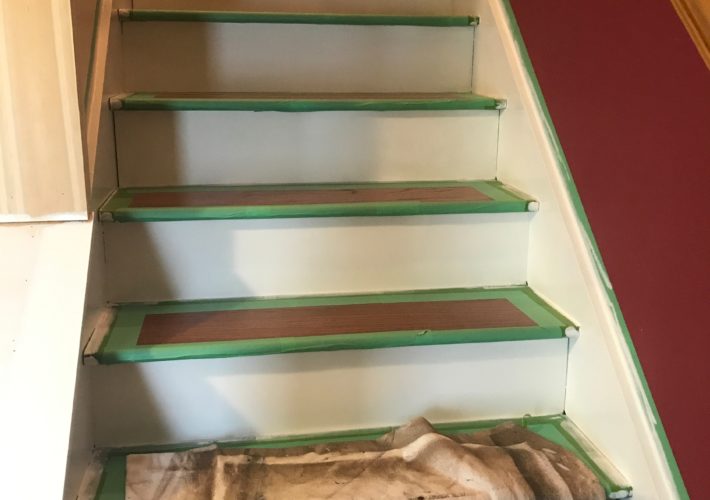
The installation process was mostly completed in one full weekend, but I will warn you these were long 12 hour days. Lots of up and down these stairs. It was truly a weekend workout! Our knees were killing us. We could not have completed this project without the help of my dad! His knowledge and advice were priceless. We also borrowed his table saw. This is something you will definitely need! If you don’t have one, can’t borrow one and don’t want to buy one, you will want to rent one. The treads were installed using Loctite® construction adhesive running this along the stringers and then face nailed with a pneumatic nailer on the right, left, and center of the treads to make sure we hit the stair stringers underneath. We refaced the rough pine risers that were under the carpet with 1/4″ plywood. These were installed after installing the treads. The risers were also glued with Loctite® construction adhesive and once again face nailed with the pneumatic nailer on the right and left ends. Our weekend ended with sore bodies and KNEES! So much up and down dry fitting, cutting, trimming, and dry fitting again. But in the end, it was worth every bit of pain!
Center: Dry fitting all riser overlays
Right: All riser overlays and treads installed. Skirts were primed prior to installation of both risers and treads
Priming and painting waited for another day! I’ll share that process and photos in the next post.
Caio for now!
Kellie

This project was featured on:
Additional Tools and Supplies that might not have been mentioned or linked above.
(this is not a sponsored post, all opinions and suggestions are solely mine)
Mastercraft® 1″ x 11-1/2″ x 48″ Red Oak Stair Treads (14 Total)
1/4 x 4 x 8 Sanded Utility Plywood
11/16 x 11/16 x 8′ Long Mahogany Inside Corner (6 Total) Molding
White Lightning® All-Purpose Painter’s Premium White Caulk – 10 oz
Loctite® PL® 375 Heavy-Duty Construction Adhesive – 10 oz
Rust-oleum’s anti-skid additive
Mastercraft® 1/2″ x 1/2″ x 44″ Black Single Twist Wrought Iron Baluster
Mastercraft® 1-3/8″ x 1-3/8″ Angle Shoe For Wrought Iron Baluster
Mastercraft® 1-3/8″ x 1-3/8″ Knuckle for Black Wrought Iron Baluster
Table Saw
Jig Saw
Chop Saw
Pneumatic Nailer
Brads
Chisel
Shims
Painter’s Tape
Drill
Drill Bits
Screwdriver
Crow Bar
Hammer
Pliers
1,000-Grit Sandpaper
Drop Cloth
Wet/Dry Vacuum


Leave a Comment